Introduction
An SMS Gateway is essentially a system that allows SMS messages on a cell network to be processed programmatically. There are a number of commercial SMS Gateway services such as Twilio or Clickatell, which allow users to select a destination phone number and send and retrieve incoming messages from that number via a web service. However, due to GDPR requirements in our research, we needed to find an alternative approach. In this tutorial we discuss how to implement your own SMS gateway making use of the AT command set to pull messages off a suitable mobile phone or GSM modem. Here we will focus on GSM modems, which are in essence stripped down mobile phones that provide a serial or USB interface over which AT commands can be sent and data received. Although it is possible to send individual AT commands manually over a serial terminal such as Putty, it is easier to use a library that wraps the AT commands to achieve a specific action (e.g. send an SMS) in a convenient API. In this example we used the third-party Java library SMSLib-v3.
This blog post assumes a reasonable proficiency in Java programming and paradigms.
Motivation
We were motivated by the need for an SMS Gateway for a small project (the Listening Wood) exploring the stories and history behind a number of veteran trees on Hampstead Heath in London. The trees and their stories were represented by a back-end chatbot, which visitors to the Heath could interact with via various modalities including SMS. We chose to implement our own solution for data privacy reasons relating to restrictions imposed by the General Data Protection Regulation (GDPR) on exporting personal data (in this case user phone numbers) outside of the EU. To avoid lengthy delays to the project while legal agreements were put in place with US-based service providers, we decided the quickest way forward was the develop our own SMS Gateway system, thereby keeping all personal data in-house.

Pro and cons of this approach
If your application needs the services of a SMS gateway, the simplest and most robust approach is to use one of the commercial cloud based services mentioned earlier. These are relatively cheap to use, very scalable if you anticipate large numbers of users and also fast. We choose to ‘roll our own’ for reasons of data privacy rather than cost (we still had to purchase SIM cards and pay for outbound messages) or technical performance (commercial gateways are faster). If for whatever reason, you decide to ‘roll your own’ you should be aware of these limitations and other challenges.
Drawbacks of our approach include the lack of a Java serial library in the official Java Development Kit (JDK). We used the third-party rxtx serial communications library, which makes use of the Java Native Interface (JNI) and therefore requires installation of the appropriate native library (DLL) for the host operating system. This worked satisfactorily on the two platforms we used, but other developers have raised concerns over its stability. Alternative Java serial libraries exist but again support varies. However, SMS libraries are available for other programming language such as Python and this may be a better approach in the longer term, particularly given that the Java SMS Lib code base user here is no longer maintained.
A more general limitation of our approach relates to the lack of support for the AT command set on modern phones – the devices we used were either 10 year old phones or second hand GSM modems purchased on eBay. However, cheap standalone GSM modules which interface easily to microcontrollers such as the Arduino are increasingly available and offer an alternative approach (albeit probably not supported by the Java SMS library we used here).
Installation
Download the SMS Lib code base from GitHub and create a project for it using your favourite IDE (here we used Netbeans). The SMS Lib code base has a number of dependencies on third party libraries. The appropriate jarfiles are included in the lib folder of the distribution. You will need to add these jarfiles as dependencies in your project. Note the rxtx serial communication library that ships with the distribution requires a native DLL file. Read the installation guide in the distribution docs folder for guidance on how to link this into your project.
Once you are able to successfully build the project it makes sense to package the SMS library in its own jarfile, which can then be used as a dependency library in any custom applications you develop.
Initialisation
To initialise the SMS Gateway we can use code similar to the following example:
SerialModemGateway gateway = new SerialModemGateway("modem.com1", "COM10", 115200, "Wavecom", "Q2403");
The first parameter is a descriptive name of the modem and is arbitrary. The second and third parameters are the COM port and the baud rate for communication over the serial interface (USB) respectively. The COM port can be discovered from Device Manager (on Windows) and the baud rate will be given in the specification of the GSM modem. The last two parameters are the manufacturer and model of the phone or modem you are using for the SMS Gateway. For example, if you were using a Nokia 6310i phone you would replace ‘Wavecom’ with ‘Nokia’ and ‘Q2403’ with ‘6310i’. The values for the manufacturer and model help the library find the appropriate implementation for the serial interface to the phone model.
Next we configure the gateway for sending and receiving messages (if that is what is required)
gateway.setInbound(true);
gateway.setOutbound(true);
And set a callback to notify the application of incoming messages
Service.getInstance().setInboundMessageNotification(new InboundNotification());
The InboundNotificationargument refers to a class we have to provide implementing the IInboundMessageNotificationinterface of the SMS Library.
Finally, we finish the initialisation by adding the gateway to the service and starting the service as follows (the service can monitor multiple gateways if needed).
Service.getInstance().addGateway(gateway);
Service.getInstance().startService();
Sending a message
To send a message with use the following code
OutboundMessage message = new OutboundMessage("<destination phone number>", "Hello, how are you?");
Service.getInstance().sendMessage(message, gateway.getGatewayId());
Receiving a message
To receive a message we have to provide an implementation of the IInboundMessageNotification interface of the SMS library. The following code shows a trivial implementation.
 public class InboundNotification implements IInboundMessageNotification {
        public void process(AGateway gateway, MessageTypes msgType, InboundMessage msg) {
            System.out.println(">>> New Inbound message detected from Gateway: " + gateway.getGatewayId());
            System.out.println(msg.getText());
        }
}
Deployment
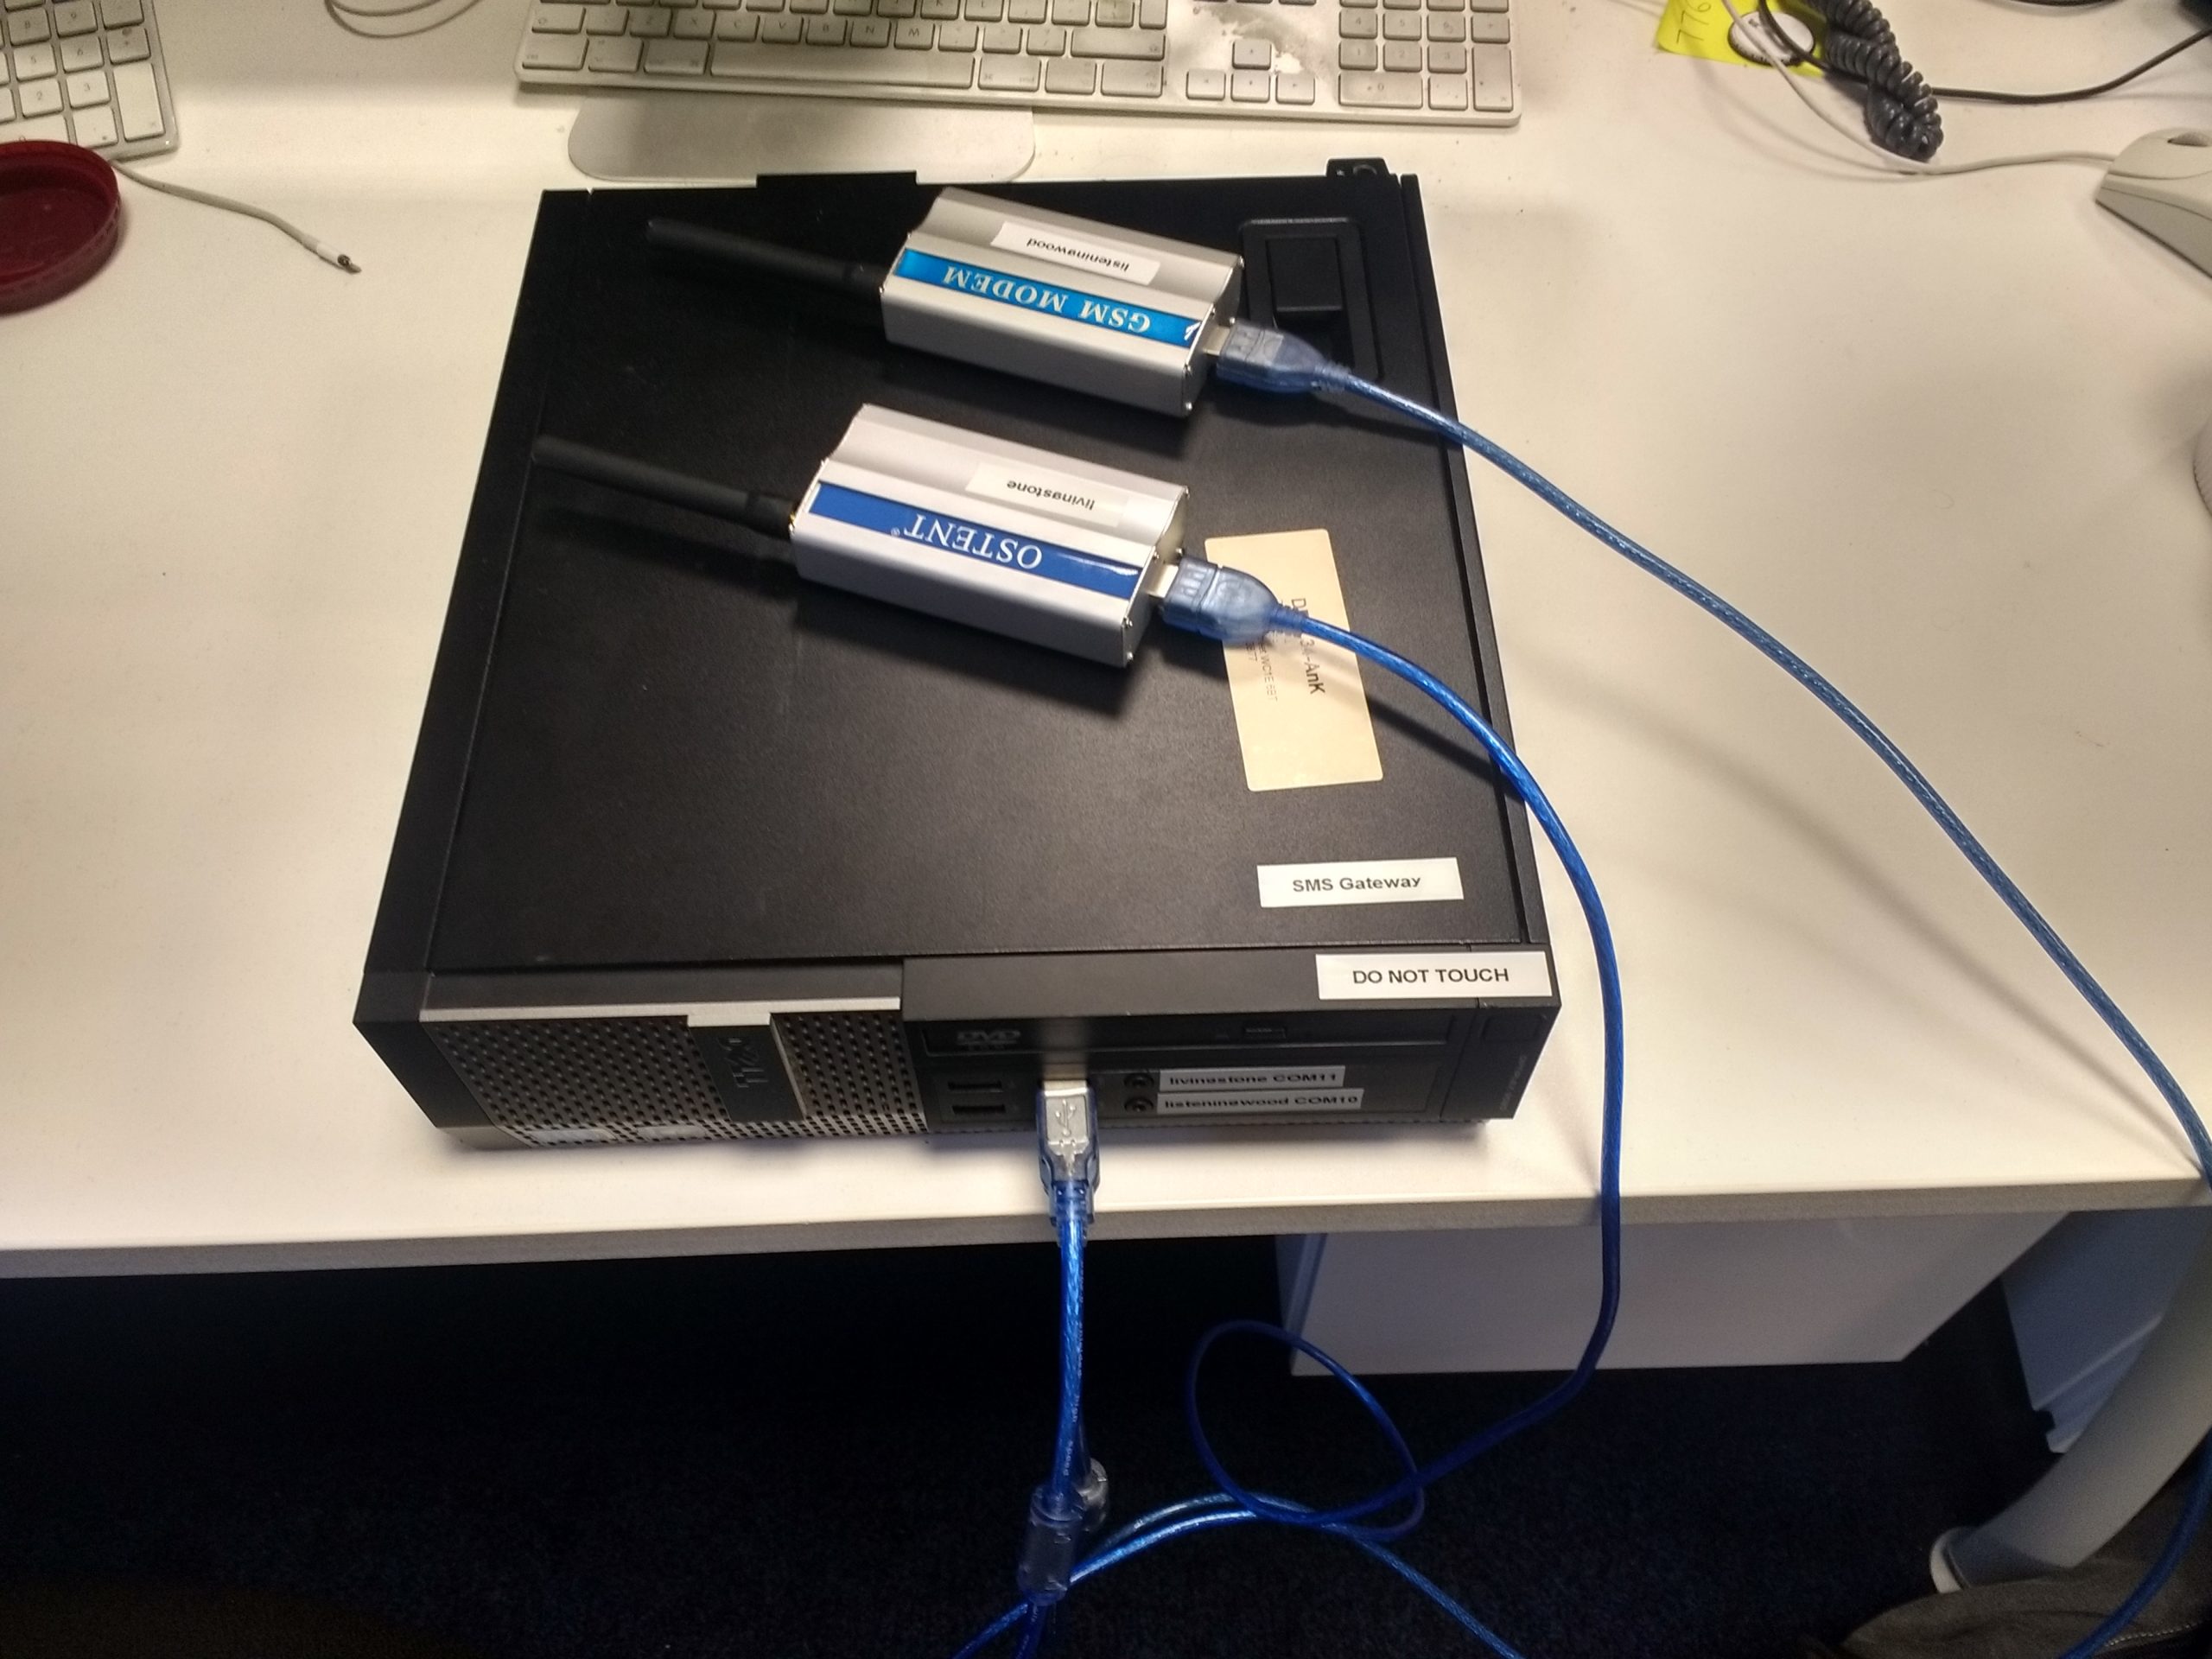
In our application the SMS Gateway code was deployed to a Raspberry Pi running Java, which interfaced over the USB serial to the GSM Modem as shown below

In our application, the SMS Gateway connected to a cloud-based chatbot, with incoming user messages being relayed to the chatbot, which provided a response which was then relayed to the user as an SMS response message. Round trip times were of the order of 10 – 15 seconds, which was satisfactory for our application, but significantly slower than commercial gateways which gave round trip times of a few seconds in our initial tests. The main delay was associated with the processing of the AT commands on the GSM modem, rather than network latency or limitations of the host processor (i.e. the Raspberry Pi).
We subsequently deployed dual SMS gateways, using a Windows box to host the application. The migration to Windows was driven by issues relating the the chatbot API, rather than any limitations of the Rasperry Pi as a host for the SMS gateway(s).