Introduction
In this post we will describe how to use a Raspberry Pi and a camera to perform face detection. In order to achieve a lightweight solution suitable for a resource contrained device such as a Raspberry Pi we will use a Haar cascade classifier.
A Haar cascade is an object detection algorithm that has been trained using conventional Neural Network approches to recognise a specific object - in this case faces. The actual classifier is an XML file containing a representation of the particular features needed to detect the particular object. It is possible to train your own Haar cascade classifier, however, in this example we will use a pre-trained classifier from the Open CV repository.
Set Up
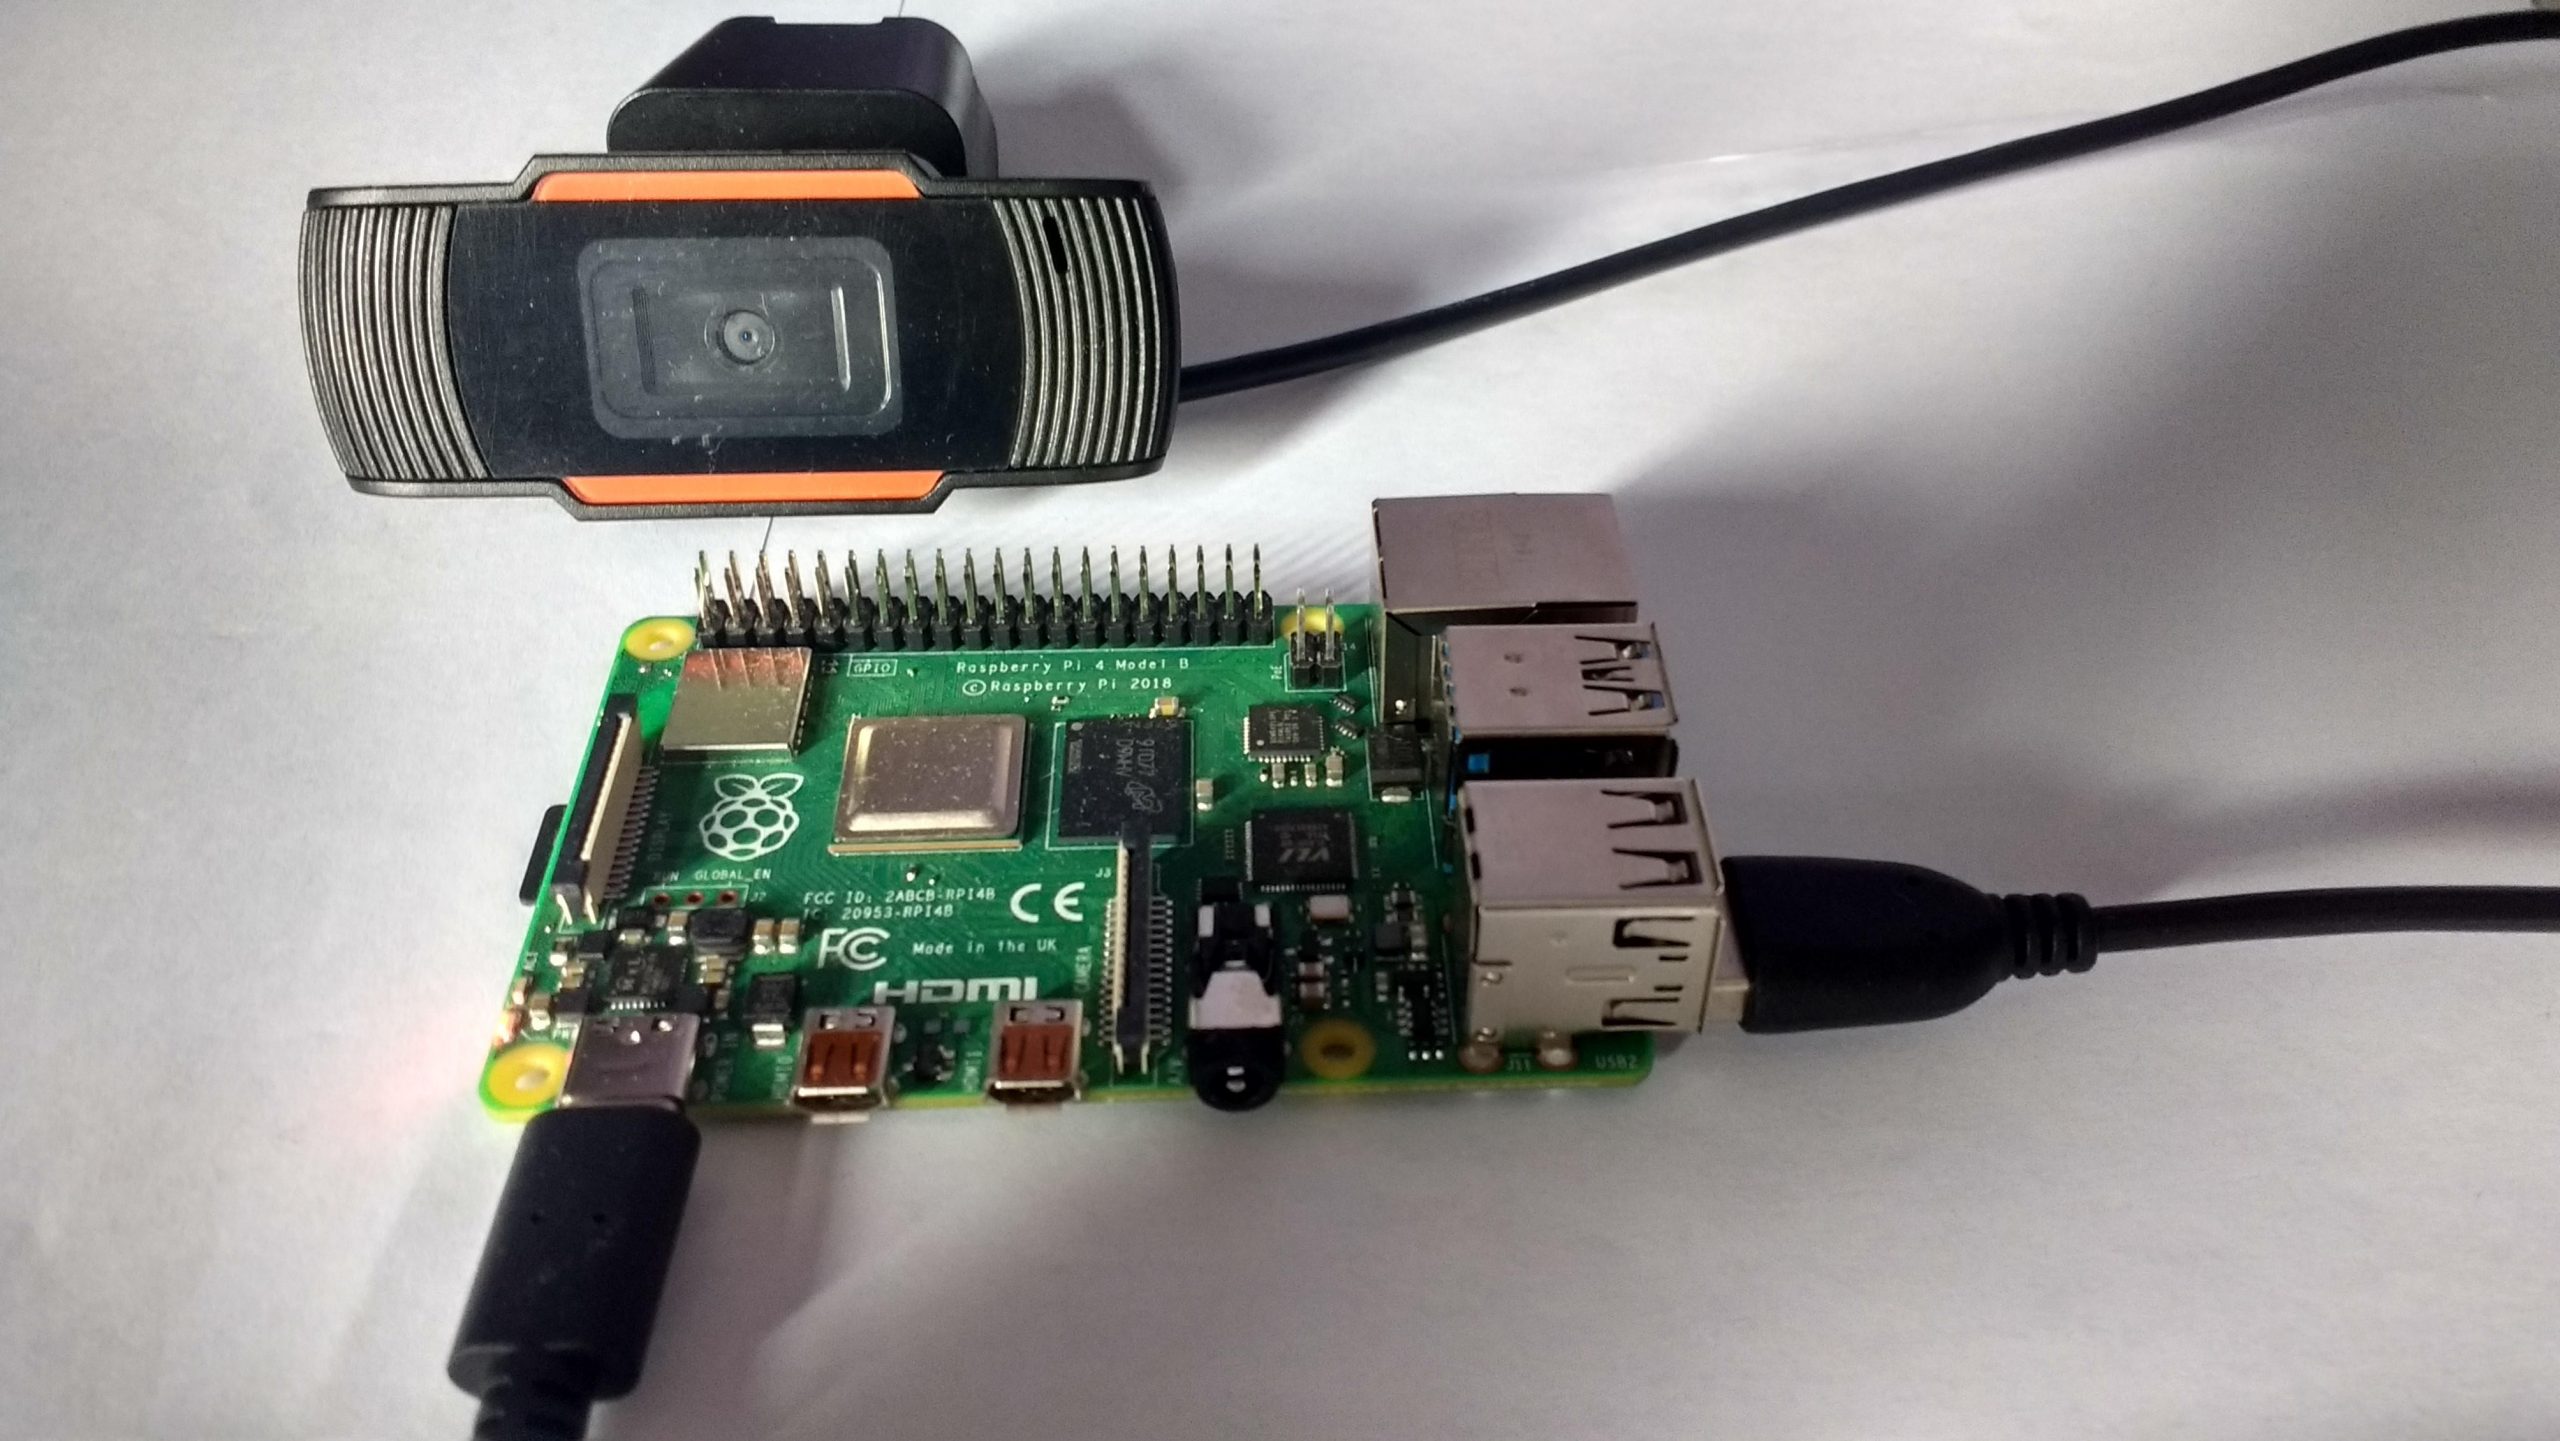
Here we used a Raspberry Pi 4 and Python 3 along with a cheap high definition USB web cam for the camera. You will need to install Open CV as follows:
pip3 install opencv-python
You will also need to grab an appropriate Haar cascade classifier from the Open CV repository; here we used the haarcascade_frontalface_alt.xmlfile.
Code
Now let’s look at the code. First you need to load the Haar classifier and then initialise the camera for video capture. The camera defaults to port zero.
import cv2
import sys
import time

cascPath = "haarcascade_frontalface_alt.xml"
faceCascade = cv2.CascadeClassifier(cascPath)

video_capture = cv2.VideoCapture(0)
Now from within a while loop we read frames from the camera and create a greyscale version of the frame.
while True:
    ret, frame = video_capture.read()
    gray = cv2.cvtColor(frame, cv2.COLOR_BGR2GRAY)
Still in the while loop we apply the Haar cascade classifier to our greyscale frame using the detectMultiScale() function.
    faces = faceCascade.detectMultiScale(
        gray,
        scaleFactor=1.1,
        minNeighbors=5,
        minSize=(30, 30),
        flags = cv2.CASCADE_SCALE_IMAGE
    )
This takes a number of parameters: scaleFactor determines how much scaling is successively applied to the image in attempting to find a match, 1.1 indicates 10% scaling; minNeighbors indicate how many neighbouring rectangles are retained in addition to the current rectangle being sampled - typical values are in the range 3-6 with higher values providing greater certainty at the expense of possibly missing some objects (faces); minSize represents the minimum size of the object (face) that can be detected in the image. For more information on the parameters check out this blog post as well as the Open CV documentation.
The detectMultiScale() function returns an array of sub-images containing the objects (faces) detected in the scene. The following code draws a green rectangle around each face identified in the scene.
    for (x, y, w, h) in faces:
        cv2.rectangle(frame, (x, y), (x + w, y + h), (0, 255, 0), 2)
Finally, we can display the resulting frame, including the green rectangle as follows:
cv2.imshow('Video', frame)
The results look something like this.
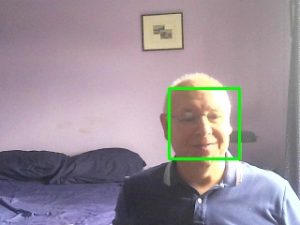
If there are multiple faces in the scene the classifier will attempt to detect these also. The example detects faces in real time and is generally effective in detecting faces in a scene, although it is somewhat dependent on the lighting. You can of course experiment with the input parameters to the detectMultiScale() function depending on your requirements and the more adventurous can try creating their own custom classifiers.
The complete code for this example is available on GitHub.