UCL Connected Environments
Featured projects
Recent Posts
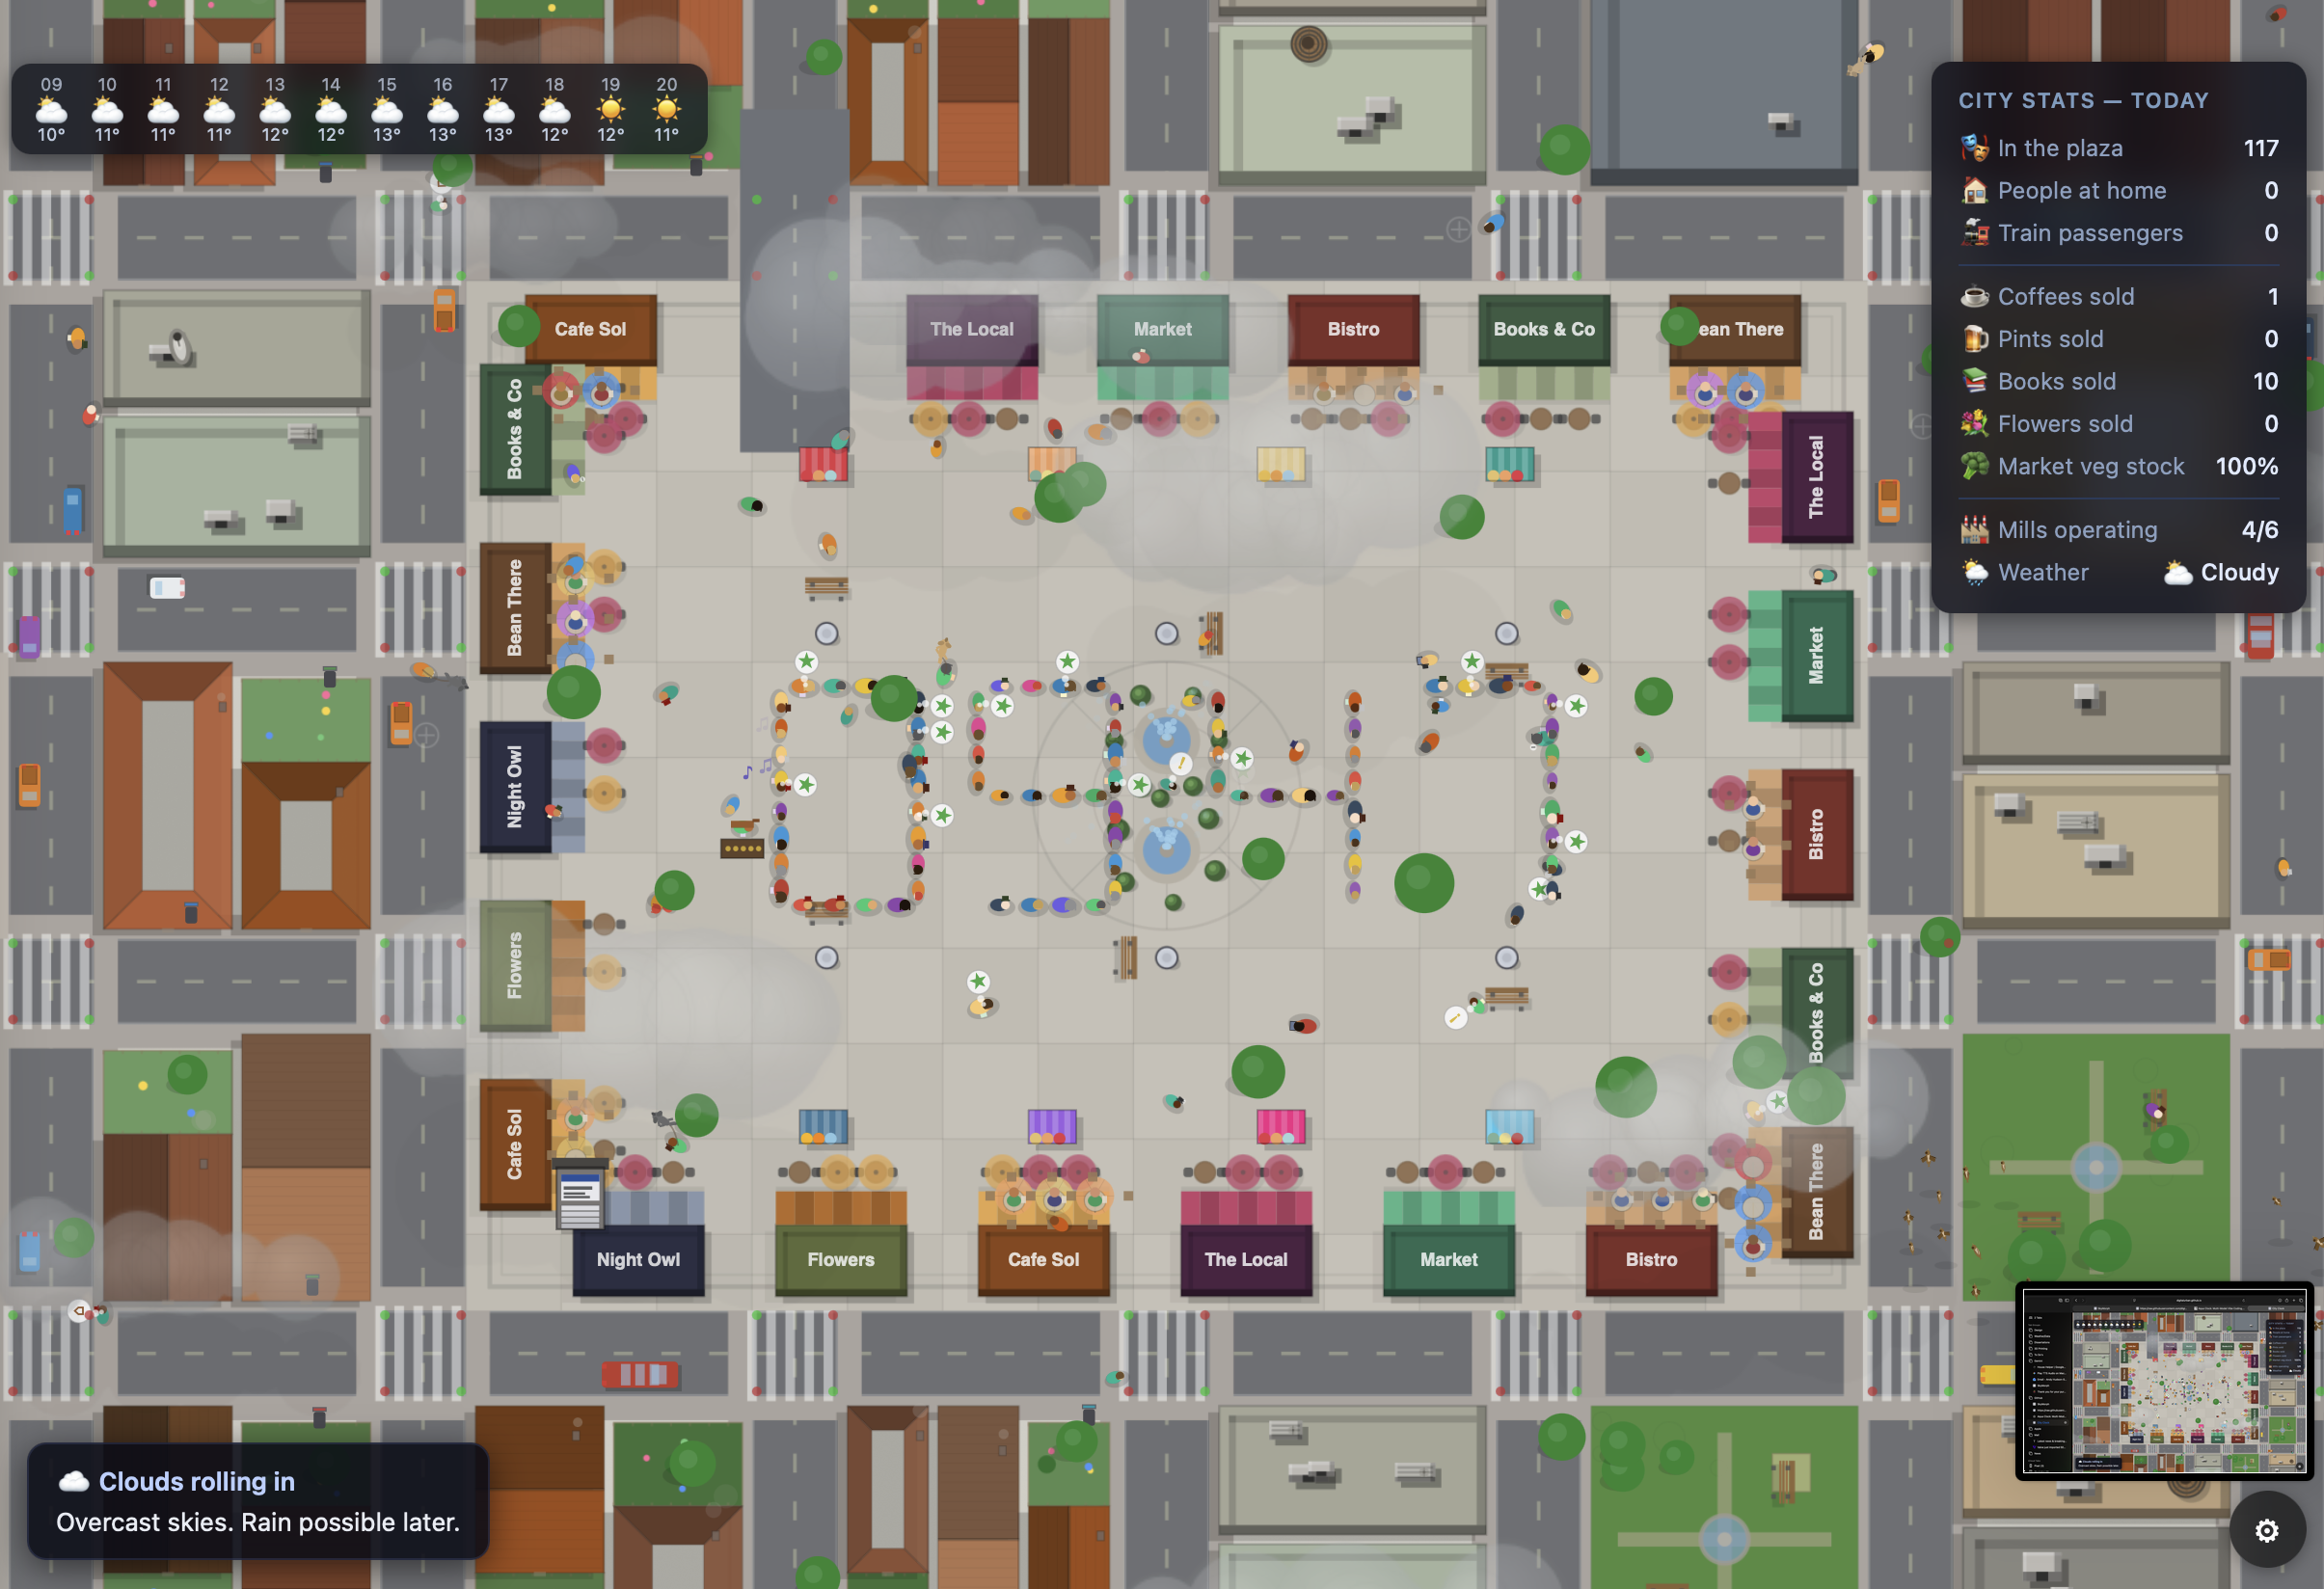
How an experiment in agent-based simulation went on to make a living breathing city
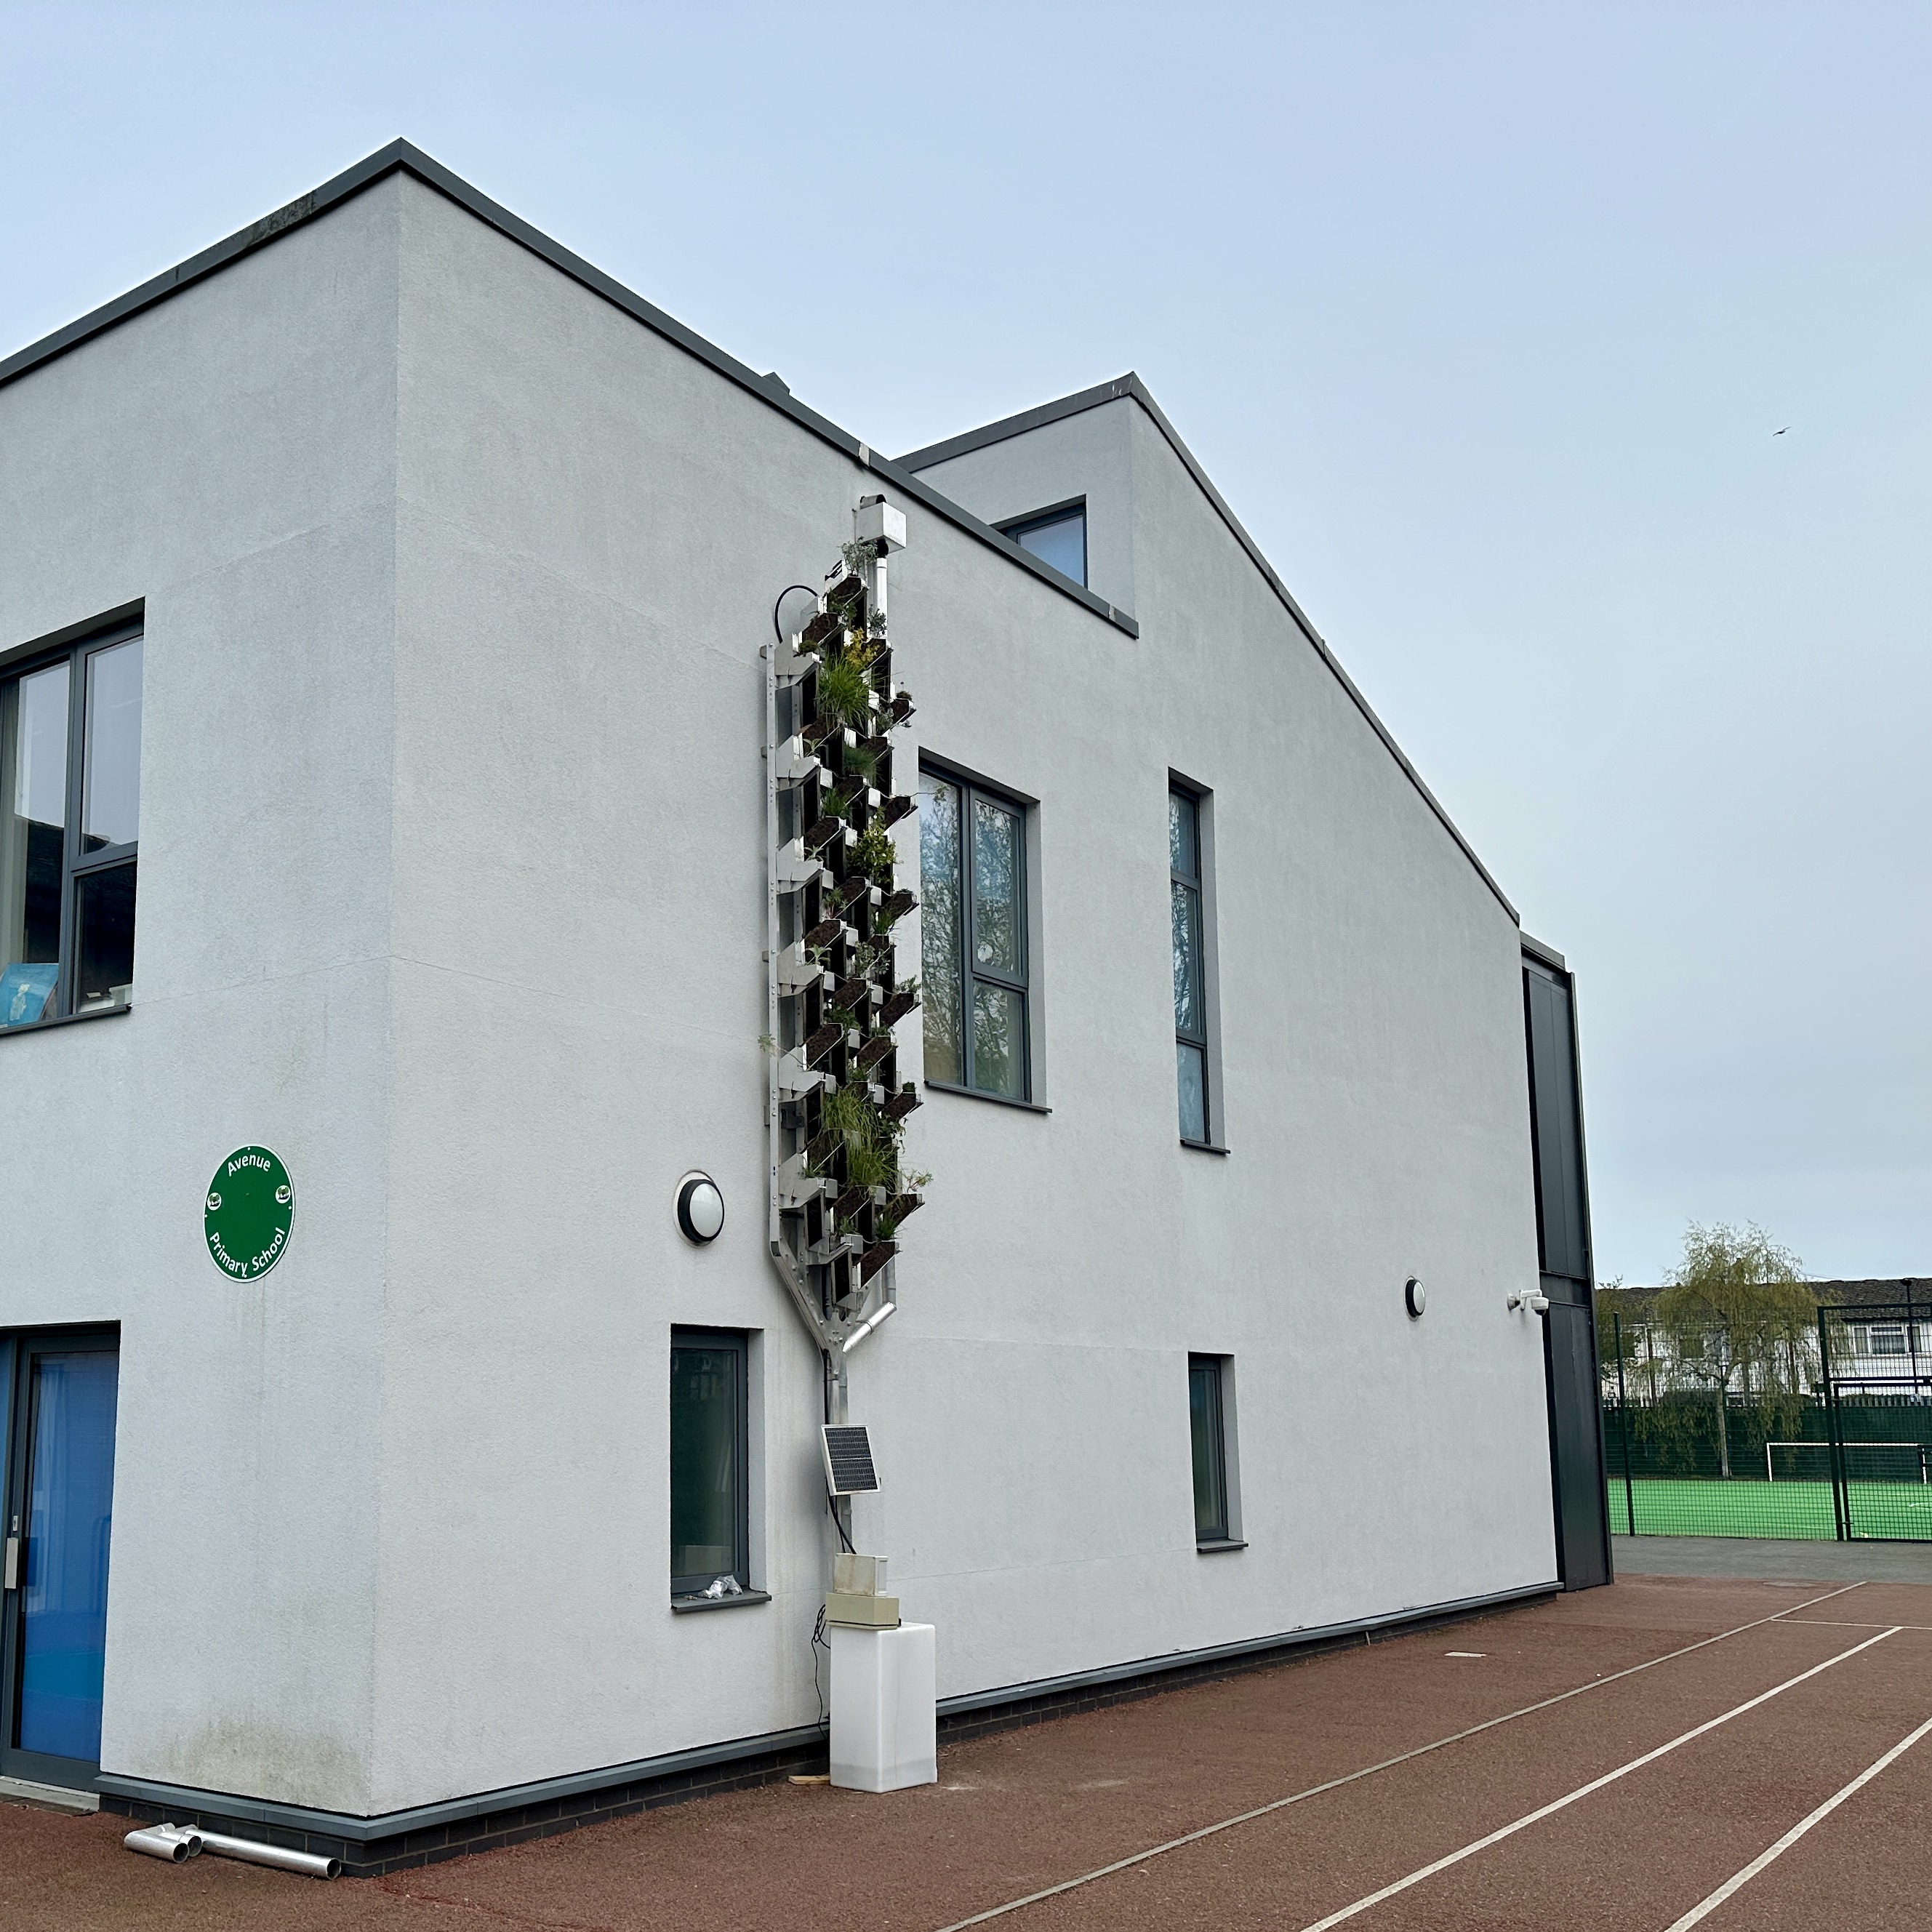
The green wall irrigation system is a collaboration between UCL CASA, Nuna Studio, and Avenue Primary School to transform how city buildings handle heavy rain.
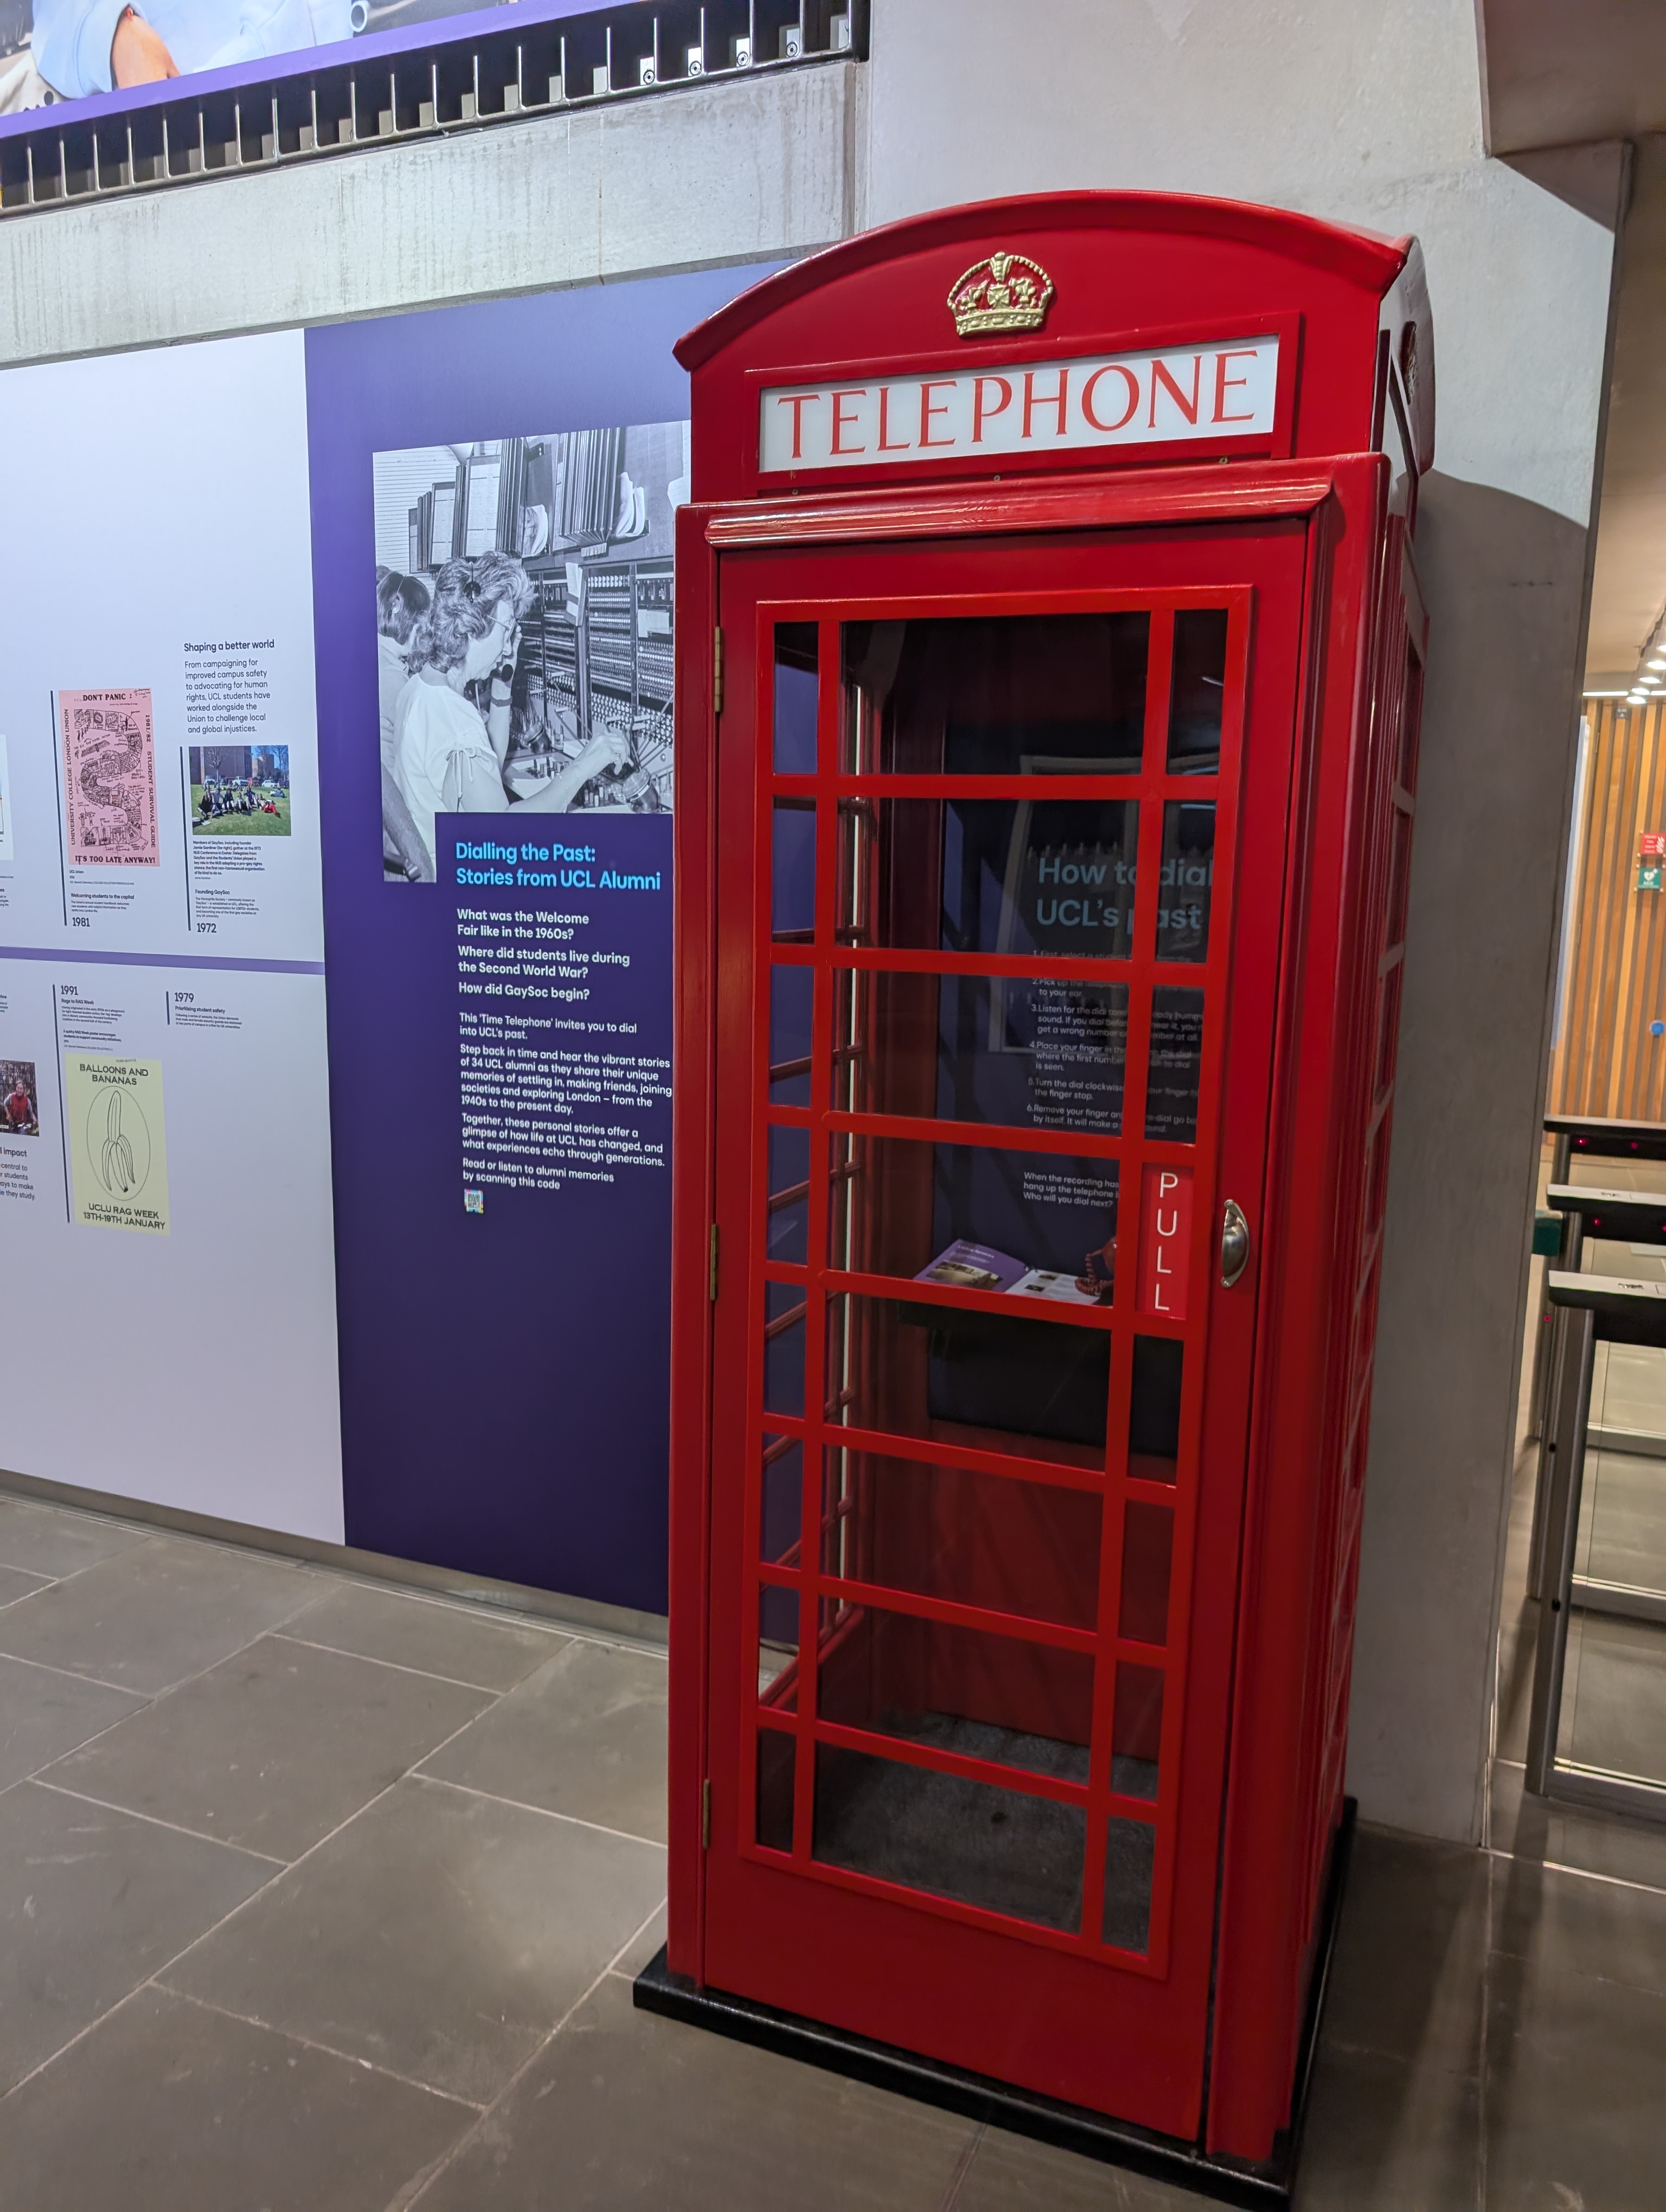
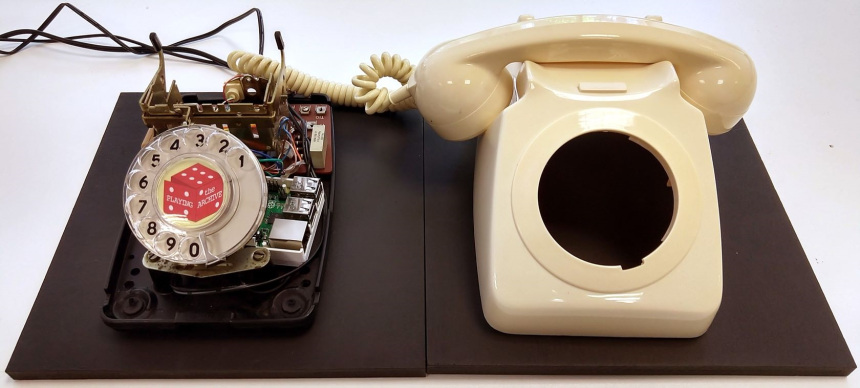
As part of UCL’s bicentenary celebrations, the Time Telephone invites visitors to “call” the past and explore 200 years of shared memories through immersive sound recordings.
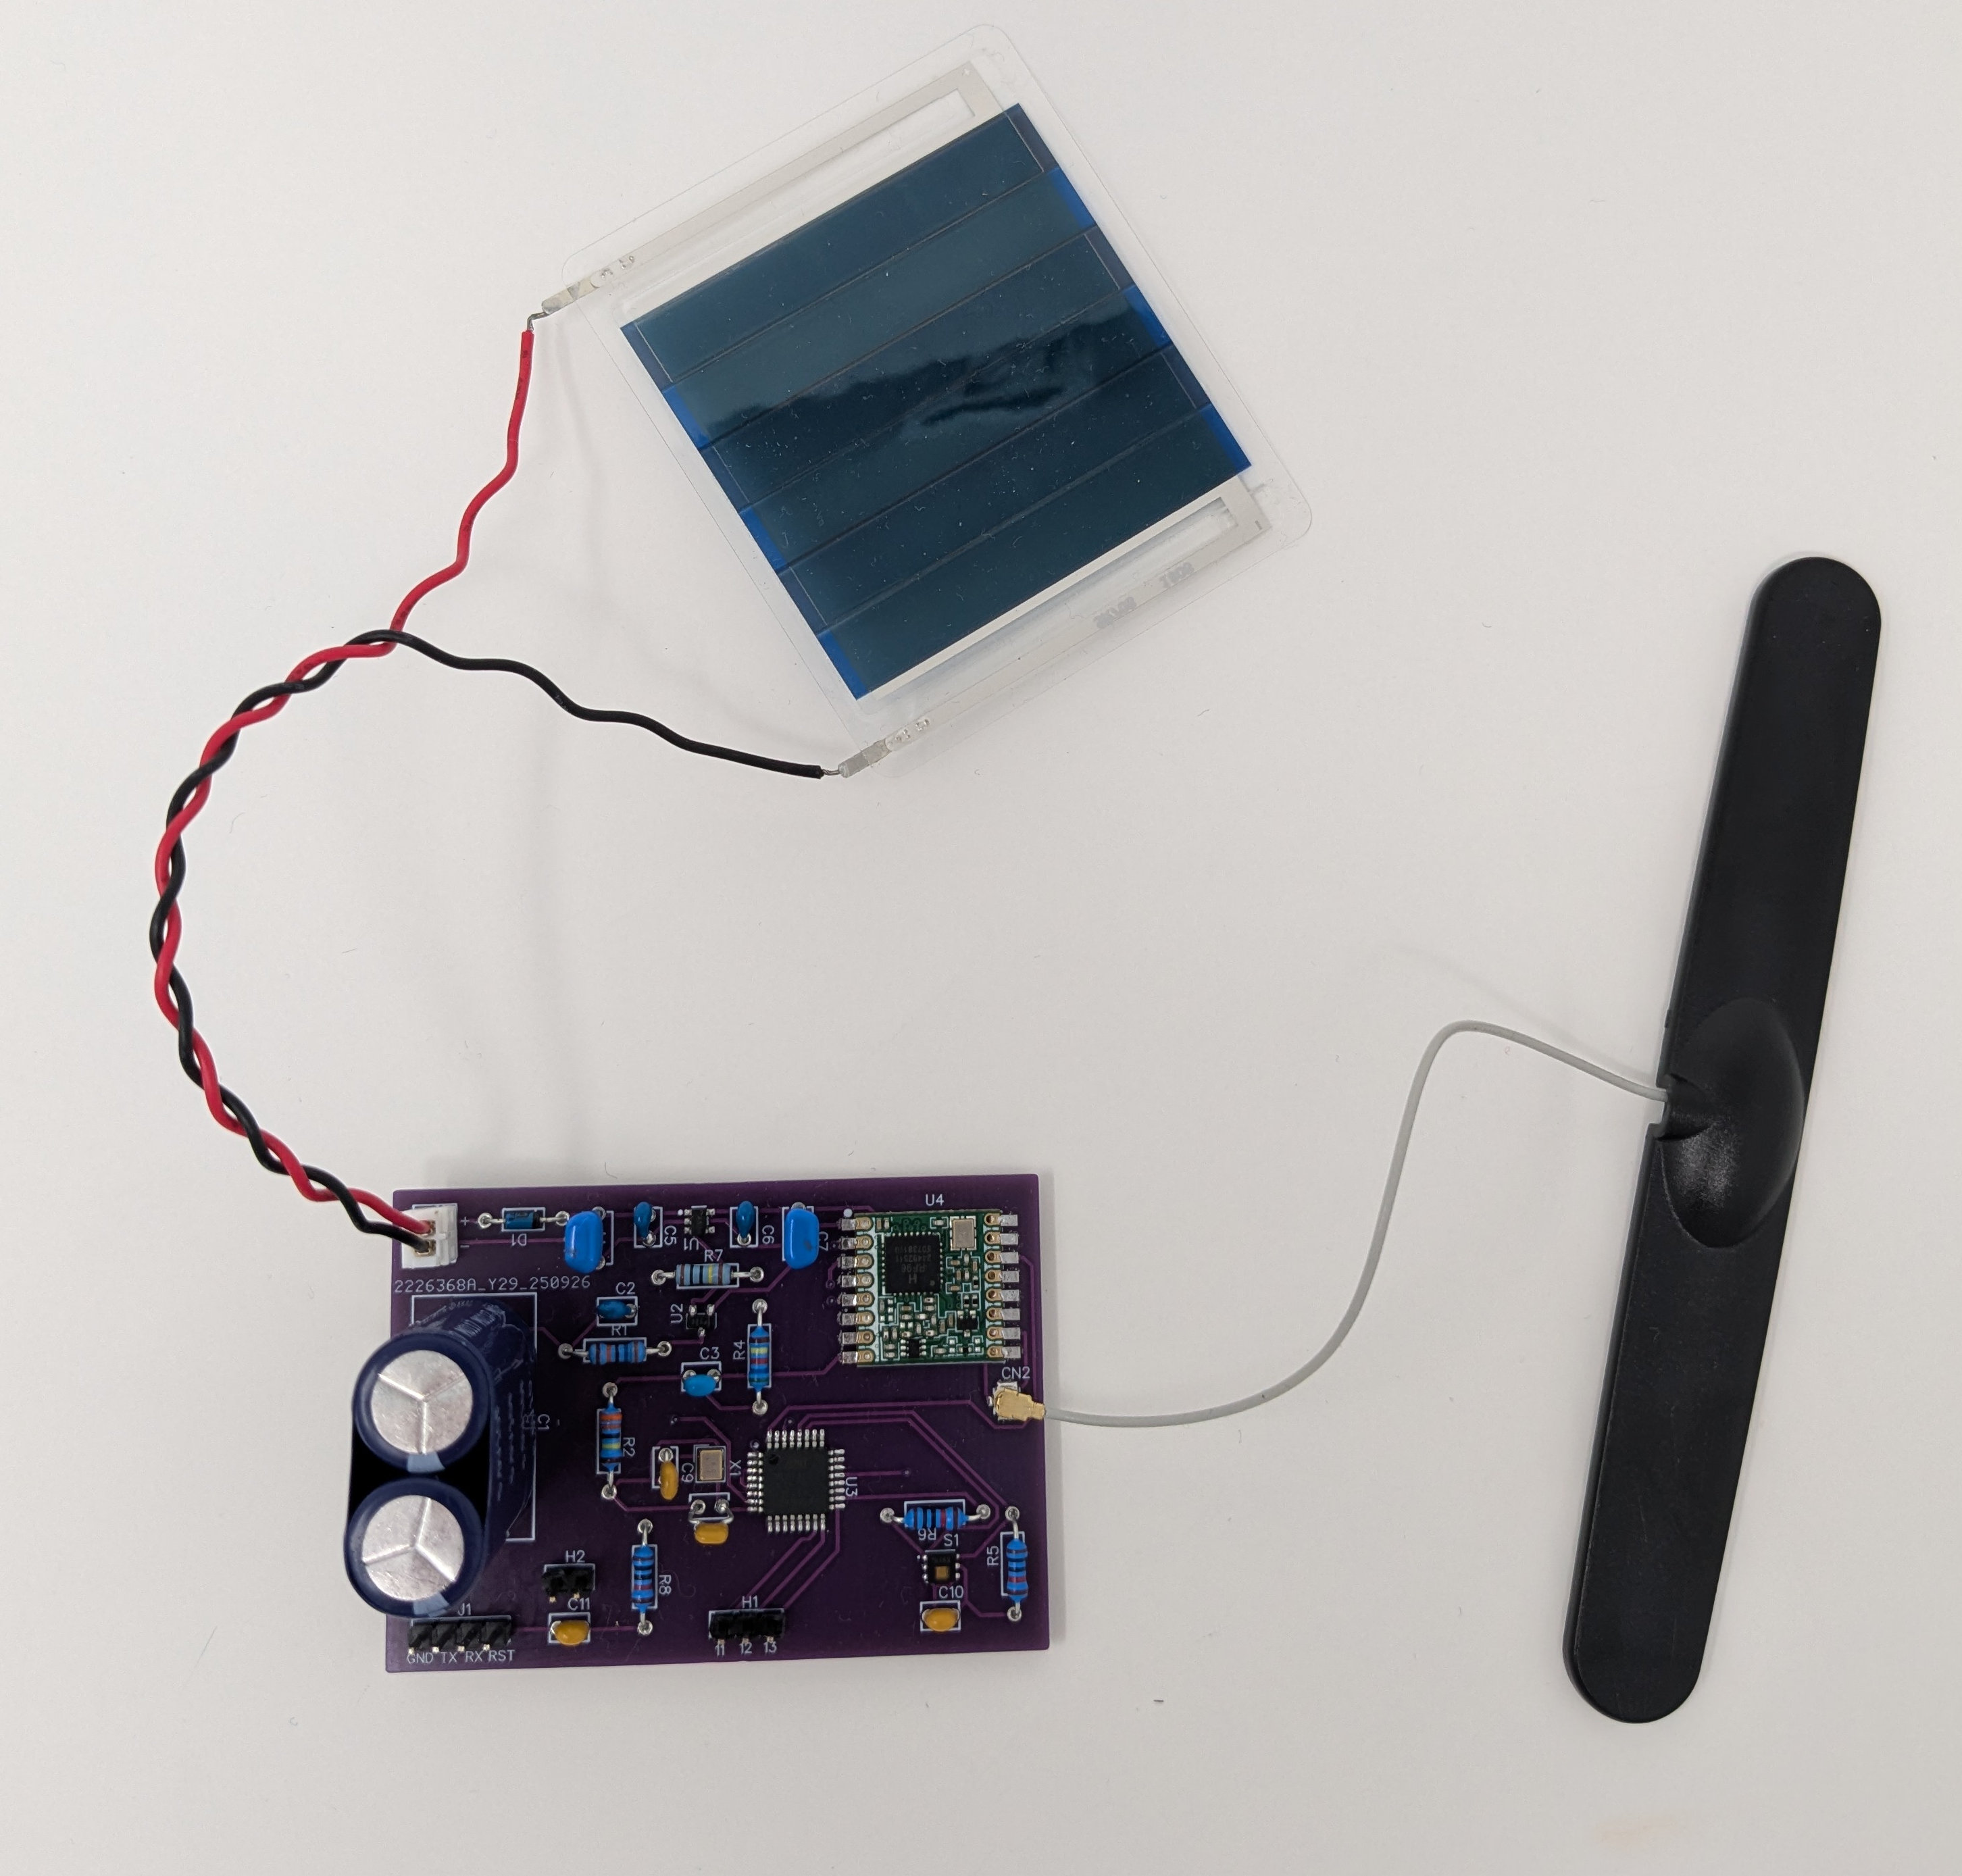
This post describes a simple DIY indoor solar‑powered sensor node that uses a supercapacitor and low‑power circuitry to harvest ambient light and send data via LoRaWAN, with notes on performance and possible efficiency improvements.
A look at the final week of Term 2 as students present their Across the Miles projects for the group prototyping and pitch assessment
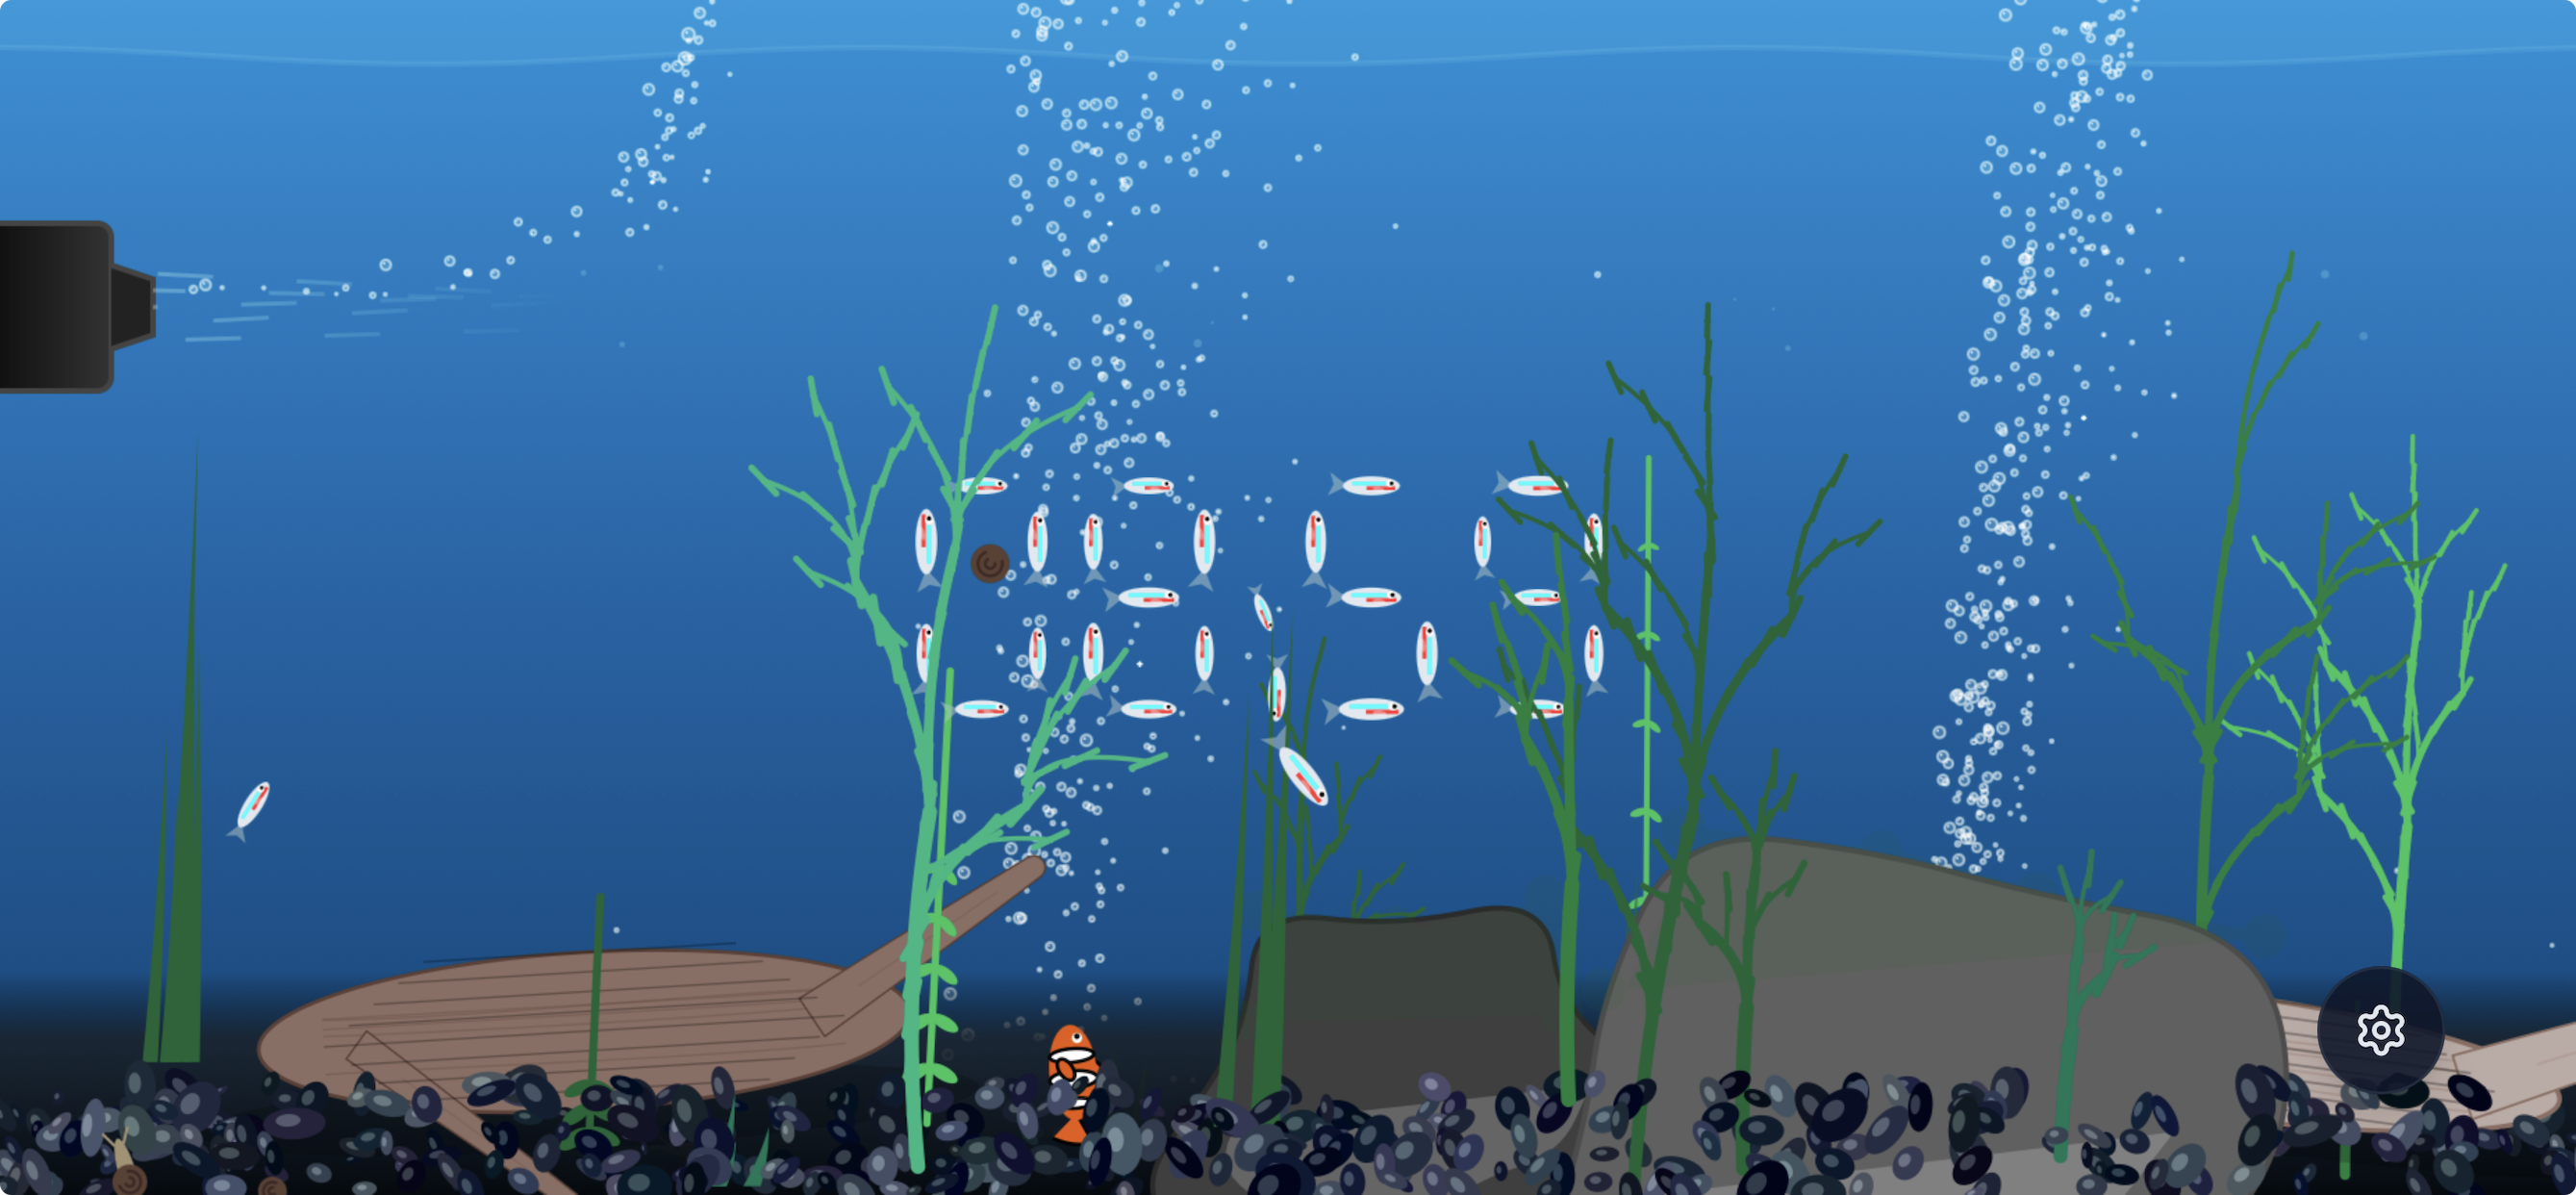
How an experiment in agent-based fish simulation, vibe coded with Claude and Gemini AI Studio, became a clock — and ended up on the Apple App Store.
UCL is accepting applications for the EPSRC Landscape Award 2026/27. 50 fully-funded four-year PhD studentships
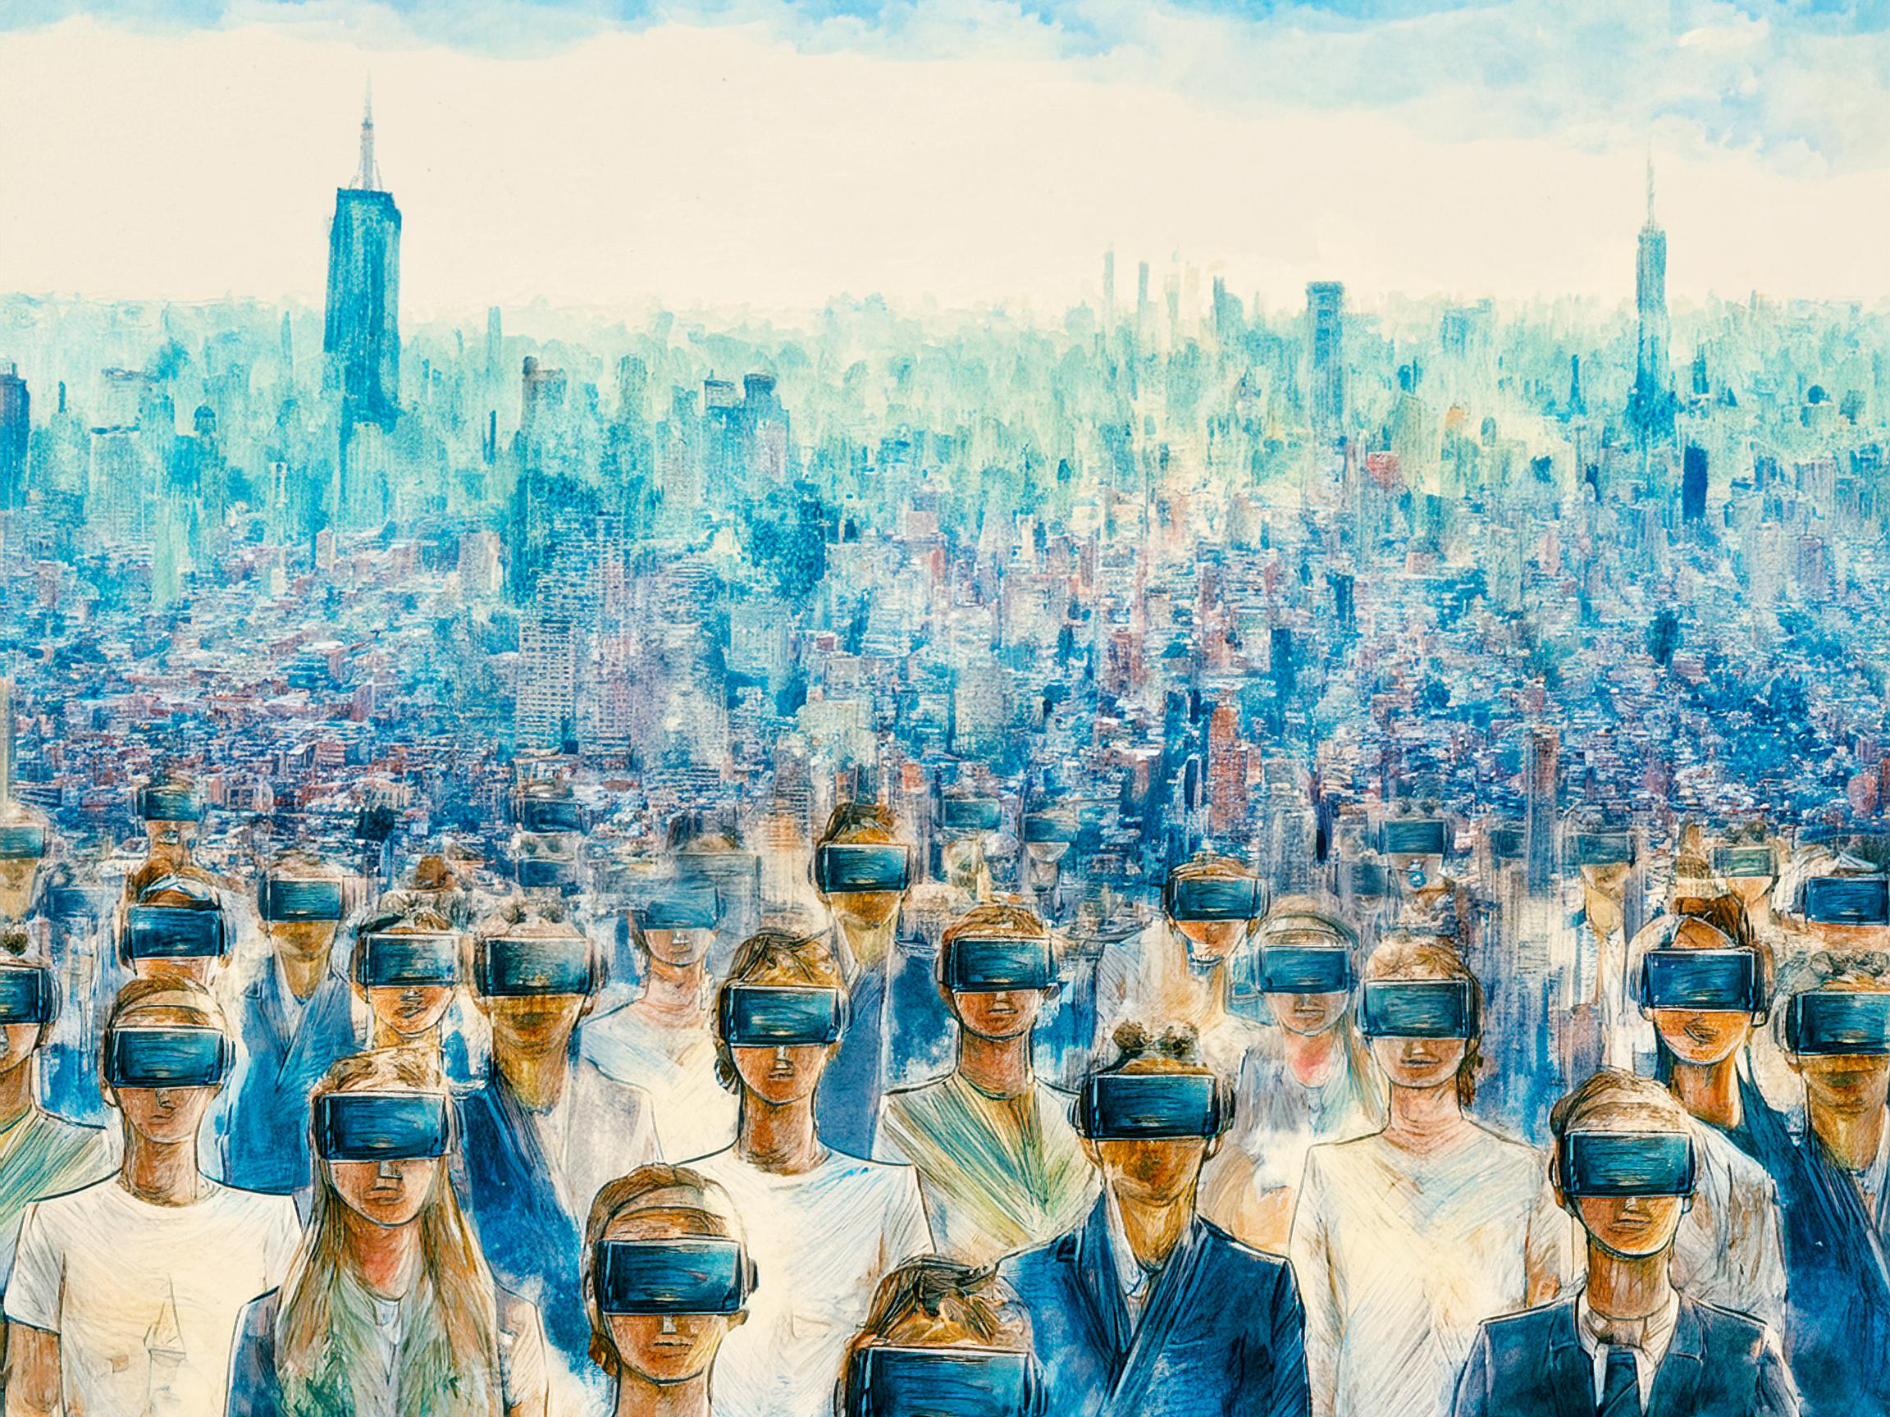
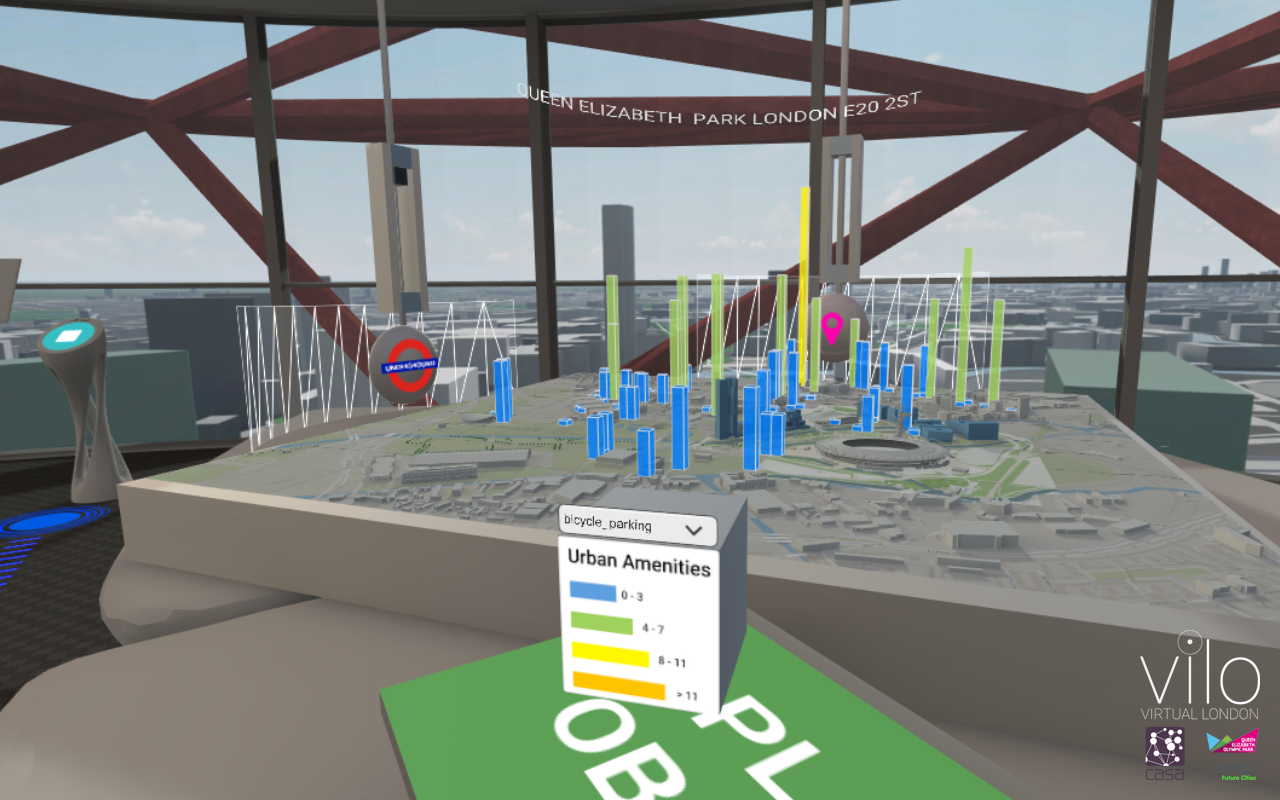
New Book: Cities in the Metaverse
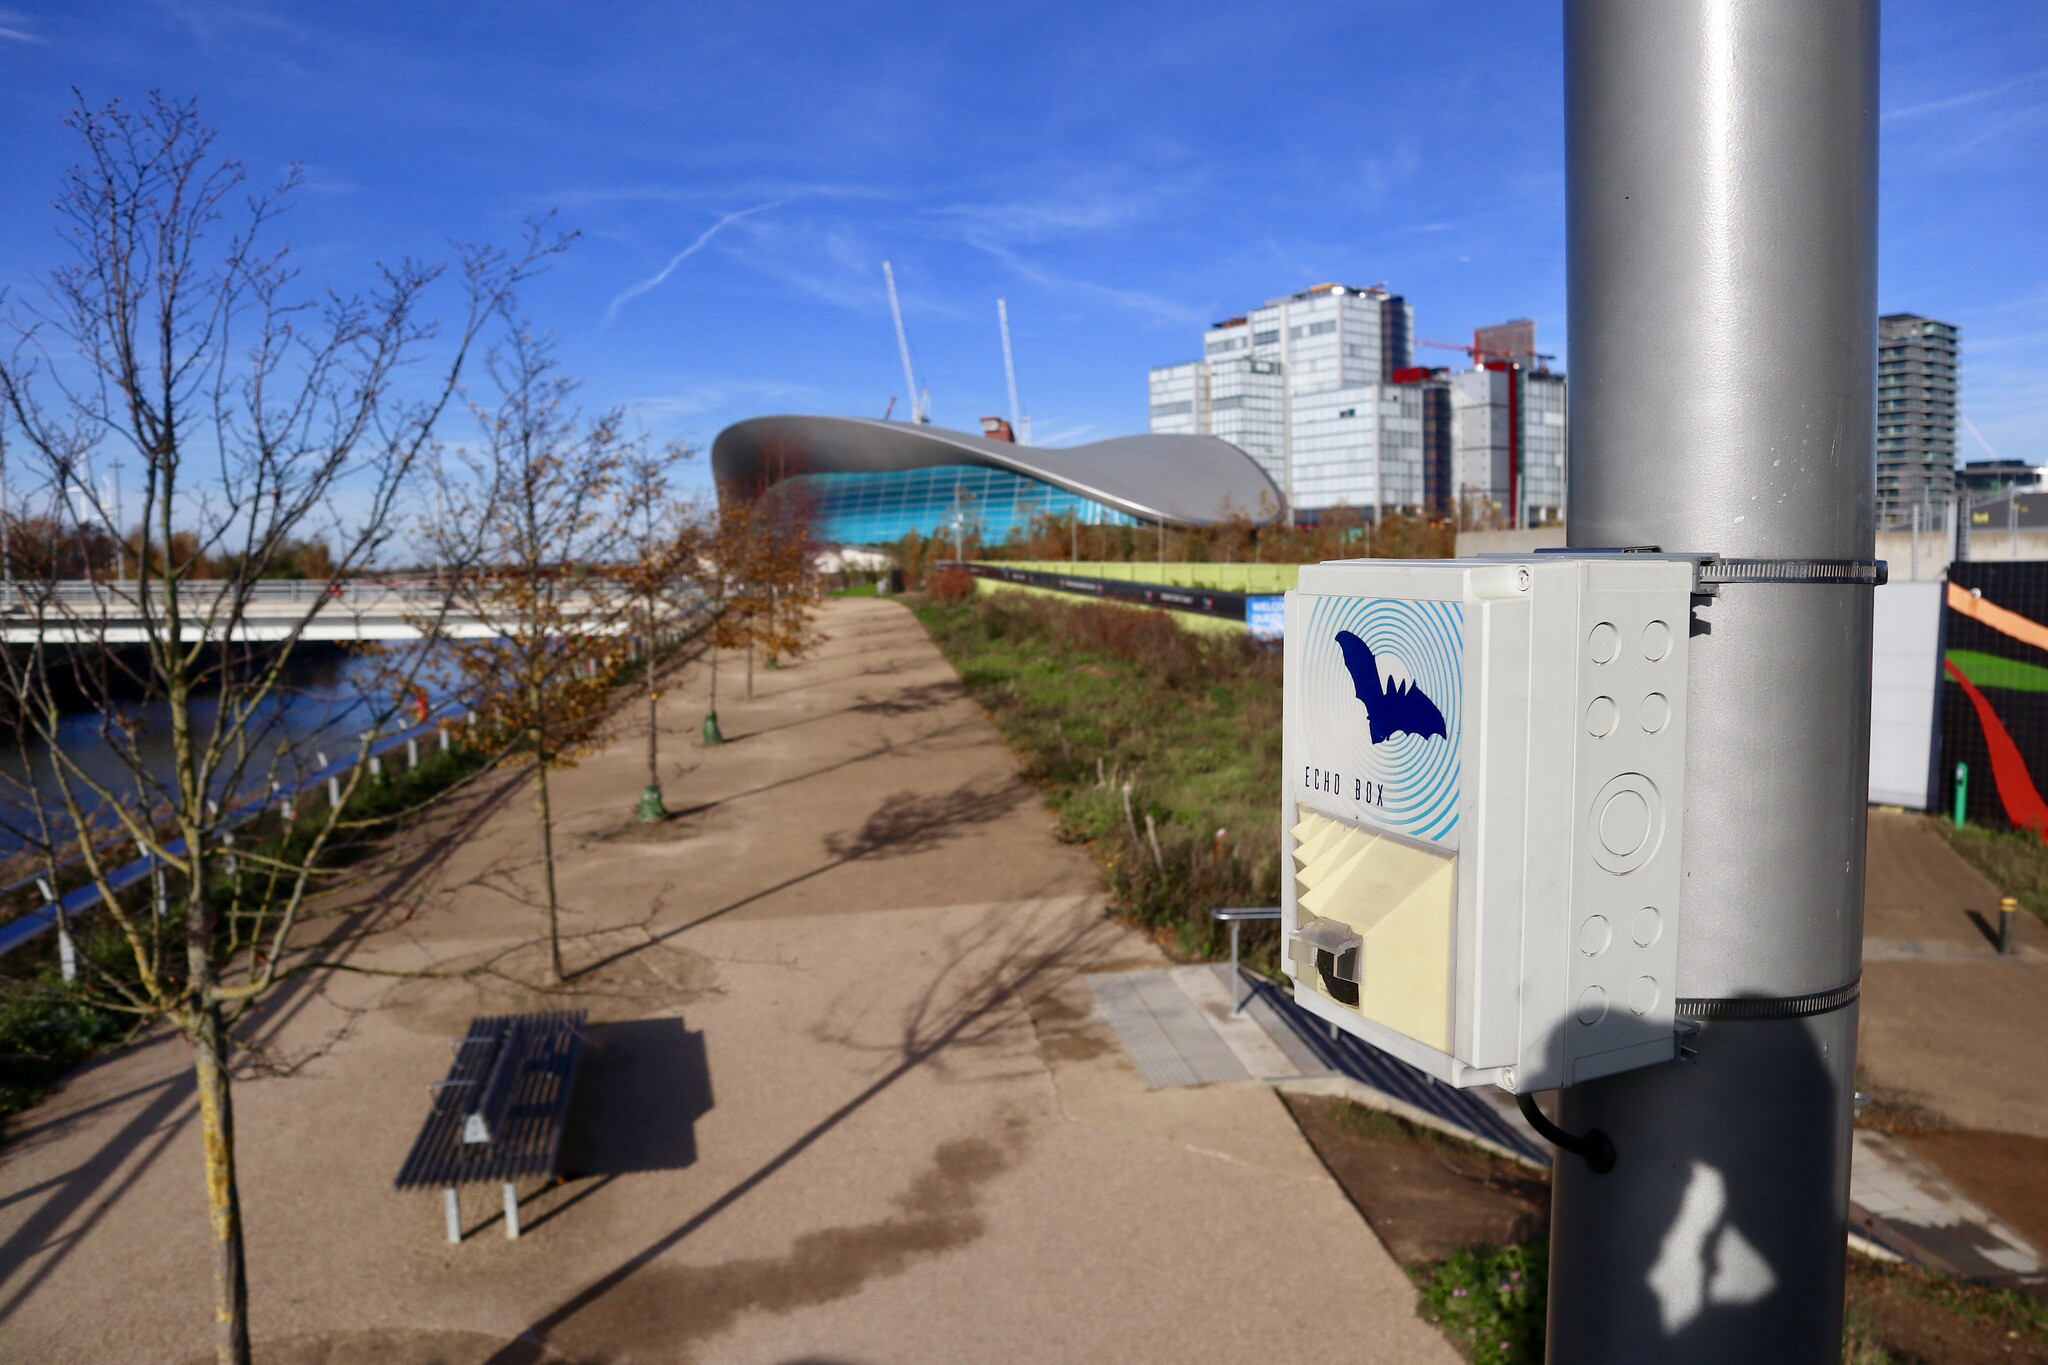
Latest photos from our Flickr Group
Loading latest images from Flickr...