Projects
A collaboration with Nuna Studio and Avenue Primary School in Newham
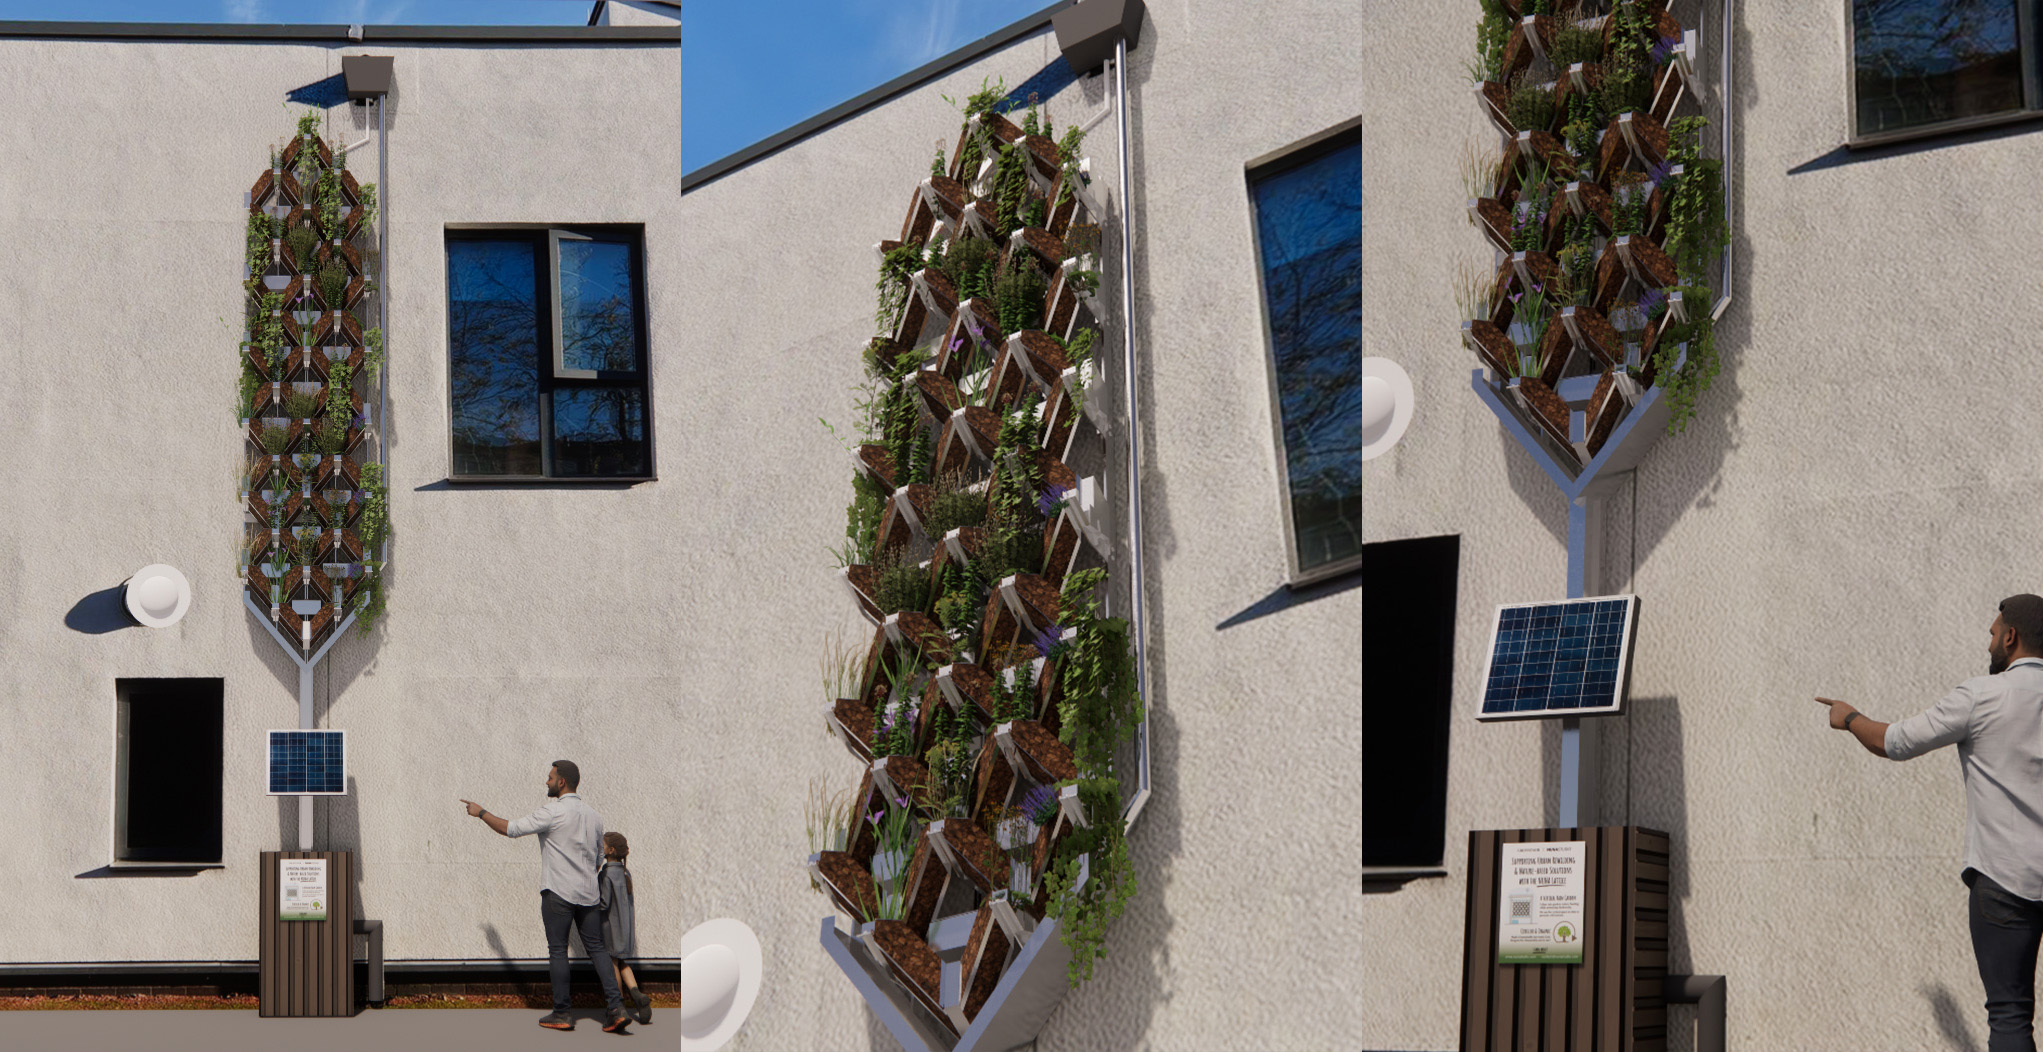
A project with Bal Dhingra at UCL Students' Union
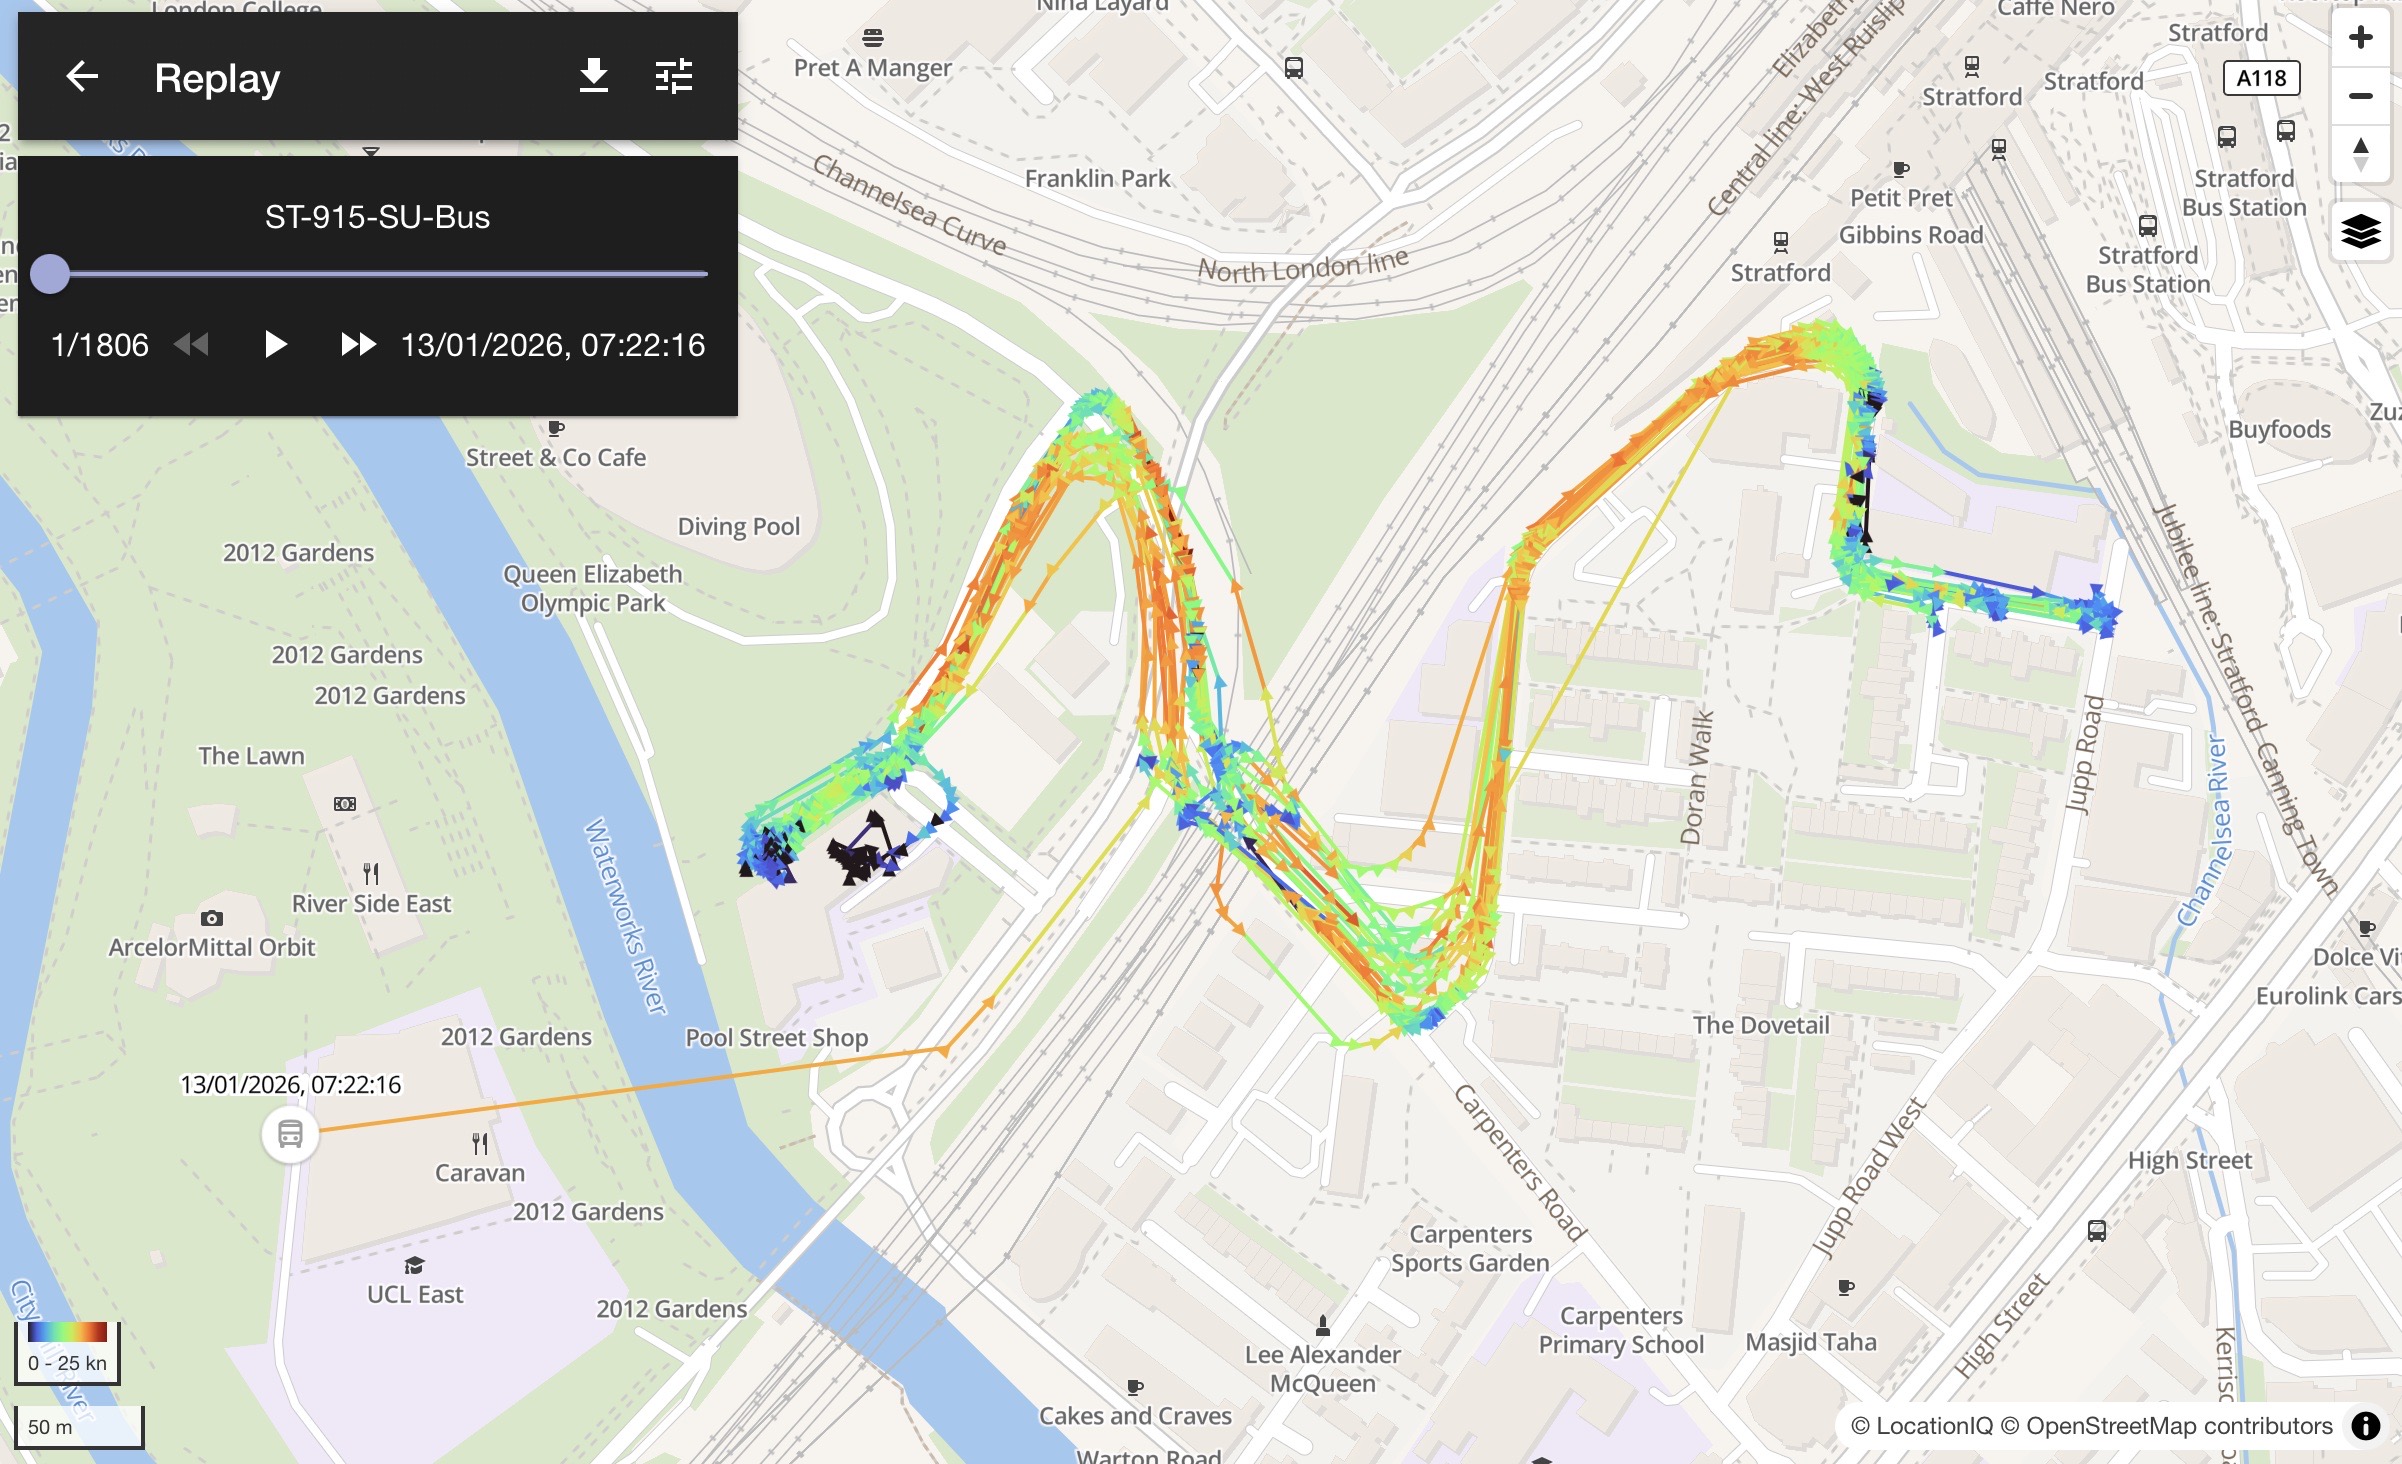
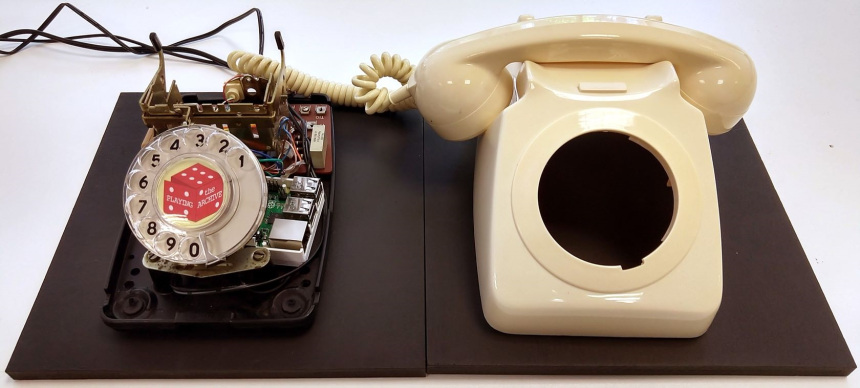
LLDC, AWS
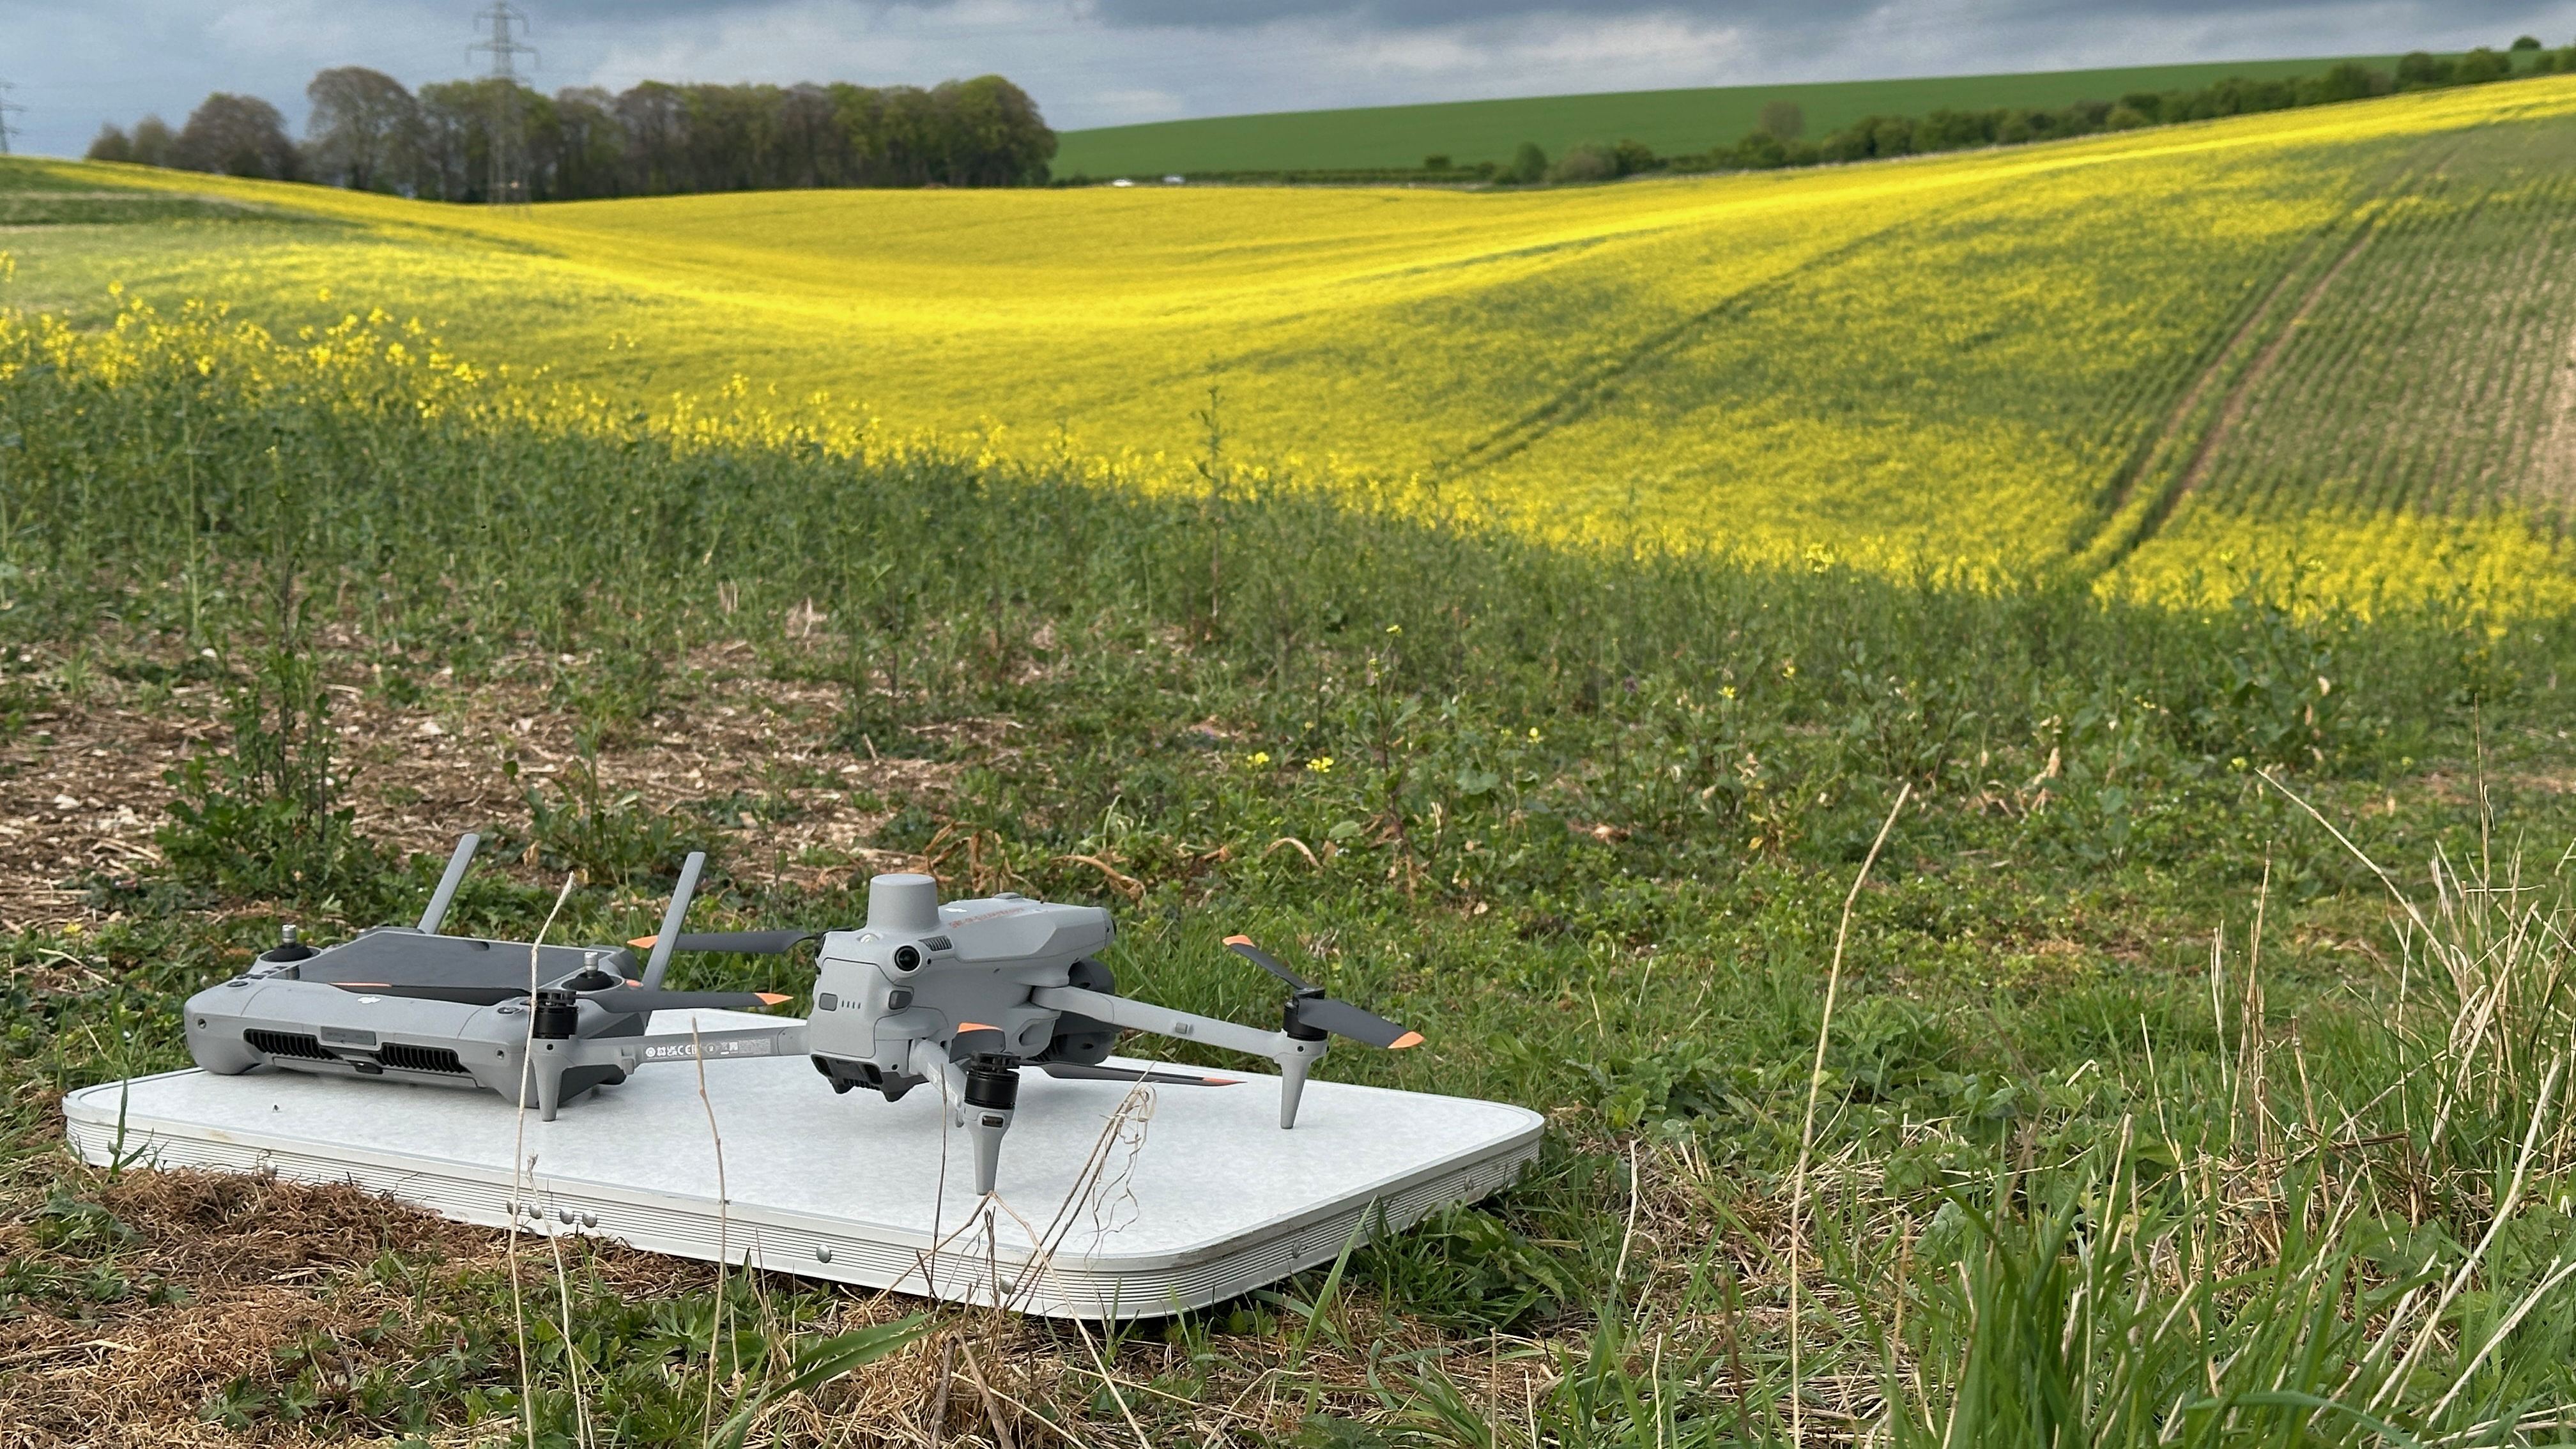
Working with CBER colleagues Elli Leadbeater, Leo Fordham, Co-I's at Reading University and a variety of farmers across the South of England
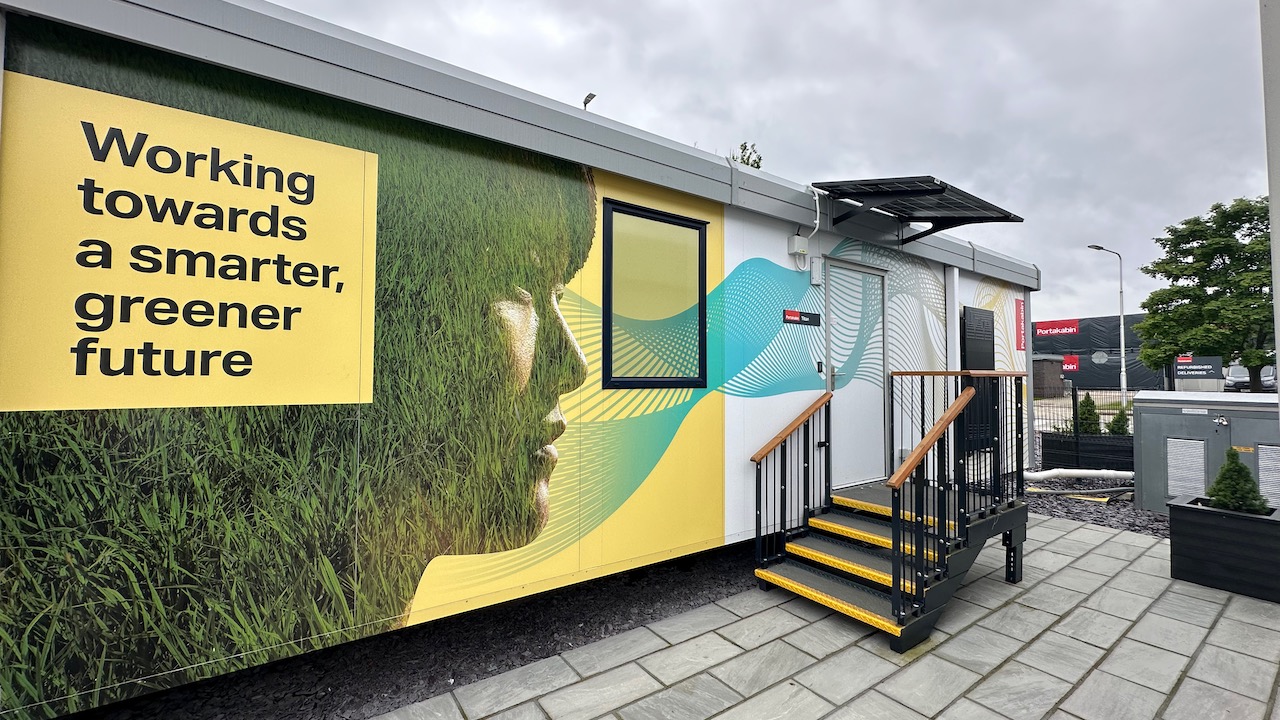
BlockDox, UCL, Portakabin, Verv, D-Fine
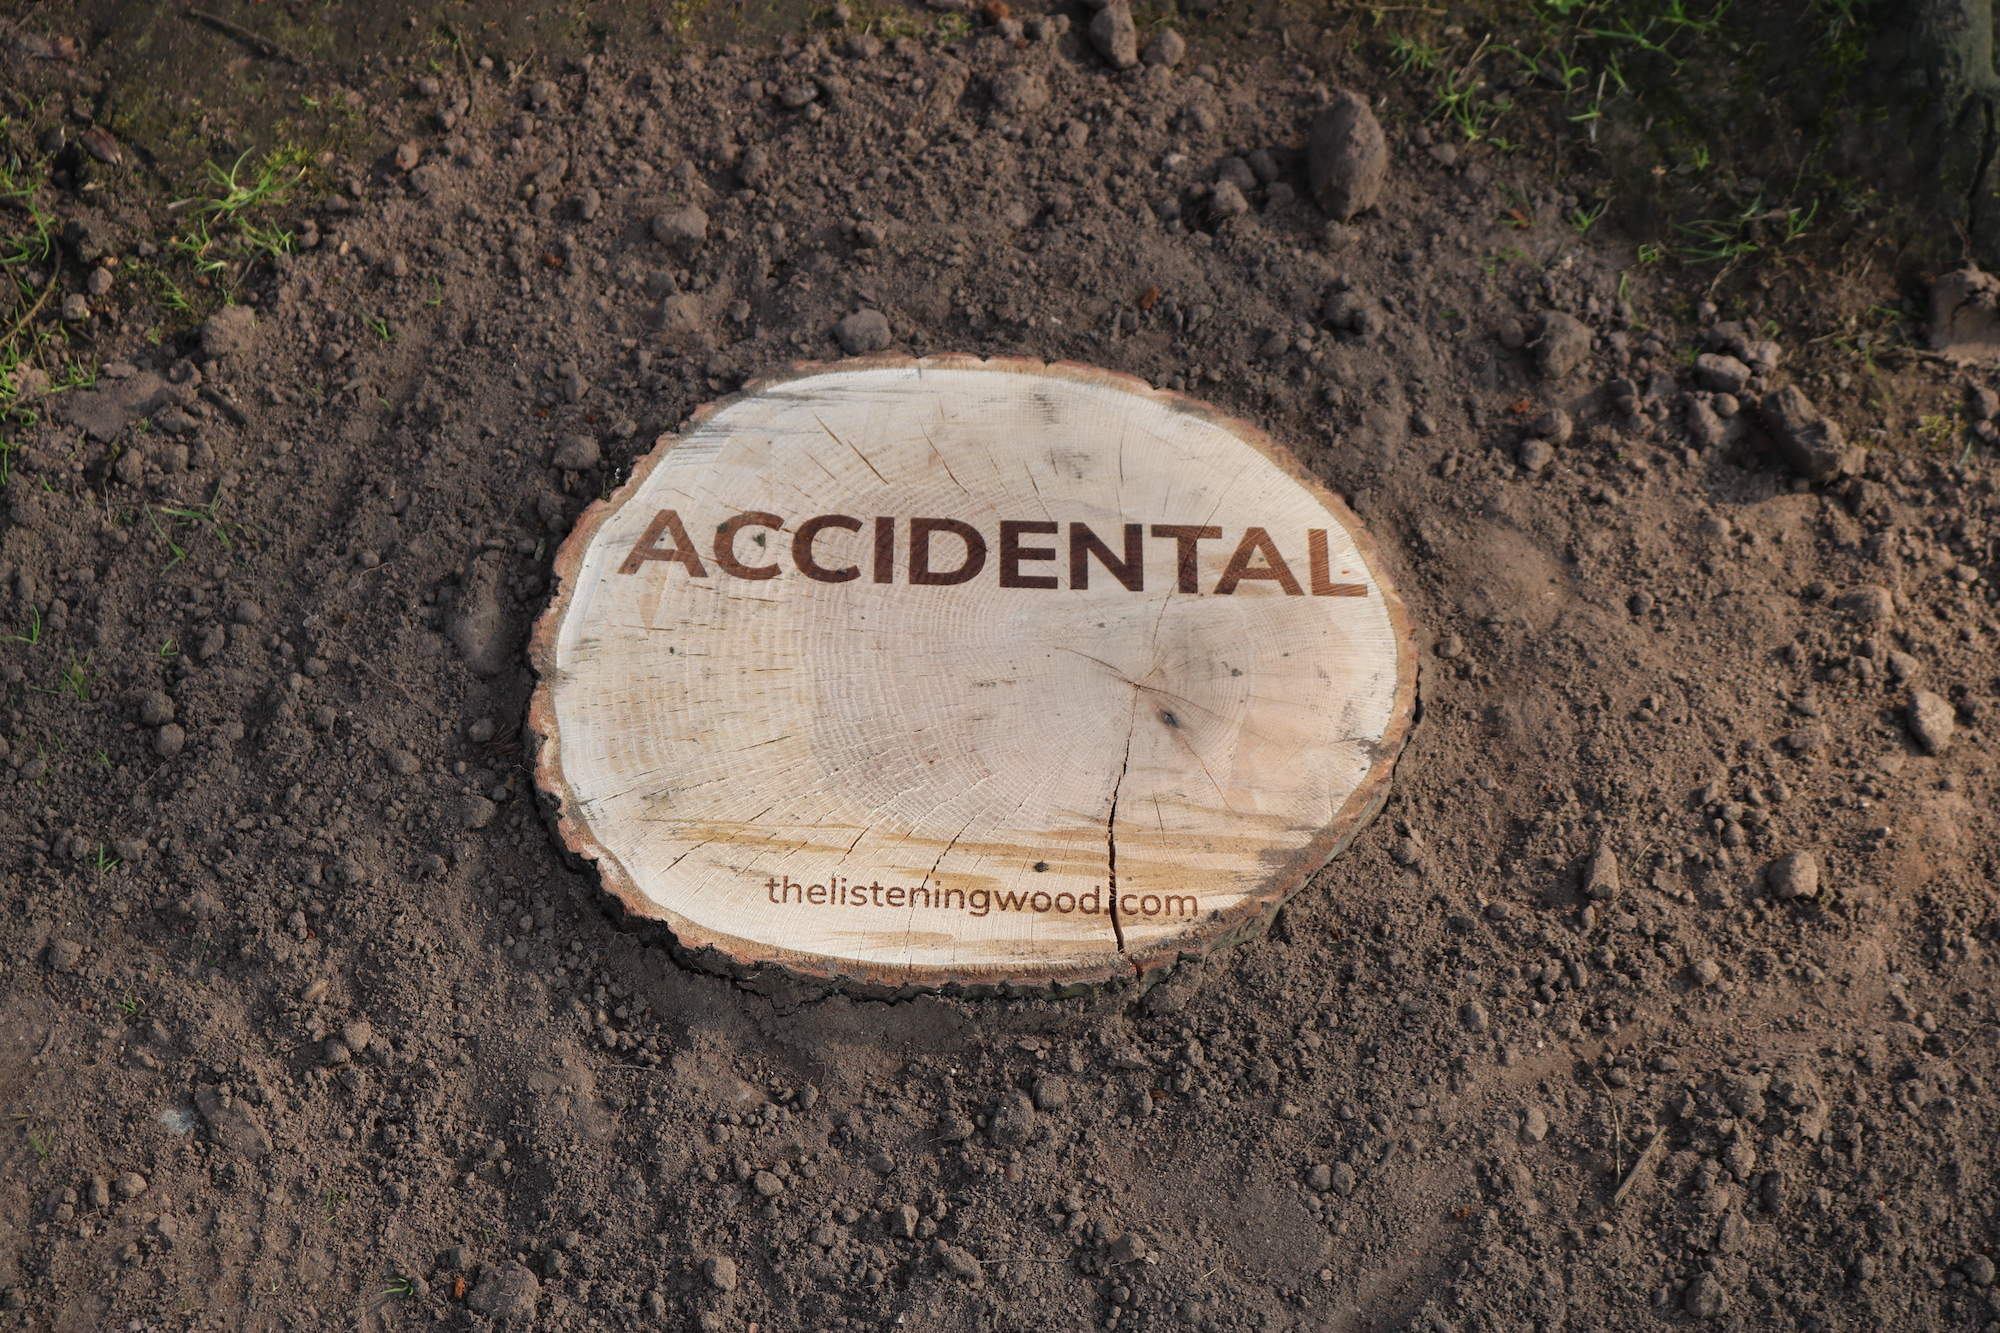
A collaboration with Henrietta Williams
Please contact info@thisisblackbritain.co.uk for more information
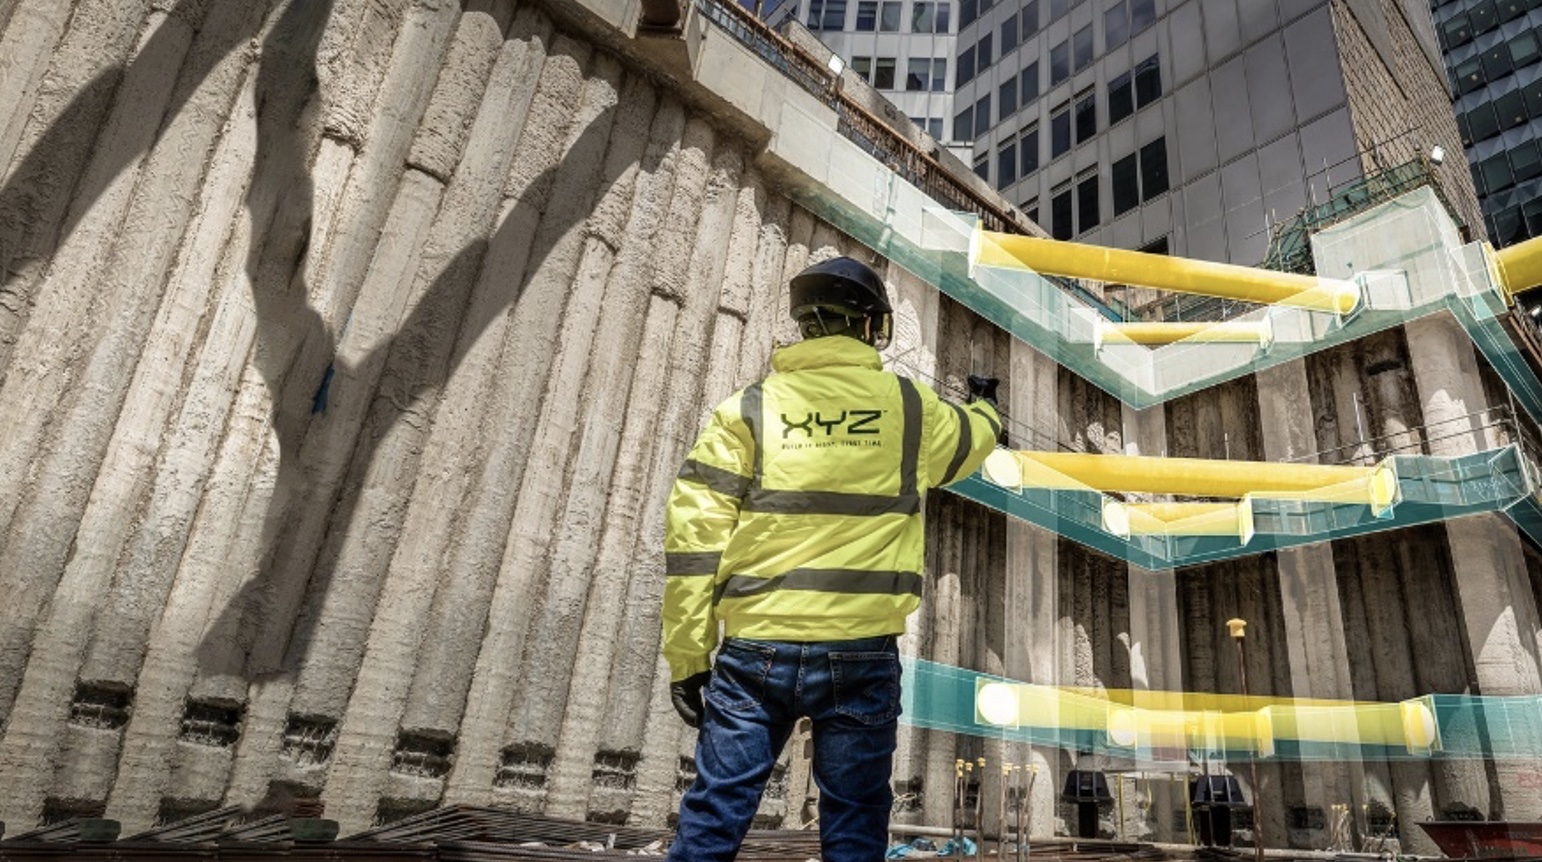
Grant Mills (Bartlett), XYZ Reality, UKRI (Innovate UK)
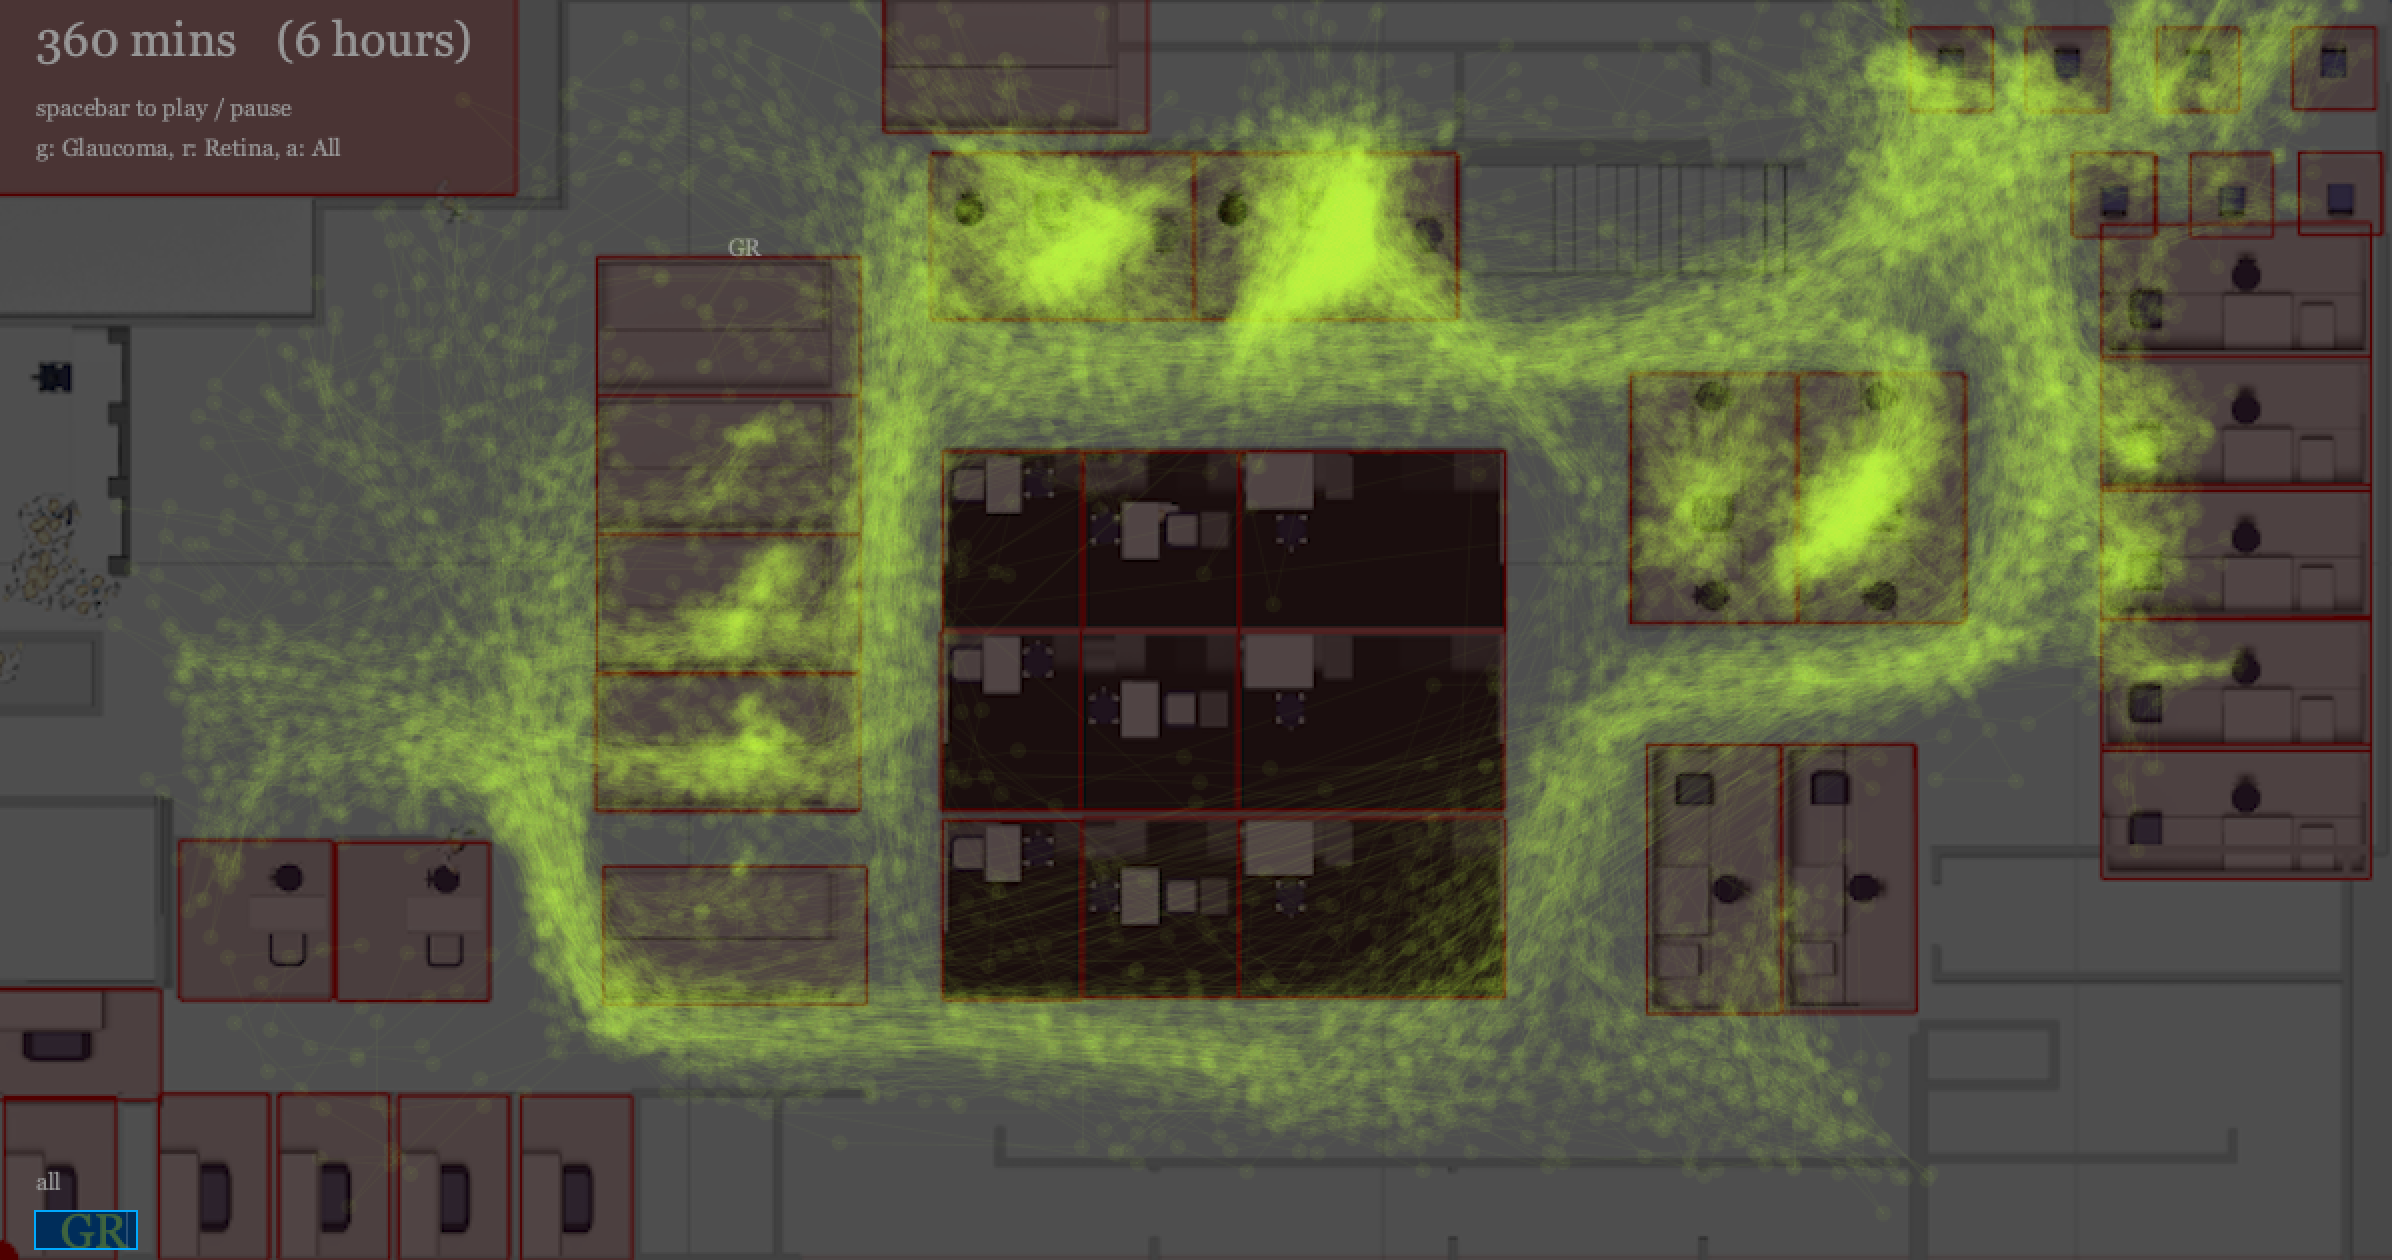
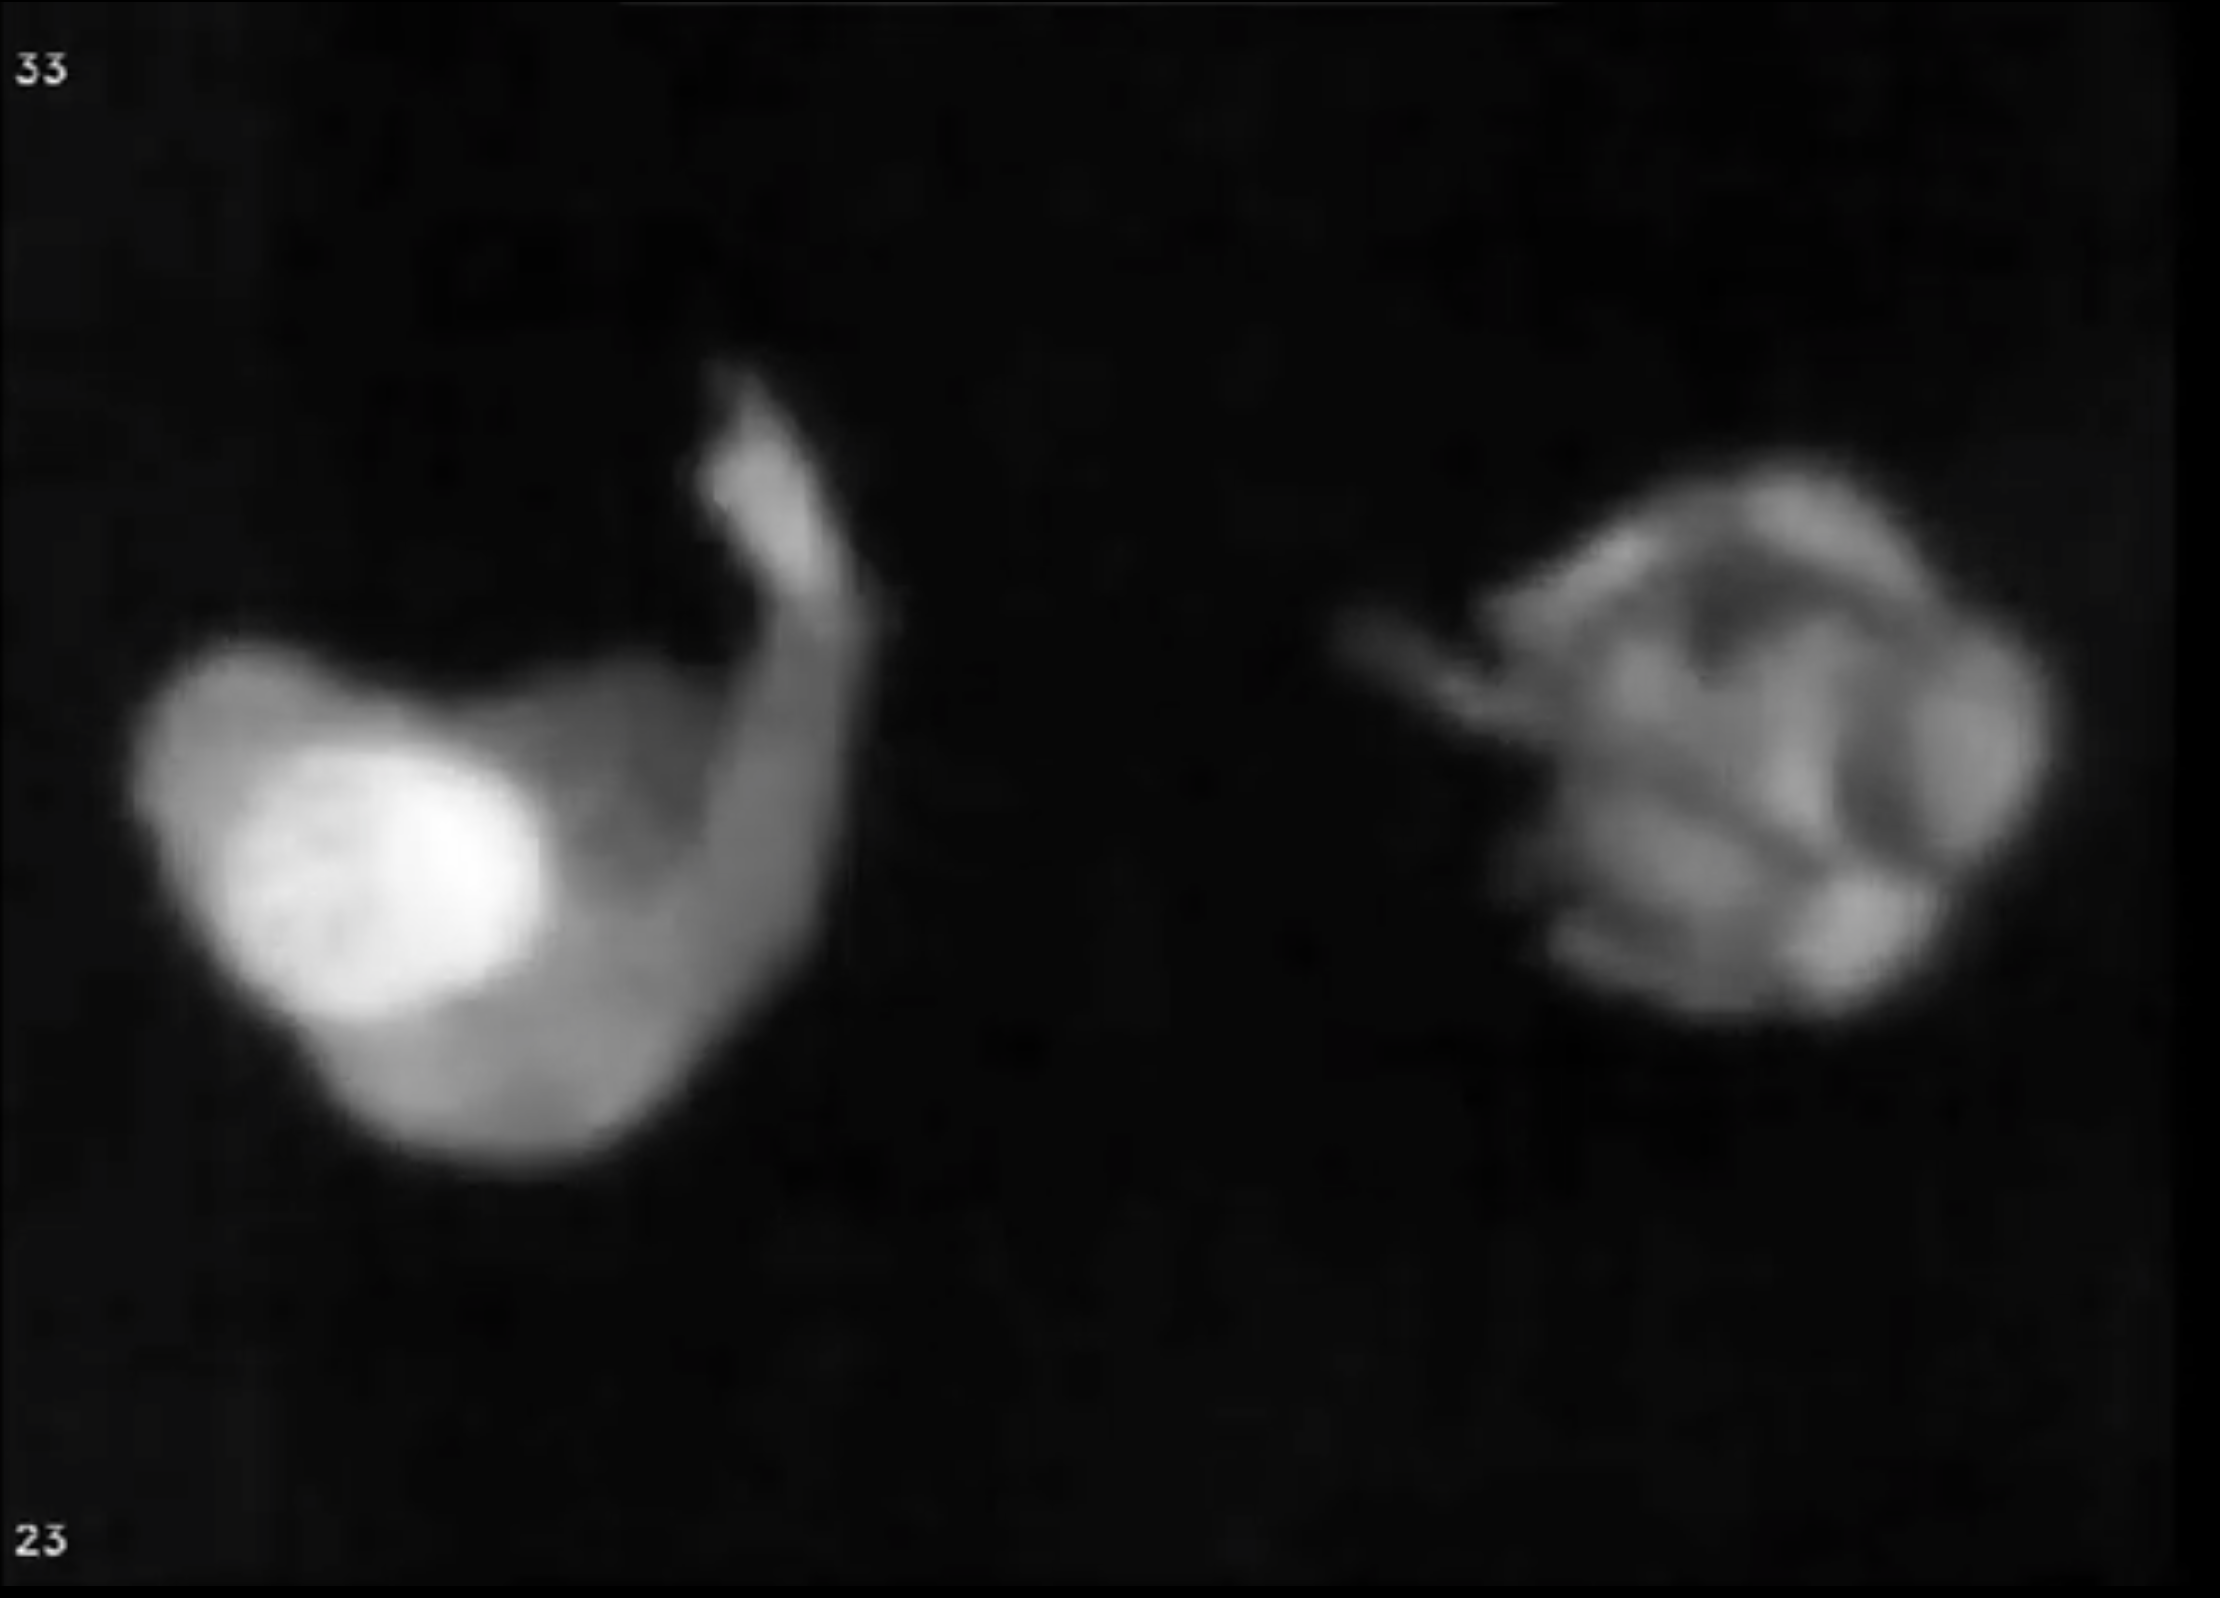
Moorfields Eye Hospital Foundation Trust, Ubisense, UCL Institute of Ophthalmology, Bartlett School of Architecture, Bartlett School of Sustainable Construction, Zeiss, Optos, Moorfields Eye Charity (Funders)
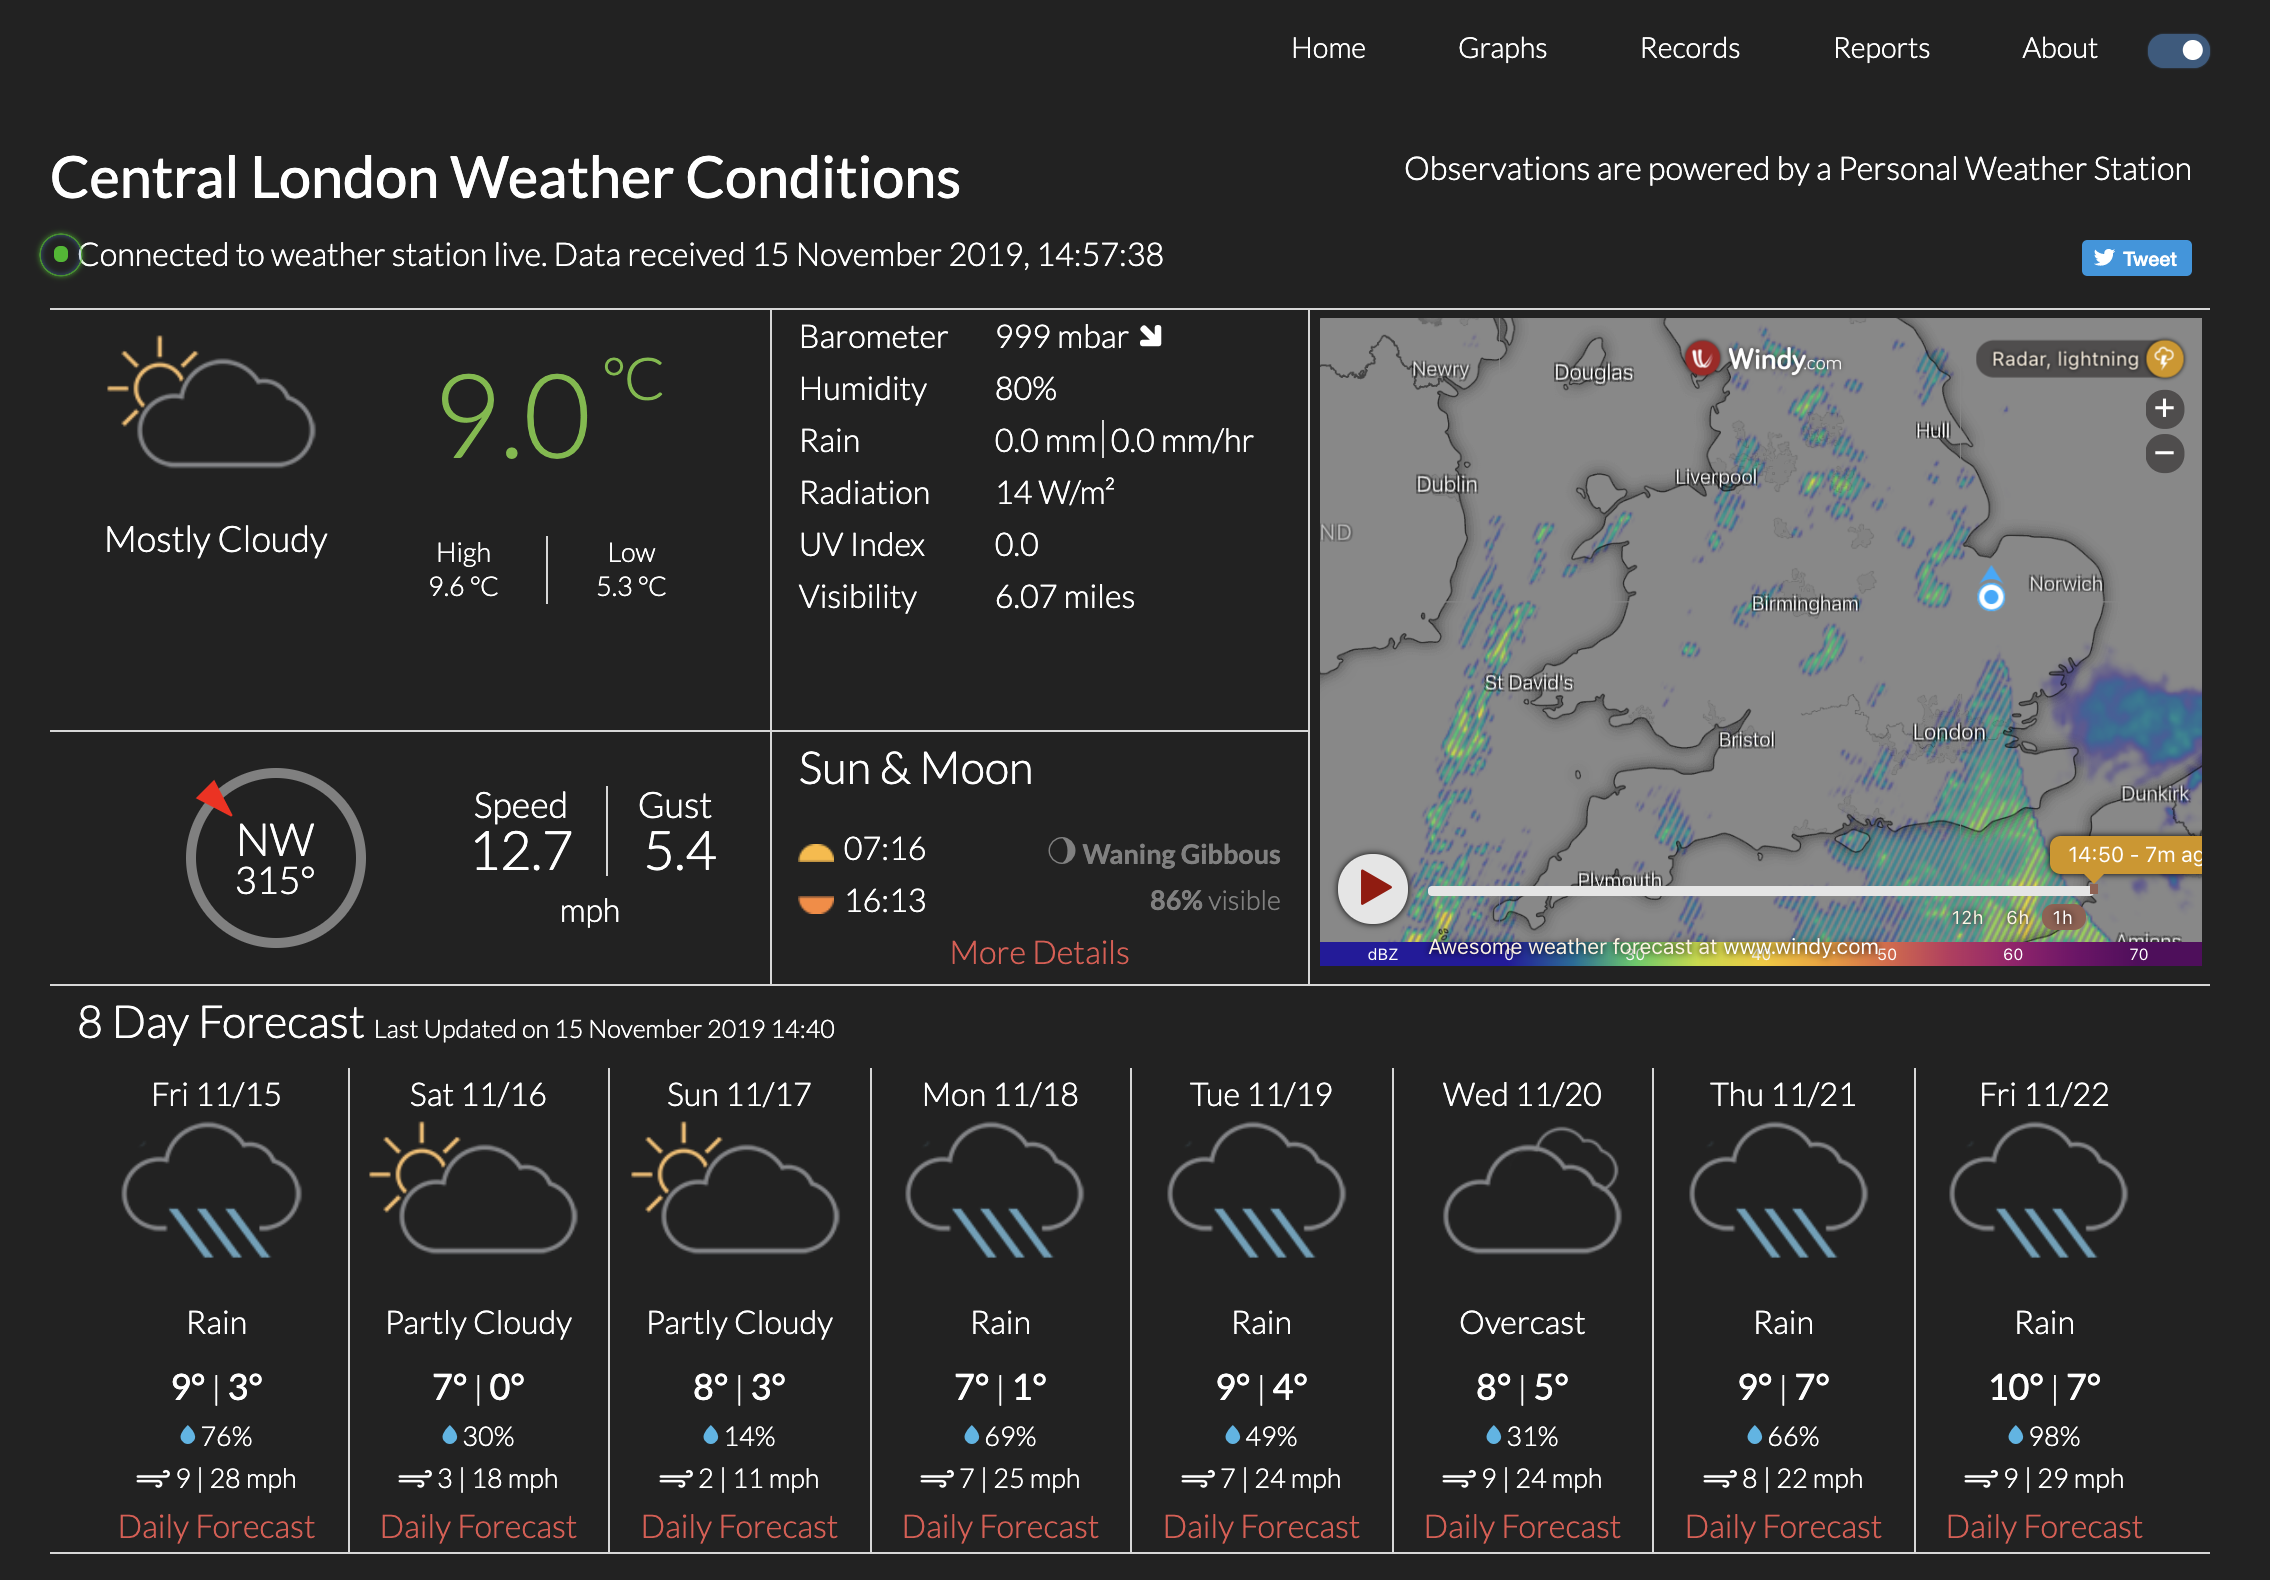
UCL CASA Connected Environments

A project with artist Tom Lawton
Victoria and Albert Museum of Childhood, Kristi Minchin, Marawa Ibrahim, School of Noise, Spotlight, Leaders in Community
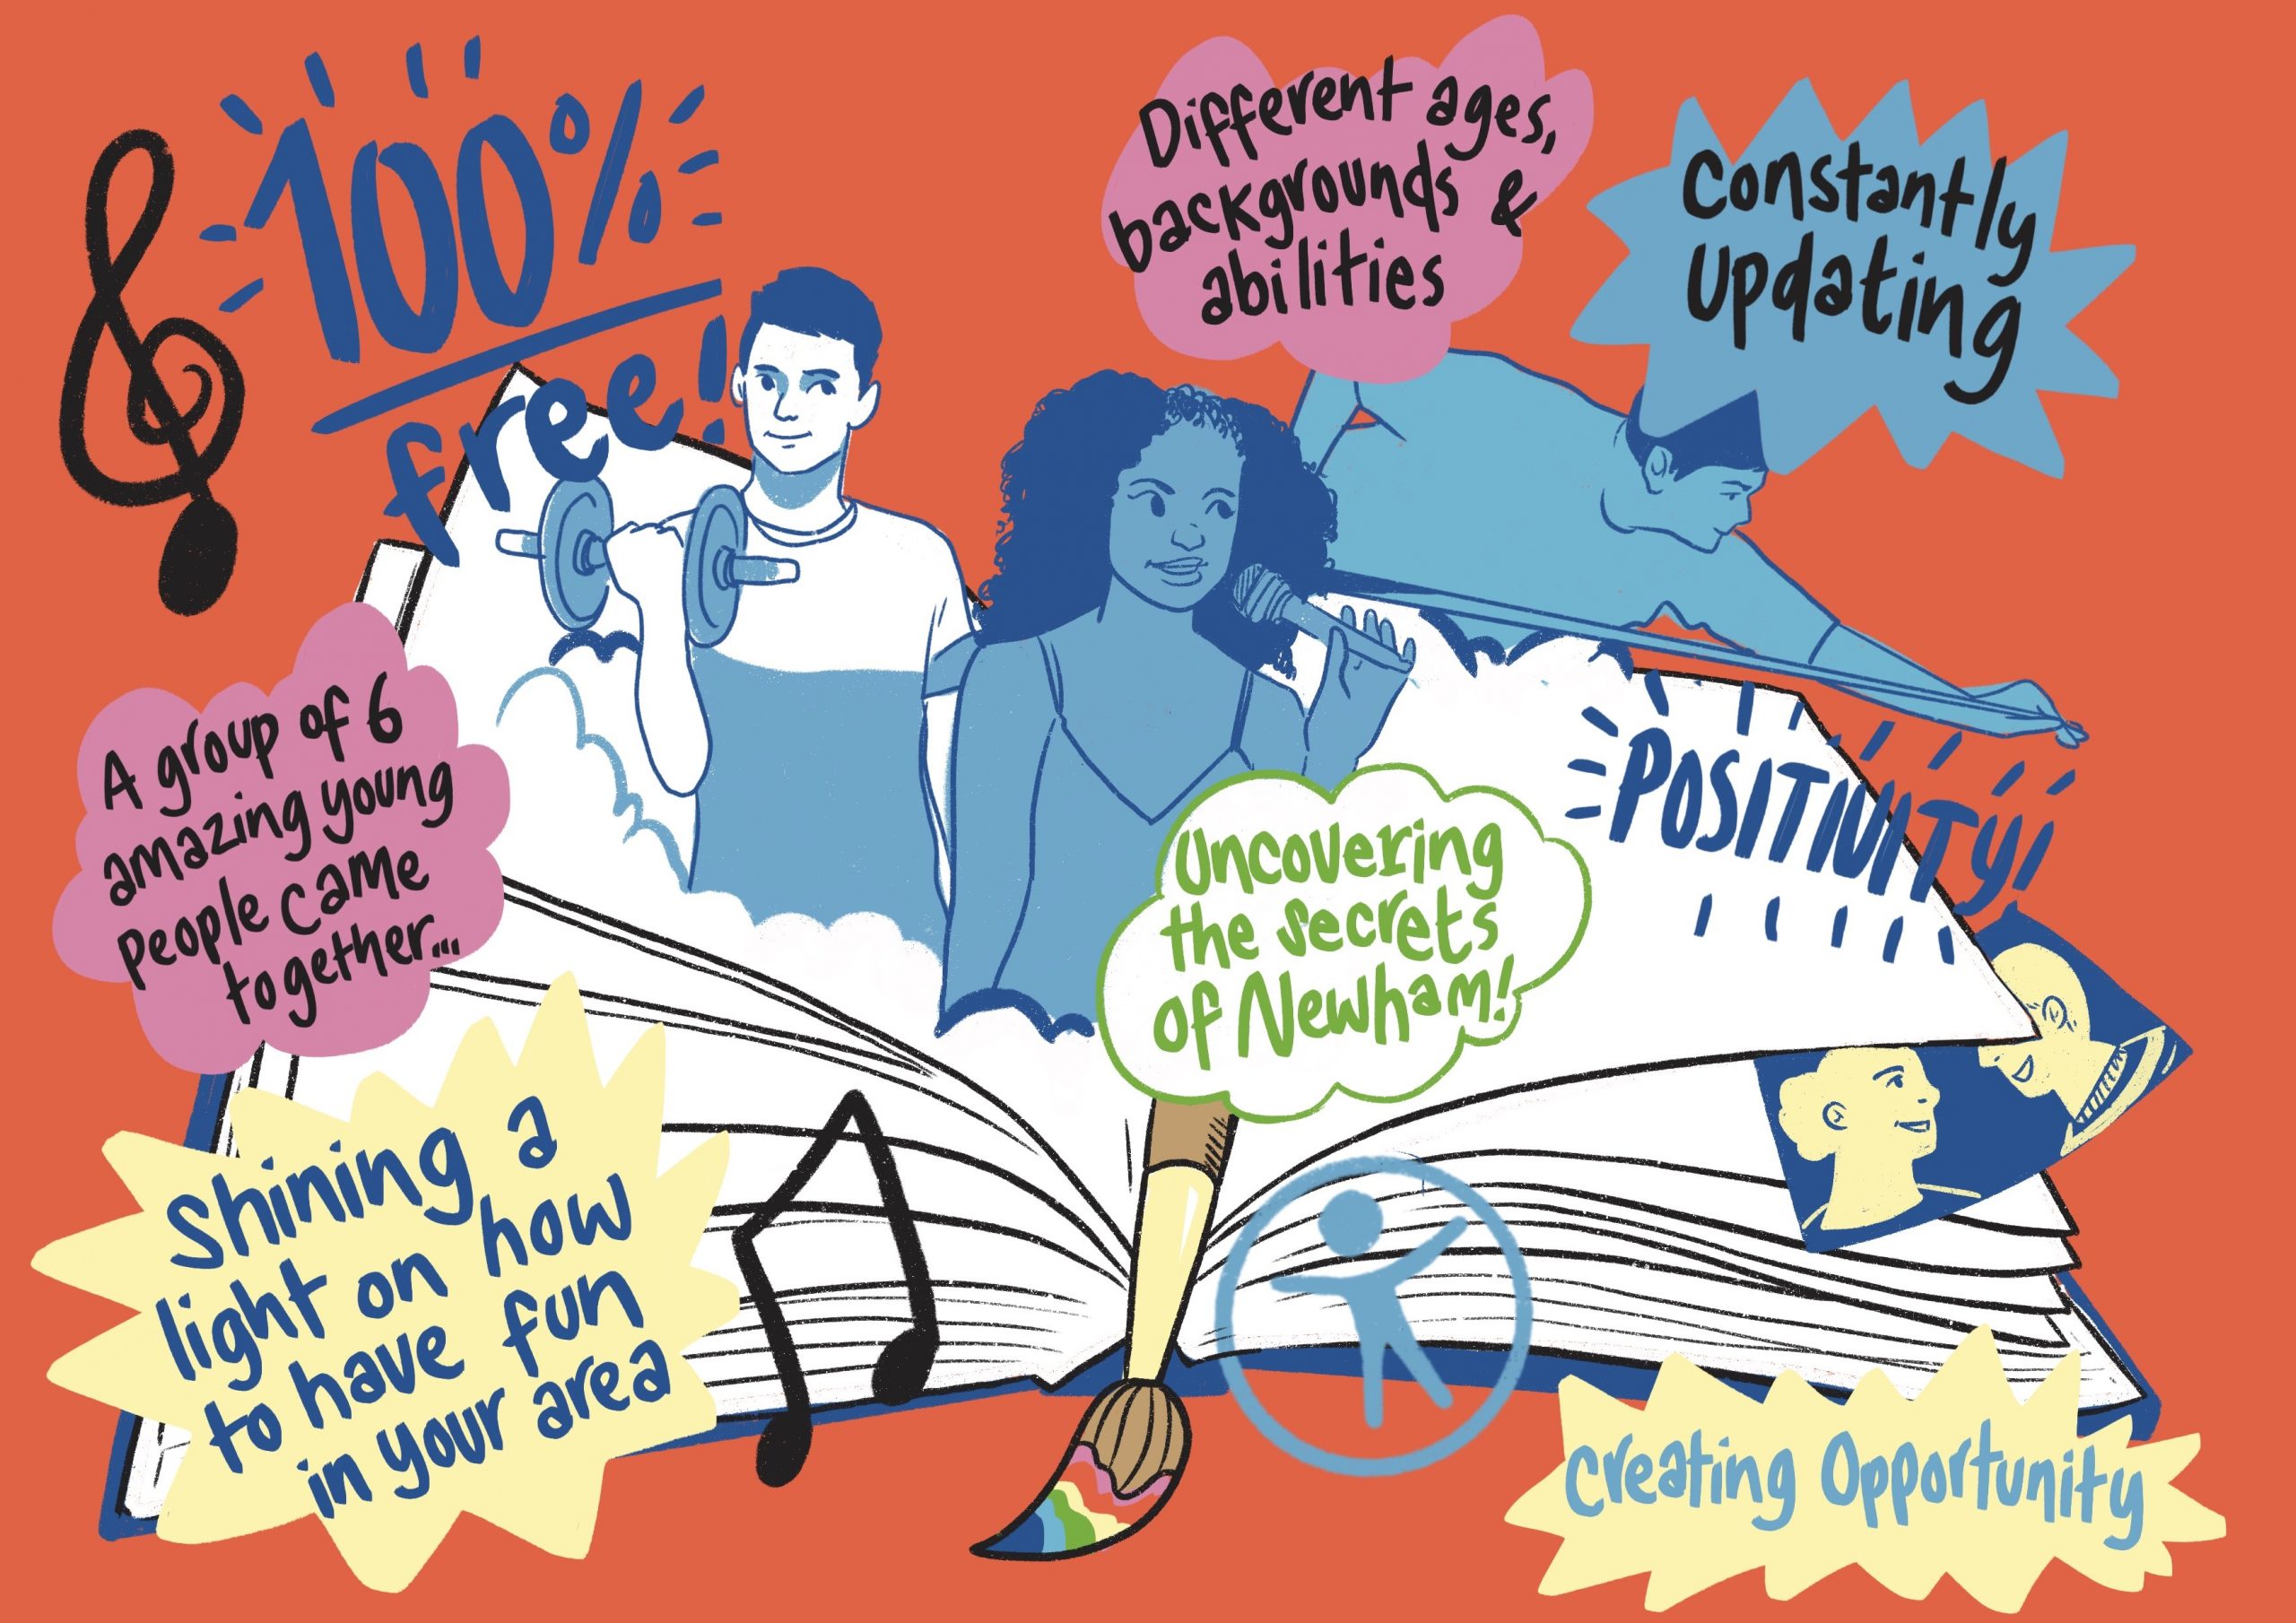
Fight for Peace, HeadStart, Newham Youth Empowerment, One Newham
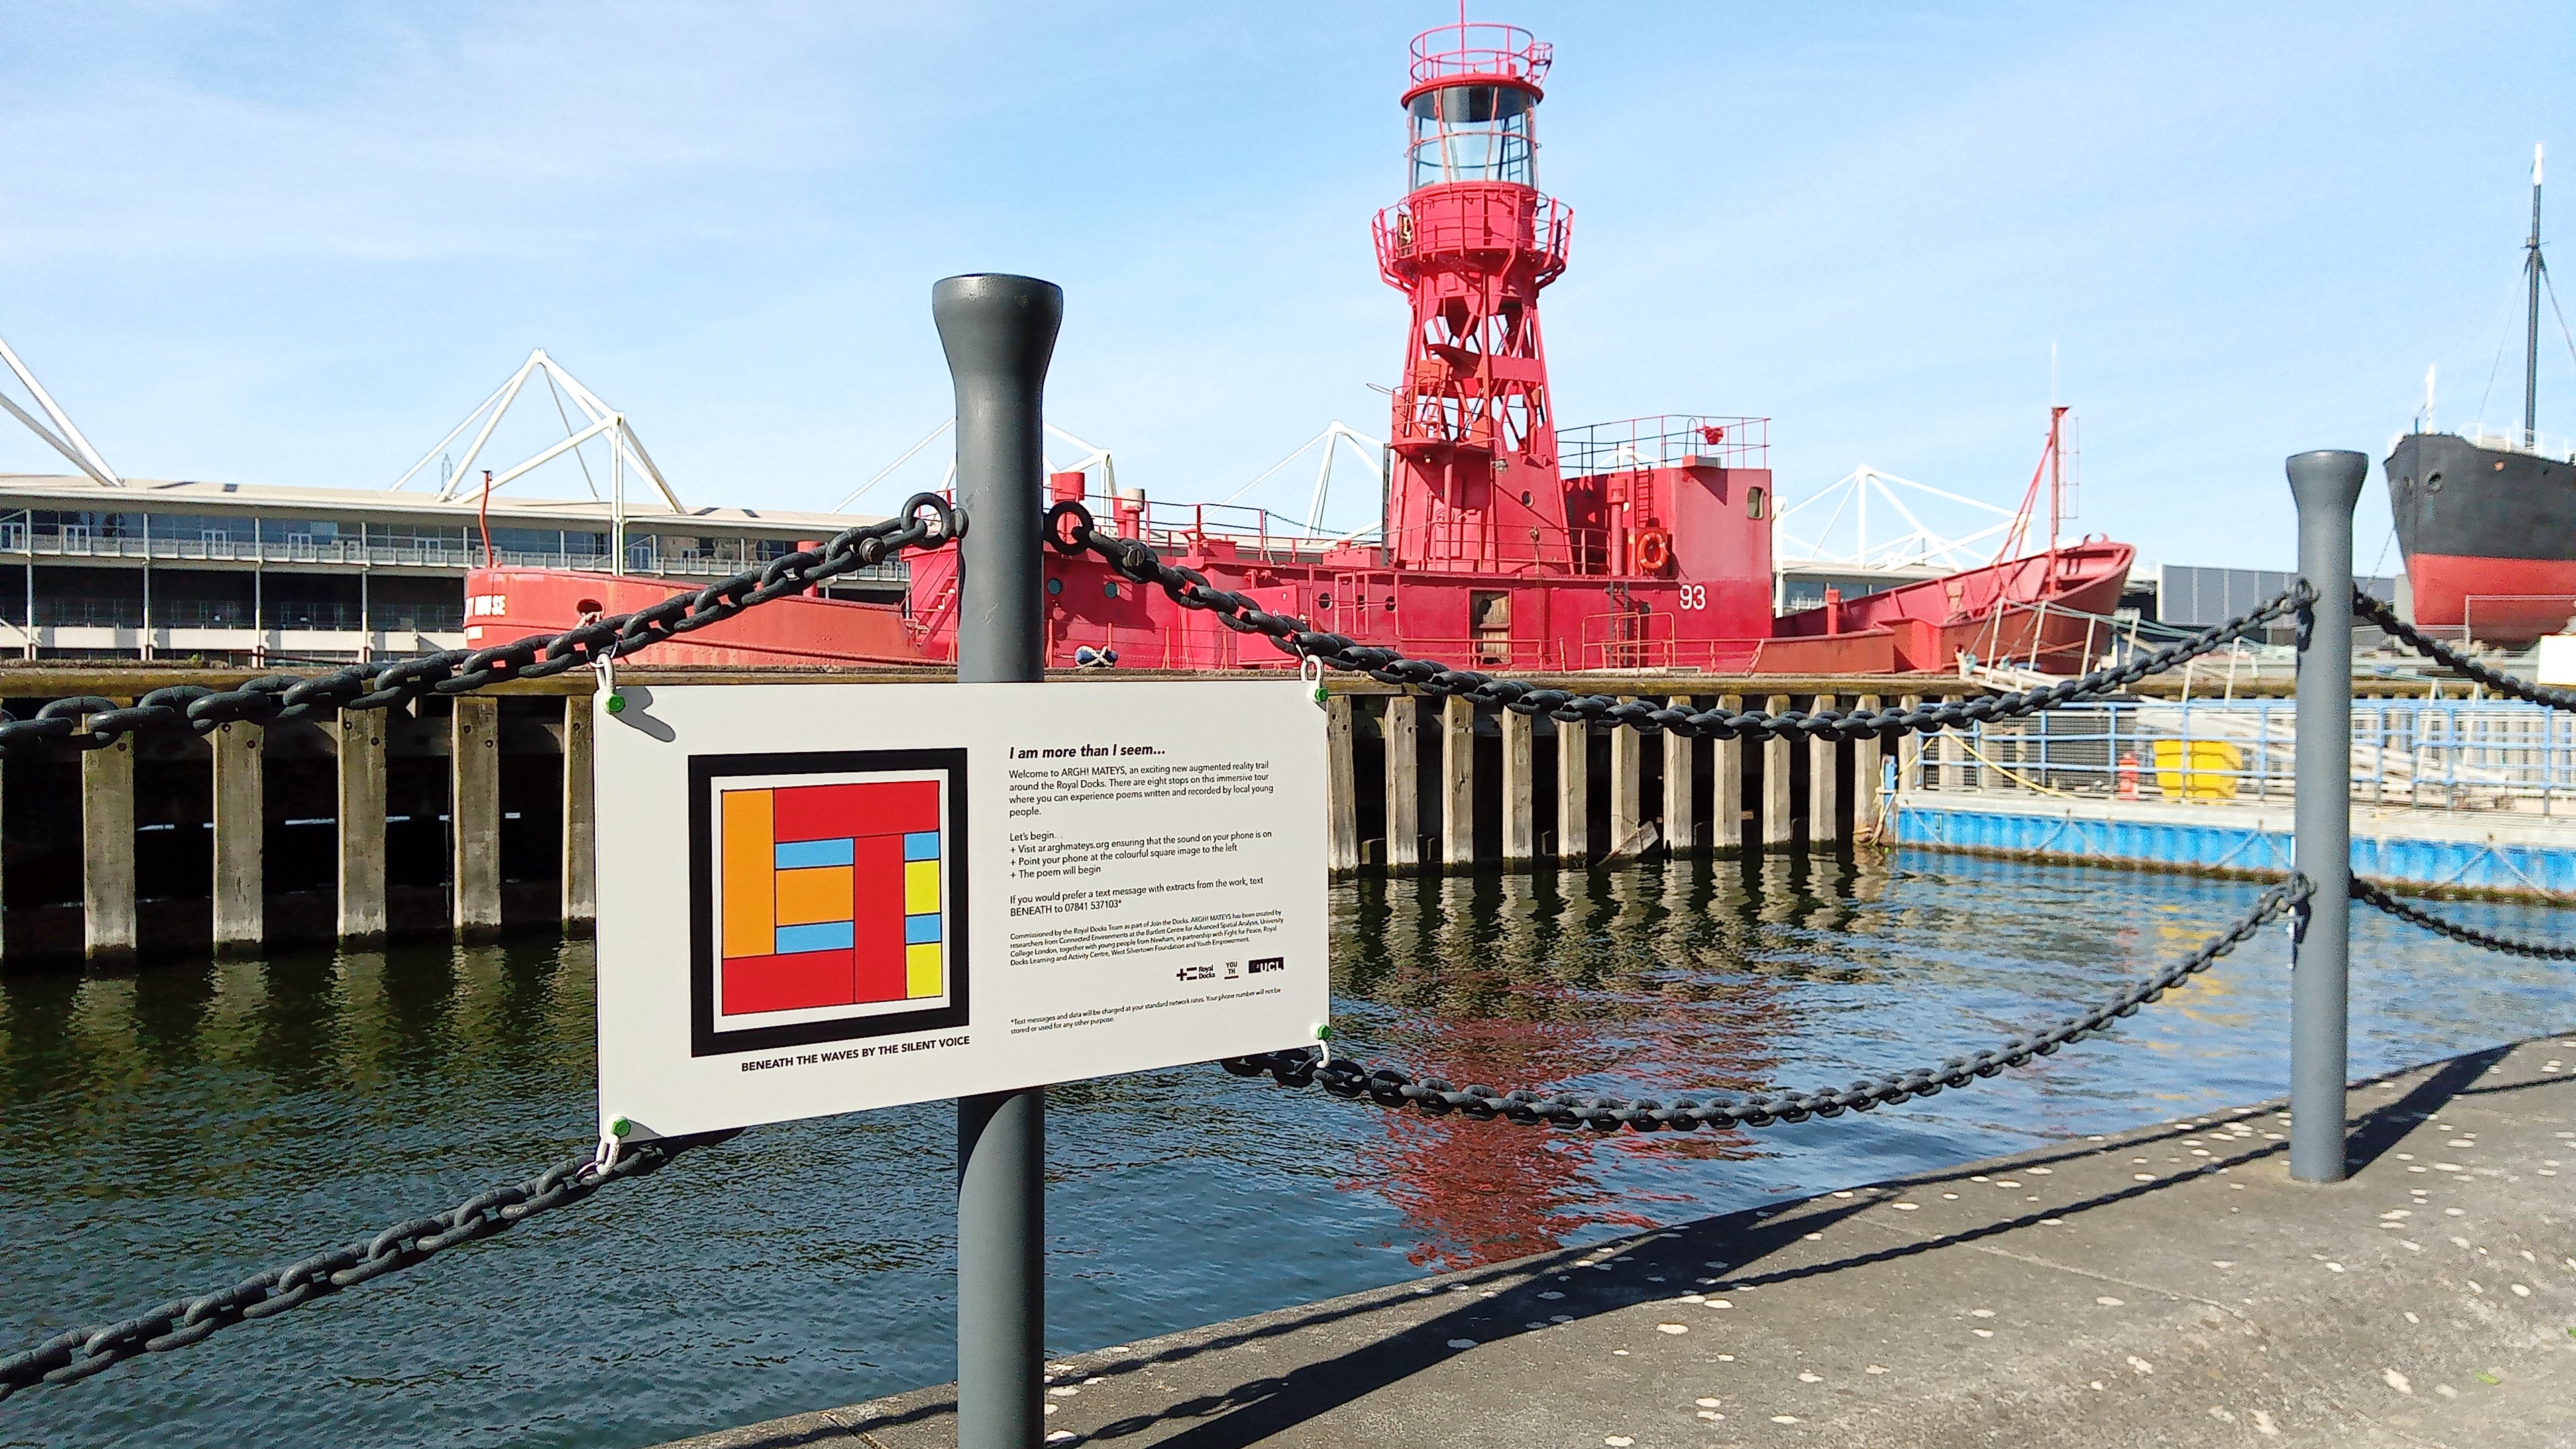
Fight for Peace, Royal Docks Learning and Activity Centre (Funders), West Silvertown Foundation, and Youth Empowerment
City of London Corporation
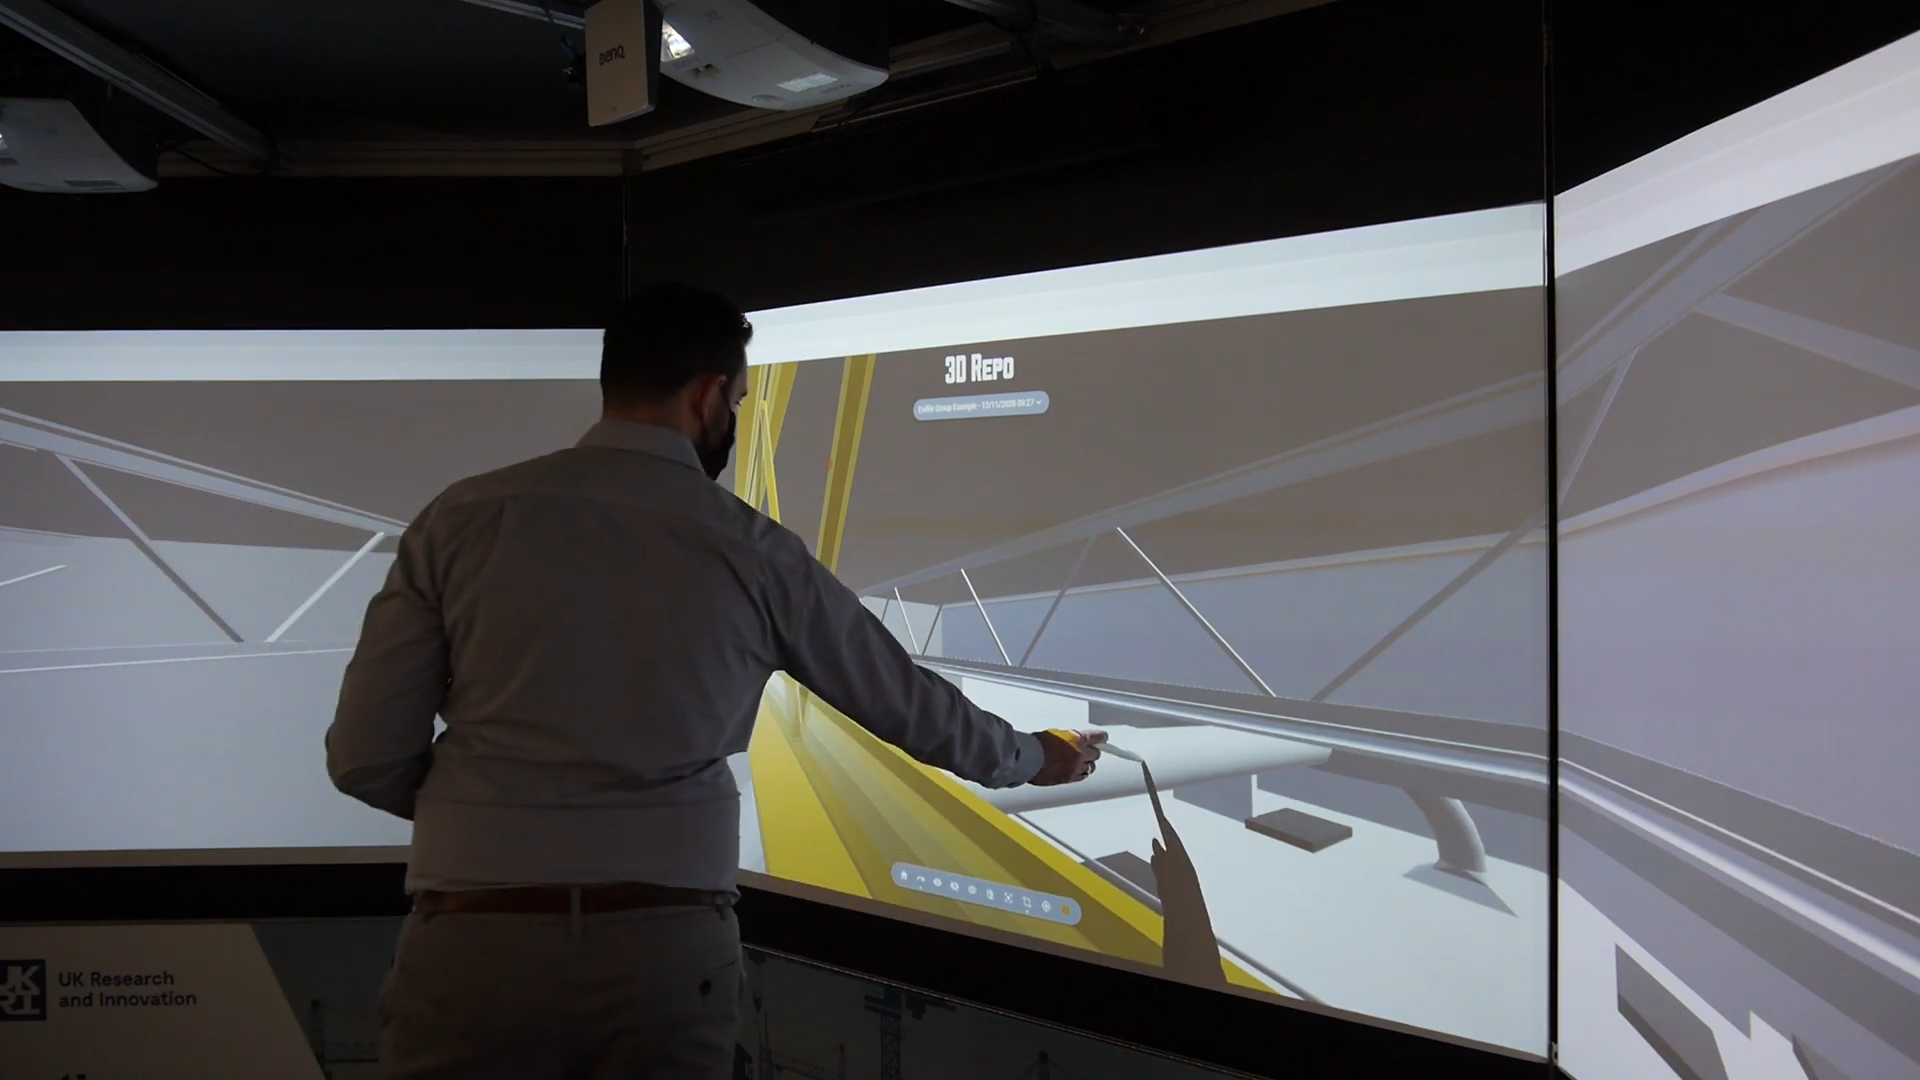
MACE, 3DRepo, eviFile, Mission Room, Imperial College London, UCL
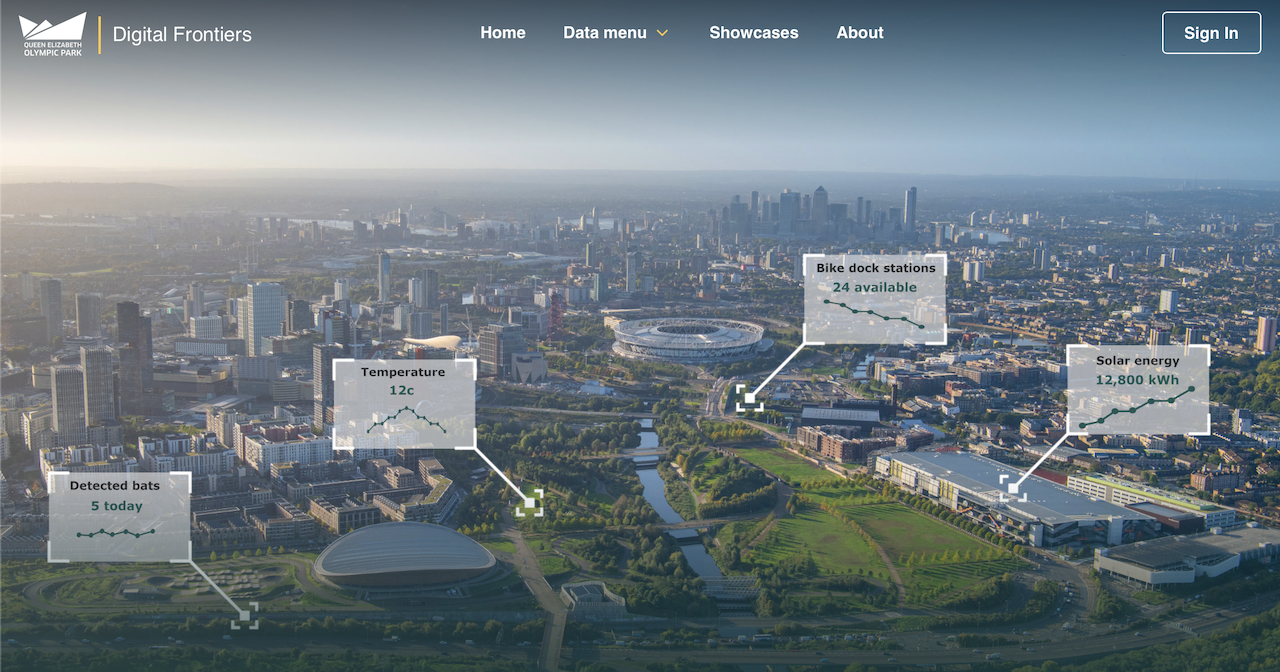
UCL, London Legacy Development Corporation
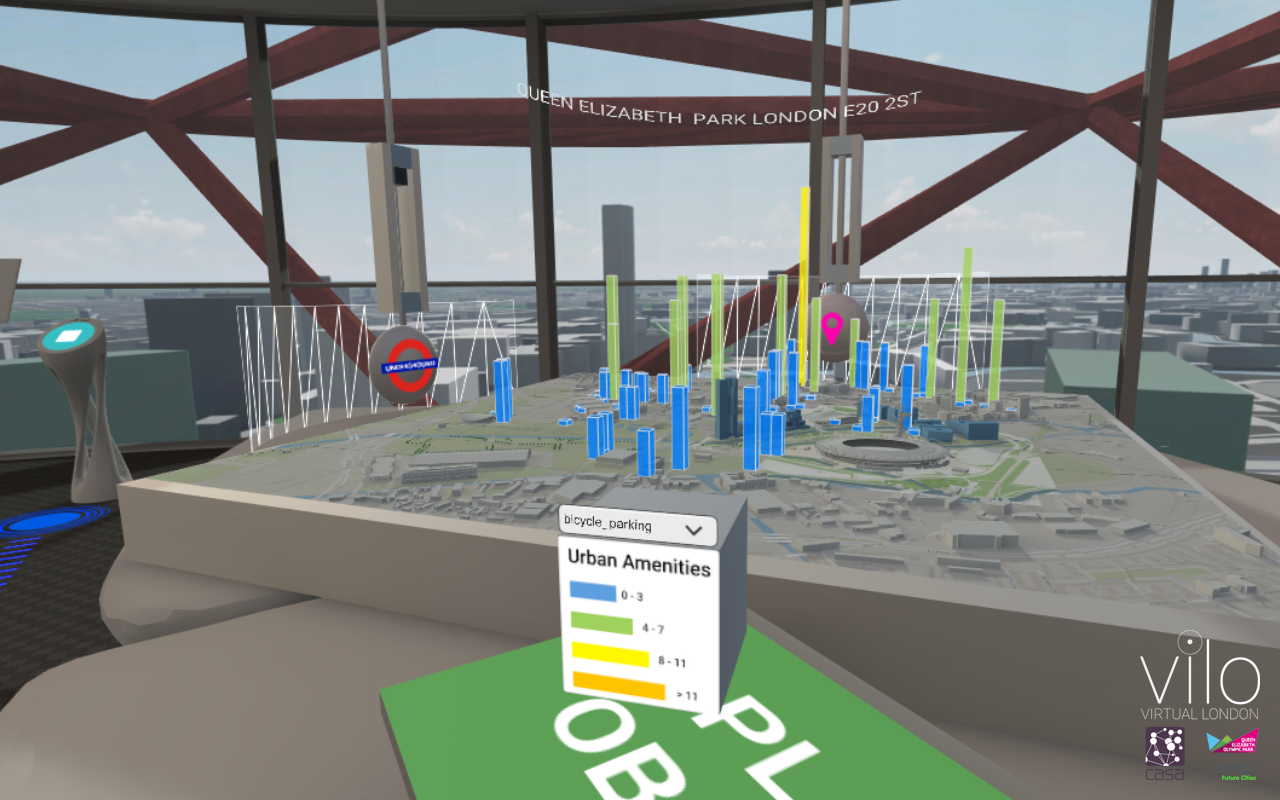
UCL, Future Cities Catapult
UCL, University of Sheffield, Victoria & Albert Museum of Childhood, Site Gallery Sheffield, Bodleian Libraries University of Oxford
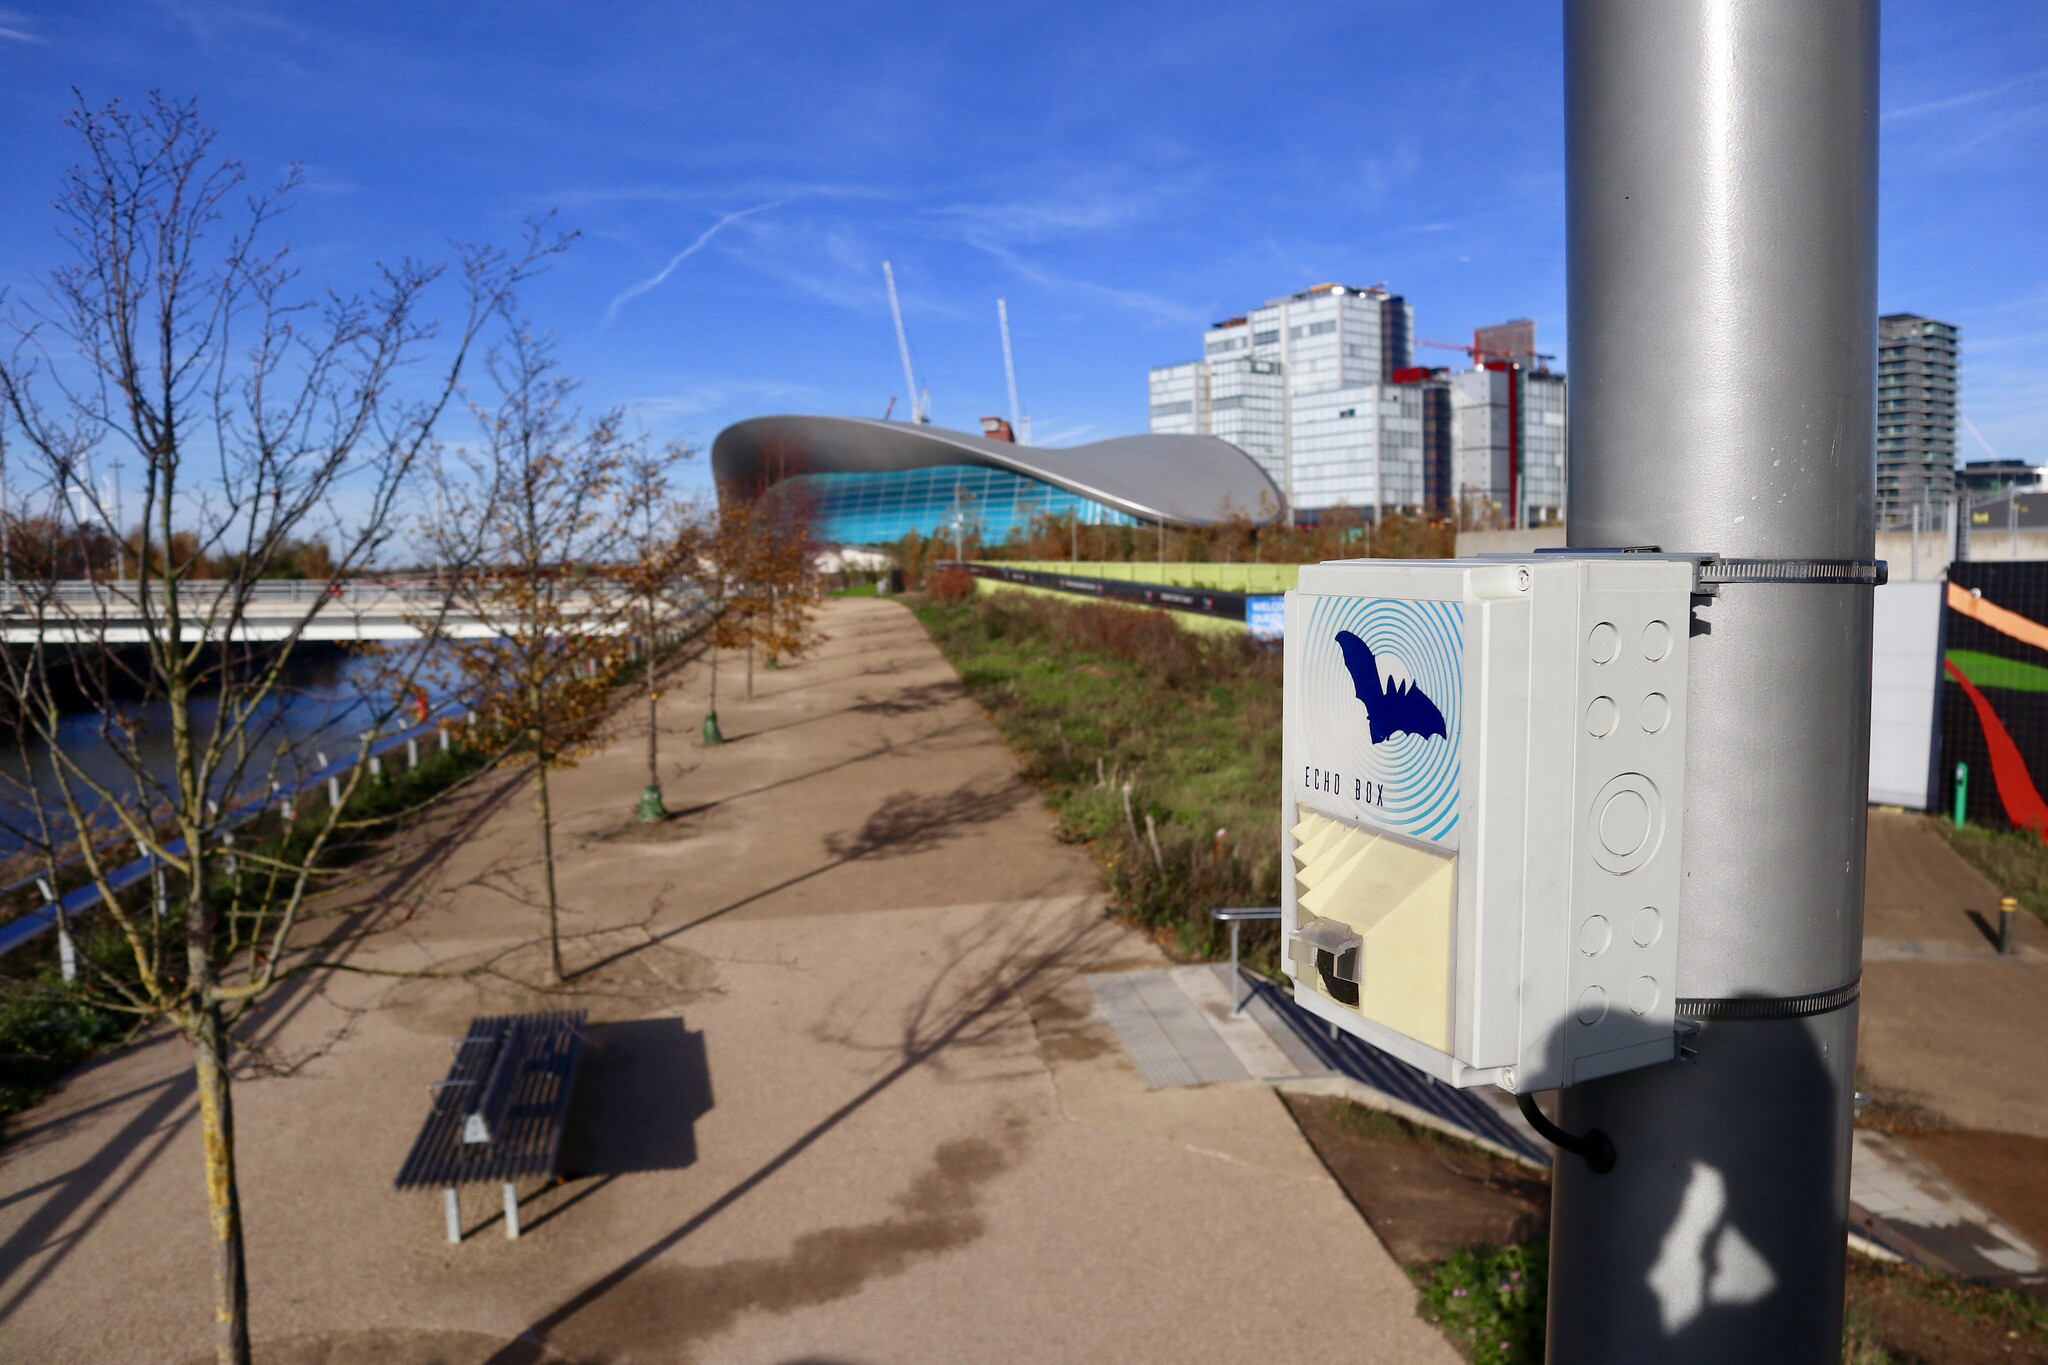
UCL, Intel, Bat Conservation Trust, London Wildlife Trust and Arup