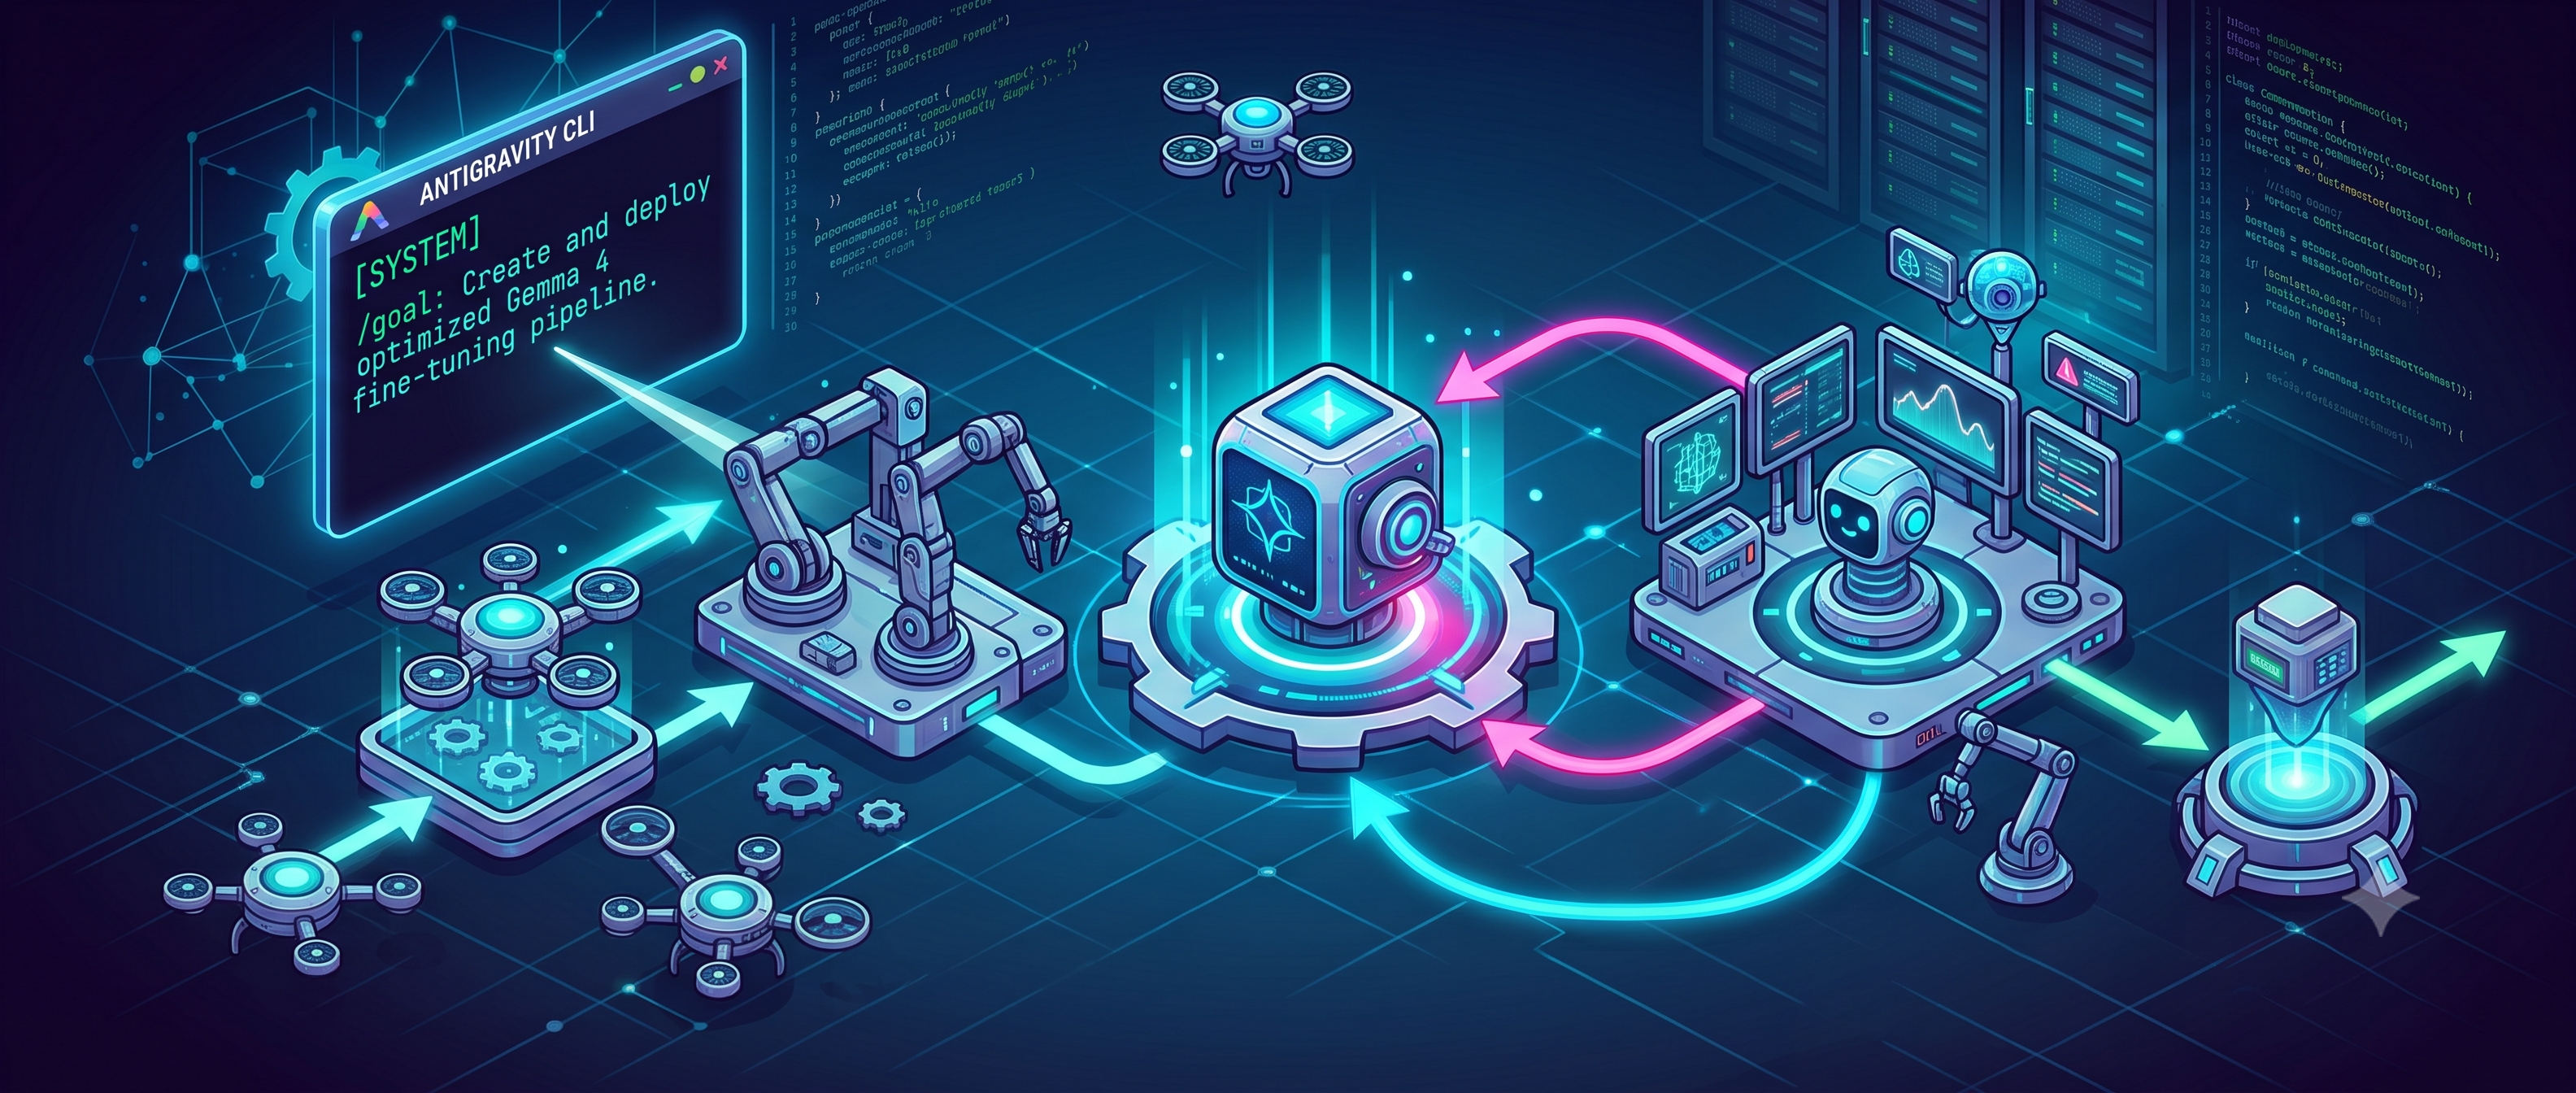
One of the major bottlenecks in creating your own specific model, in my opinion, has always been the fine-tuning process. We need models that not only understand specific domains, like navigating the complicated and ever changing requirements of academic regulations, but have ways we tweak the output to get great output that we can actually use. If we ask a language model questions about these regulations and get an answer we will just get a wall of text back. What if we want to get the smarts of an LLM to parse and understand the content but also have a way to integrate this output into an interactive application and have the visual interface a way to link back to the regulations then we need to do something different! First of all we need a model that can produce the data back to the application we need!
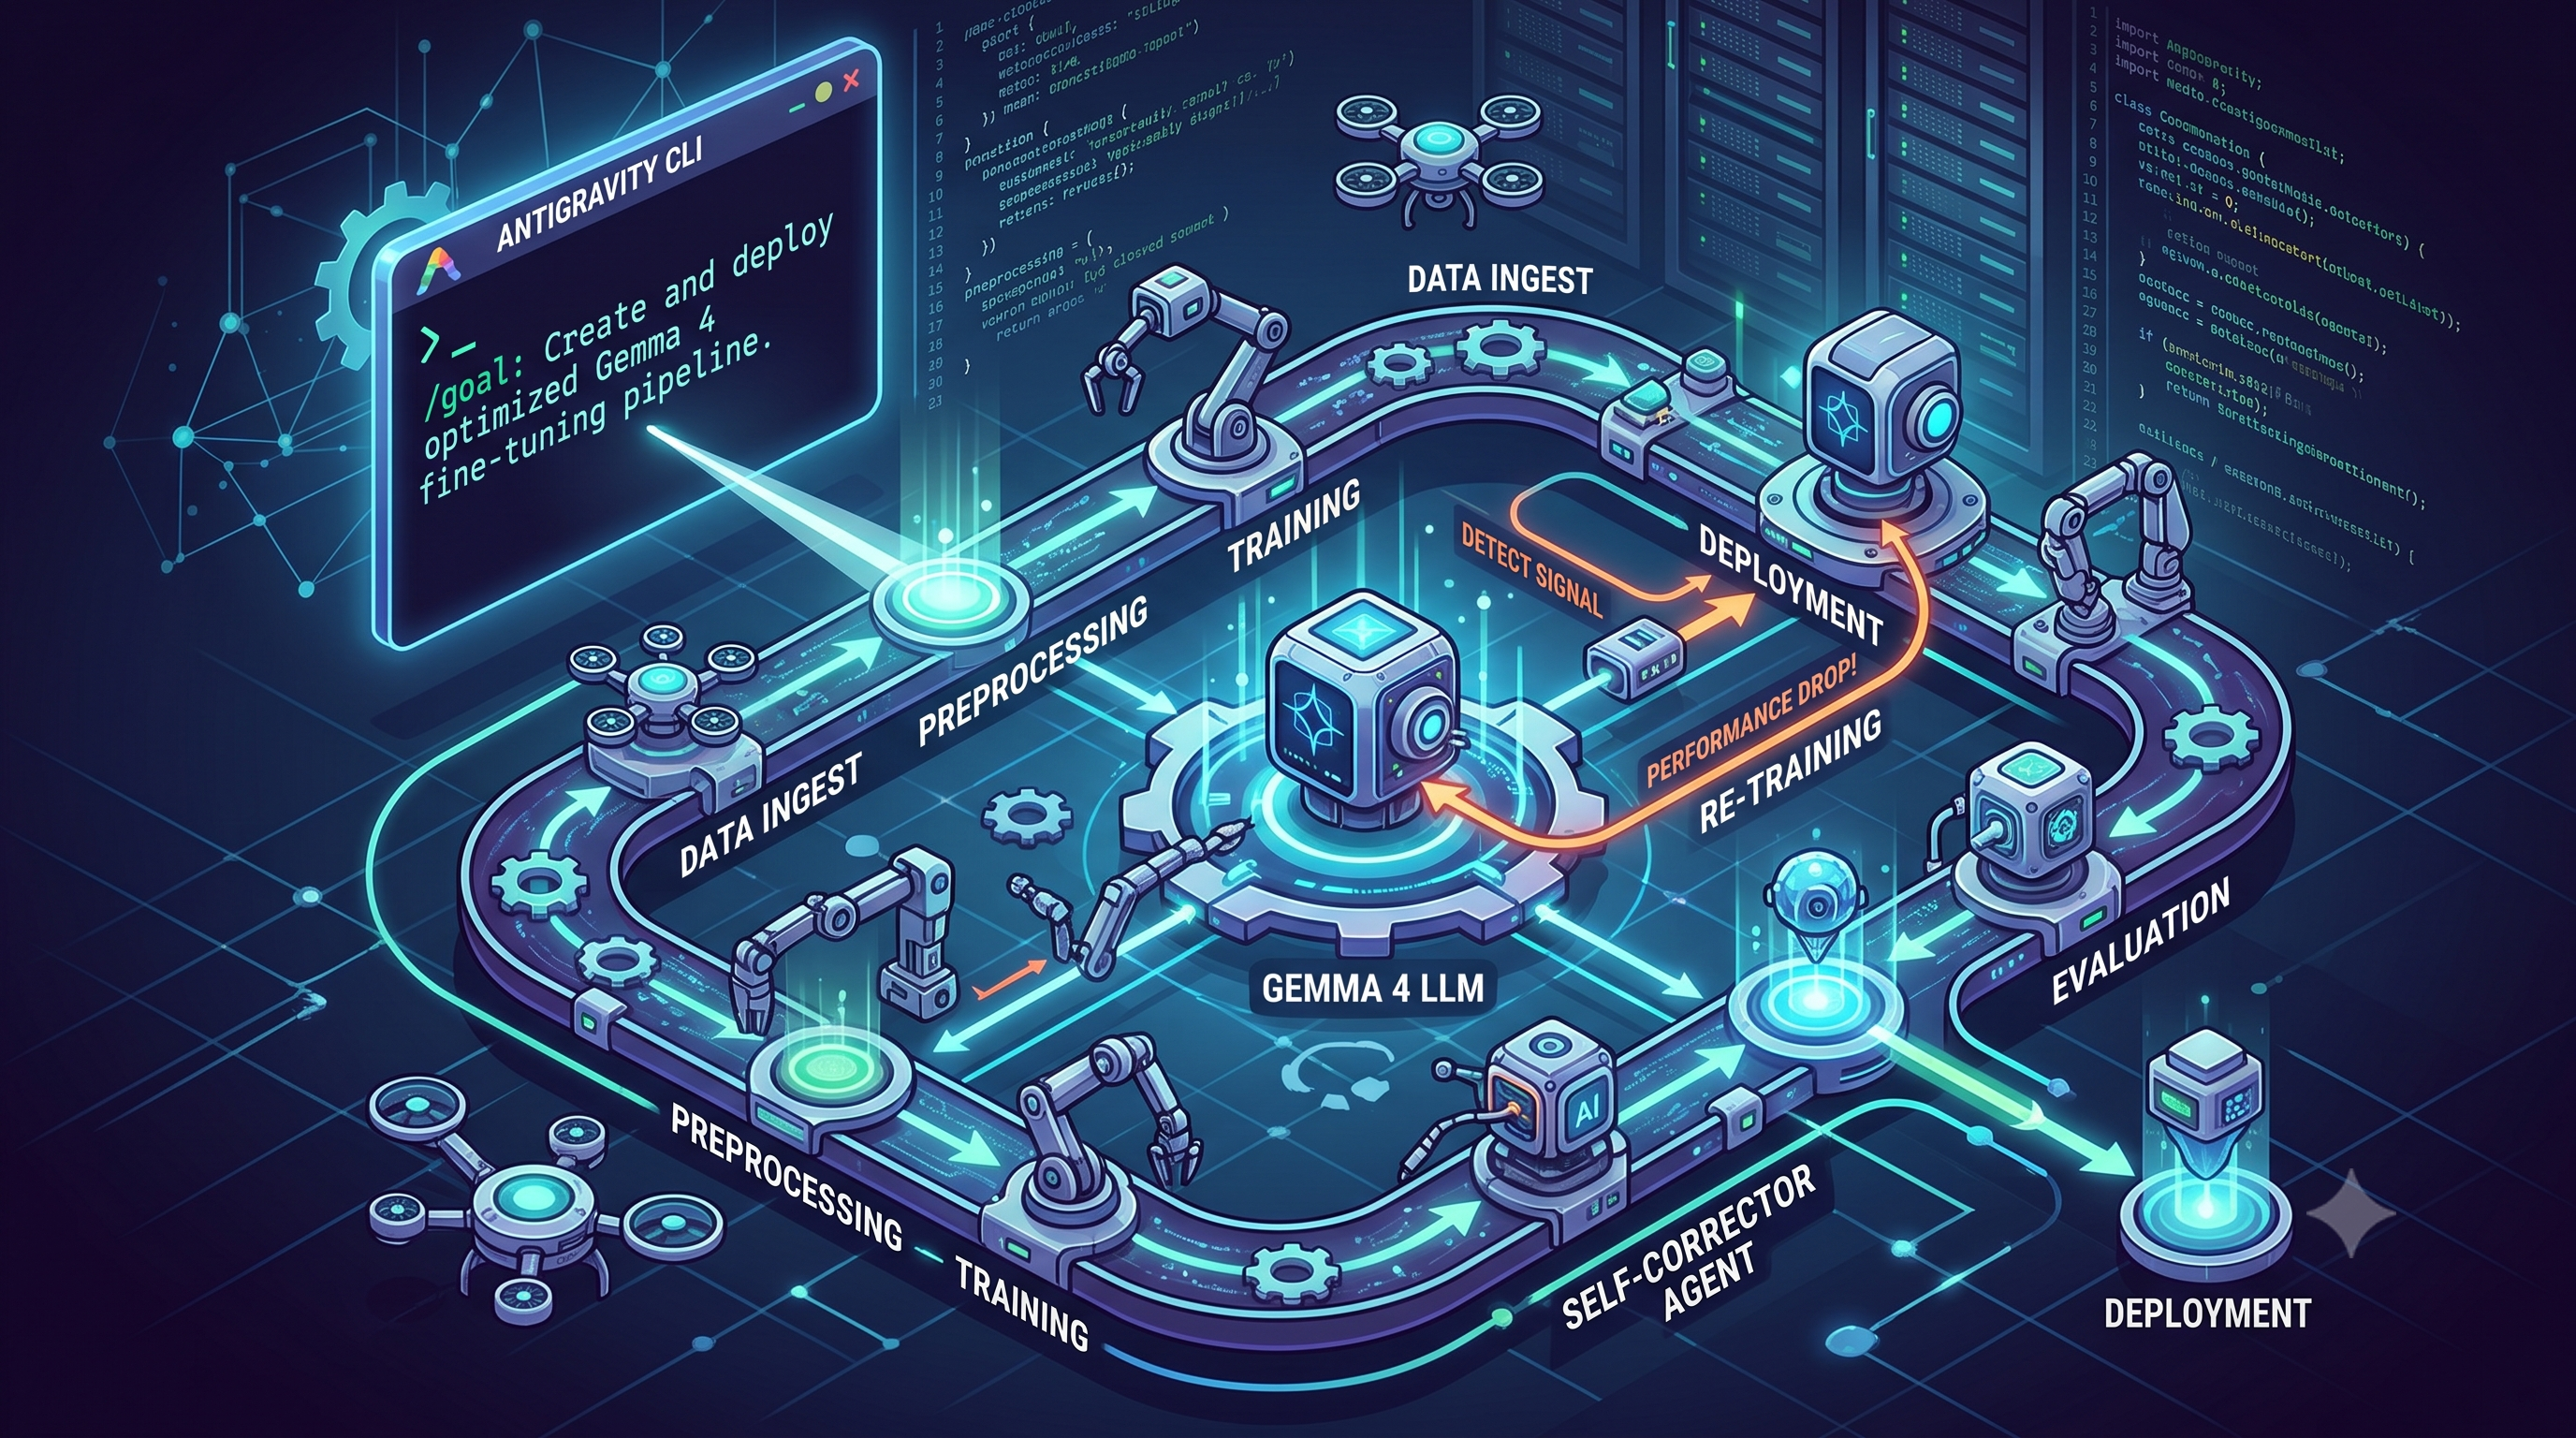
Let’s fine-tune an offline model like Gemma 4 to output perfectly formatted JSON payloads instead of giving us back dry text that just tells us the regulations. To do this, we traditionally created cycles of manual tweaking: adjusting learning rates, tweaking LoRA ranks, and waiting for compile/test cycles to finish. We test the model and then we compare the output. Who’s got time for that! It’s boring and we have better things to do. Why don’t we use agentic coding not only to create our model, but to test, tweak, reframe, iterate and improve it while we just wait and get on with all the admin we need to do (or just touch grass).
Let’s move away from manually typing commands and work towards a continuous, headless engineering process which can create the model for us.
Antigravity: SDK, CLI, and /goal
Antigravity isn’t just another agentic LLM prompt; it’s an orchestration engine designed for background automated tasks. It offers multiple surfaces—a desktop command center (2.0), an IDE, a Python SDK, and a CLI. Each surface treats the agent as an on-demand worker rather than a localised file-editor.
The real magic for this project, however, lies in Fully Autonomous Goal Execution via the /goal command. Instead of single-turn prompts, /goal gives the agent a purpose. It instructs Antigravity (and the agentic model selected) to run iteratively, spawning parallel subagents to handle individual tasks until the objective is verified as complete, all without blocking or waiting for input from you as the user..
Architecting the Multi-Agent Pipeline
To tackle the academic regulations manual (which is five years of dense PDF documents), we can’t just dump the text into a single prompt and ask Gemma to process it and give us an answer. We need a team of subagents that can process the data, get it into the format that’s needed to fine tune the model, ask the model questions and test the responses. Armed with the PDFs and an example of JSON outputs I need for my application, we can begin.
Here’s how I architected the pipeline within Antigravity to handle the extraction, training, and evaluation for the project.
-
The Lead Architect (Main Agent): This agent holds the top-level /goal. It manages the overall process, tracks the timeline across the 5 years of regulations, evaluates the agent’s responses and coordinates all the subagents and their responses.
-
The Data Engineer (Subagent): This agent is tasked with processing the PDFs for agents via a custom
SKILL.mdfile, and has the examples of the JSON output we want from the Gemma model. This agent extracts the text and synthesizes a high-quality dataset of Instruction-Response pairs. The input is example and completed fabricated student scenarios; the required output is a strict JSON payload mapping the regulation codes, location of the regulation in the manual (section X.Y), routing and rationale of why this regulation is in play. -
The Training Operator (Subagent): This agent handles the actual local fine-tuning loop. It manages the process of creating the model, creating, tweaking and triggering the execution script (using MLX to accommodate my local machine and its resources), monitors the activity on the machine , and saves the Gemma 4 checkpoints and model output files.
-
The Critic (Subagent): This is the heart of the closed-loop system. After a training run, this agent serves the checkpoint and runs scenarios that the model hasn’t seen yet. The agent will load the input examples and what the output should be and evaluate the output JSON syntax and how accurate the mapping to the regulations are.
Let’s Setup Antigravity
We create a new folder for our project and then create some agent files for Antigravity to use. For this project, I set up the following files in Antigravity IDE (after creating a new project).
.agents/skills/
├── setup-mlx-environment
│   └── SKILL.md
├── extract-pdf-rules/
│   └── SKILL.md
├── generate-qa-pairs/
│   └── SKILL.md
├── run-mlx-lora/
│   └── SKILL.md
└── evaluate-checkpoint/
    └── SKILL.md
Each agent has a specific skill and task to complete. For example lets look at the evaluate-checkpoint agent to see what the agent is tasked with.
---
name: evaluate-checkpoint
description: Loads a trained LoRA checkpoint, runs test scenarios, and evaluates the outputs for schema adherence and accuracy. Use this skill immediately after a training run completes.
---
# Compliance Critic and Evaluator

## Goal
Serve the latest Gemma 4 checkpoint, run a suite of hold-out test scenarios, and generate a PASS/FAIL critique to determine if further hyperparameter tweaking is required.

## Steps
1. Load the base Gemma 4 model with the adapter weights from `/checkpoints/latest/`.
2. Run 10 the student scenarios in the /data/example directory (that were not in the training set) through the model.
3. Capture the generated JSON payloads.
4. Pass the outputs and evaluate against two strict criteria:
   - **Syntax:** Is the output 100% valid JSON?
   - **Accuracy:** Do the regulation codes and routing match the logic in the source manuals in the examples?
5. Generate an `evaluation_report.md` containing the pass rate percentage, specific failure modes (e.g., hallucinated codes), and a definitive PASS/FAIL status based on a 90% threshold.
## Verification
- Ensure the evaluation report explicitly suggests which hyperparameters in `config.json` should be adjusted if the result is a FAIL.
Here is a top tip for your own project. Get Gemini to help you create these skill files, tweak them and add more context to help the agentic system. I used the LLM multiple times to improve the agent skills in multiple runs to get the agents to work better and improve the overall system.
Let’s Run our Orchestra
Starting the process in the Antigravity is incredibly straightforward. The prompt looks something like this:
/goal Build and execute a self-correcting fine-tuning pipeline for Gemma 4 to act as an academic regulations mapping utility.

Execute the following state machine autonomously using the available workspace skills:

1. ENVIRONMENT INIT: Use the 'setup-mlx-environment' skill to provision the virtual environment, install the patched MLX-LM framework directly from GitHub, and download a 4-bit quantized Gemma 4 model.
2. DATA PIPELINE: Use the 'extract-pdf-rules' skill to parse thePDF manuals in the `/data` directory into clean markdown.
3. DATA FORMATTING: Use the 'generate-qa-pairs' skill to create a fine-tuning dataset (`train.jsonl`) of 150 Instruction-Response pairs.
4. TRAINING LOOP: Create a `config.json` with baseline hyperparameters (e.g., LR: 2e-5, epochs: 3, LoRA rank: 8) and use the 'run-mlx-lora' skill to execute the training run asynchronously.
5. EVALUATION: Once training completes, use the 'evaluate-checkpoint' skill to grade the model's outputs using the unseen data within the /data/example directory
6. THE CLOSED LOOP: If the evaluation report results in a FAIL, analyze the failure mode, autonomously modify the `config.json` with adjusted hyperparameters, and trigger another 'run-mlx-lora' iteration.
7. TERMINATE and output a final Markdown report when the evaluation achieves a PASS status (90%+ accuracy) or after 20 maximum training loops.
Note: I’ve hardcoded some values such as 20 maximum loops and 4-bit version of Gemma Model. I also told my environment agent where Gemma was installed locally as well as the path for MLX. You could also setup this up to use TPUs inside Google Cloud to speed up the training
Now sit back, wait 30 hours (in my case with my M3 macbook pro and 64Gb of GPU Ram and you’ll have a few models and a report which shows the best model for us to use for our project.
Next Steps
The next blog post in this series will focus on using this model in an interactive site where we can see how the academic manual can be updated into a fully functional question and answer system that we can interact with to help us make decisions from natural language.